
Bangkok, Thailand: Best Places To Visit
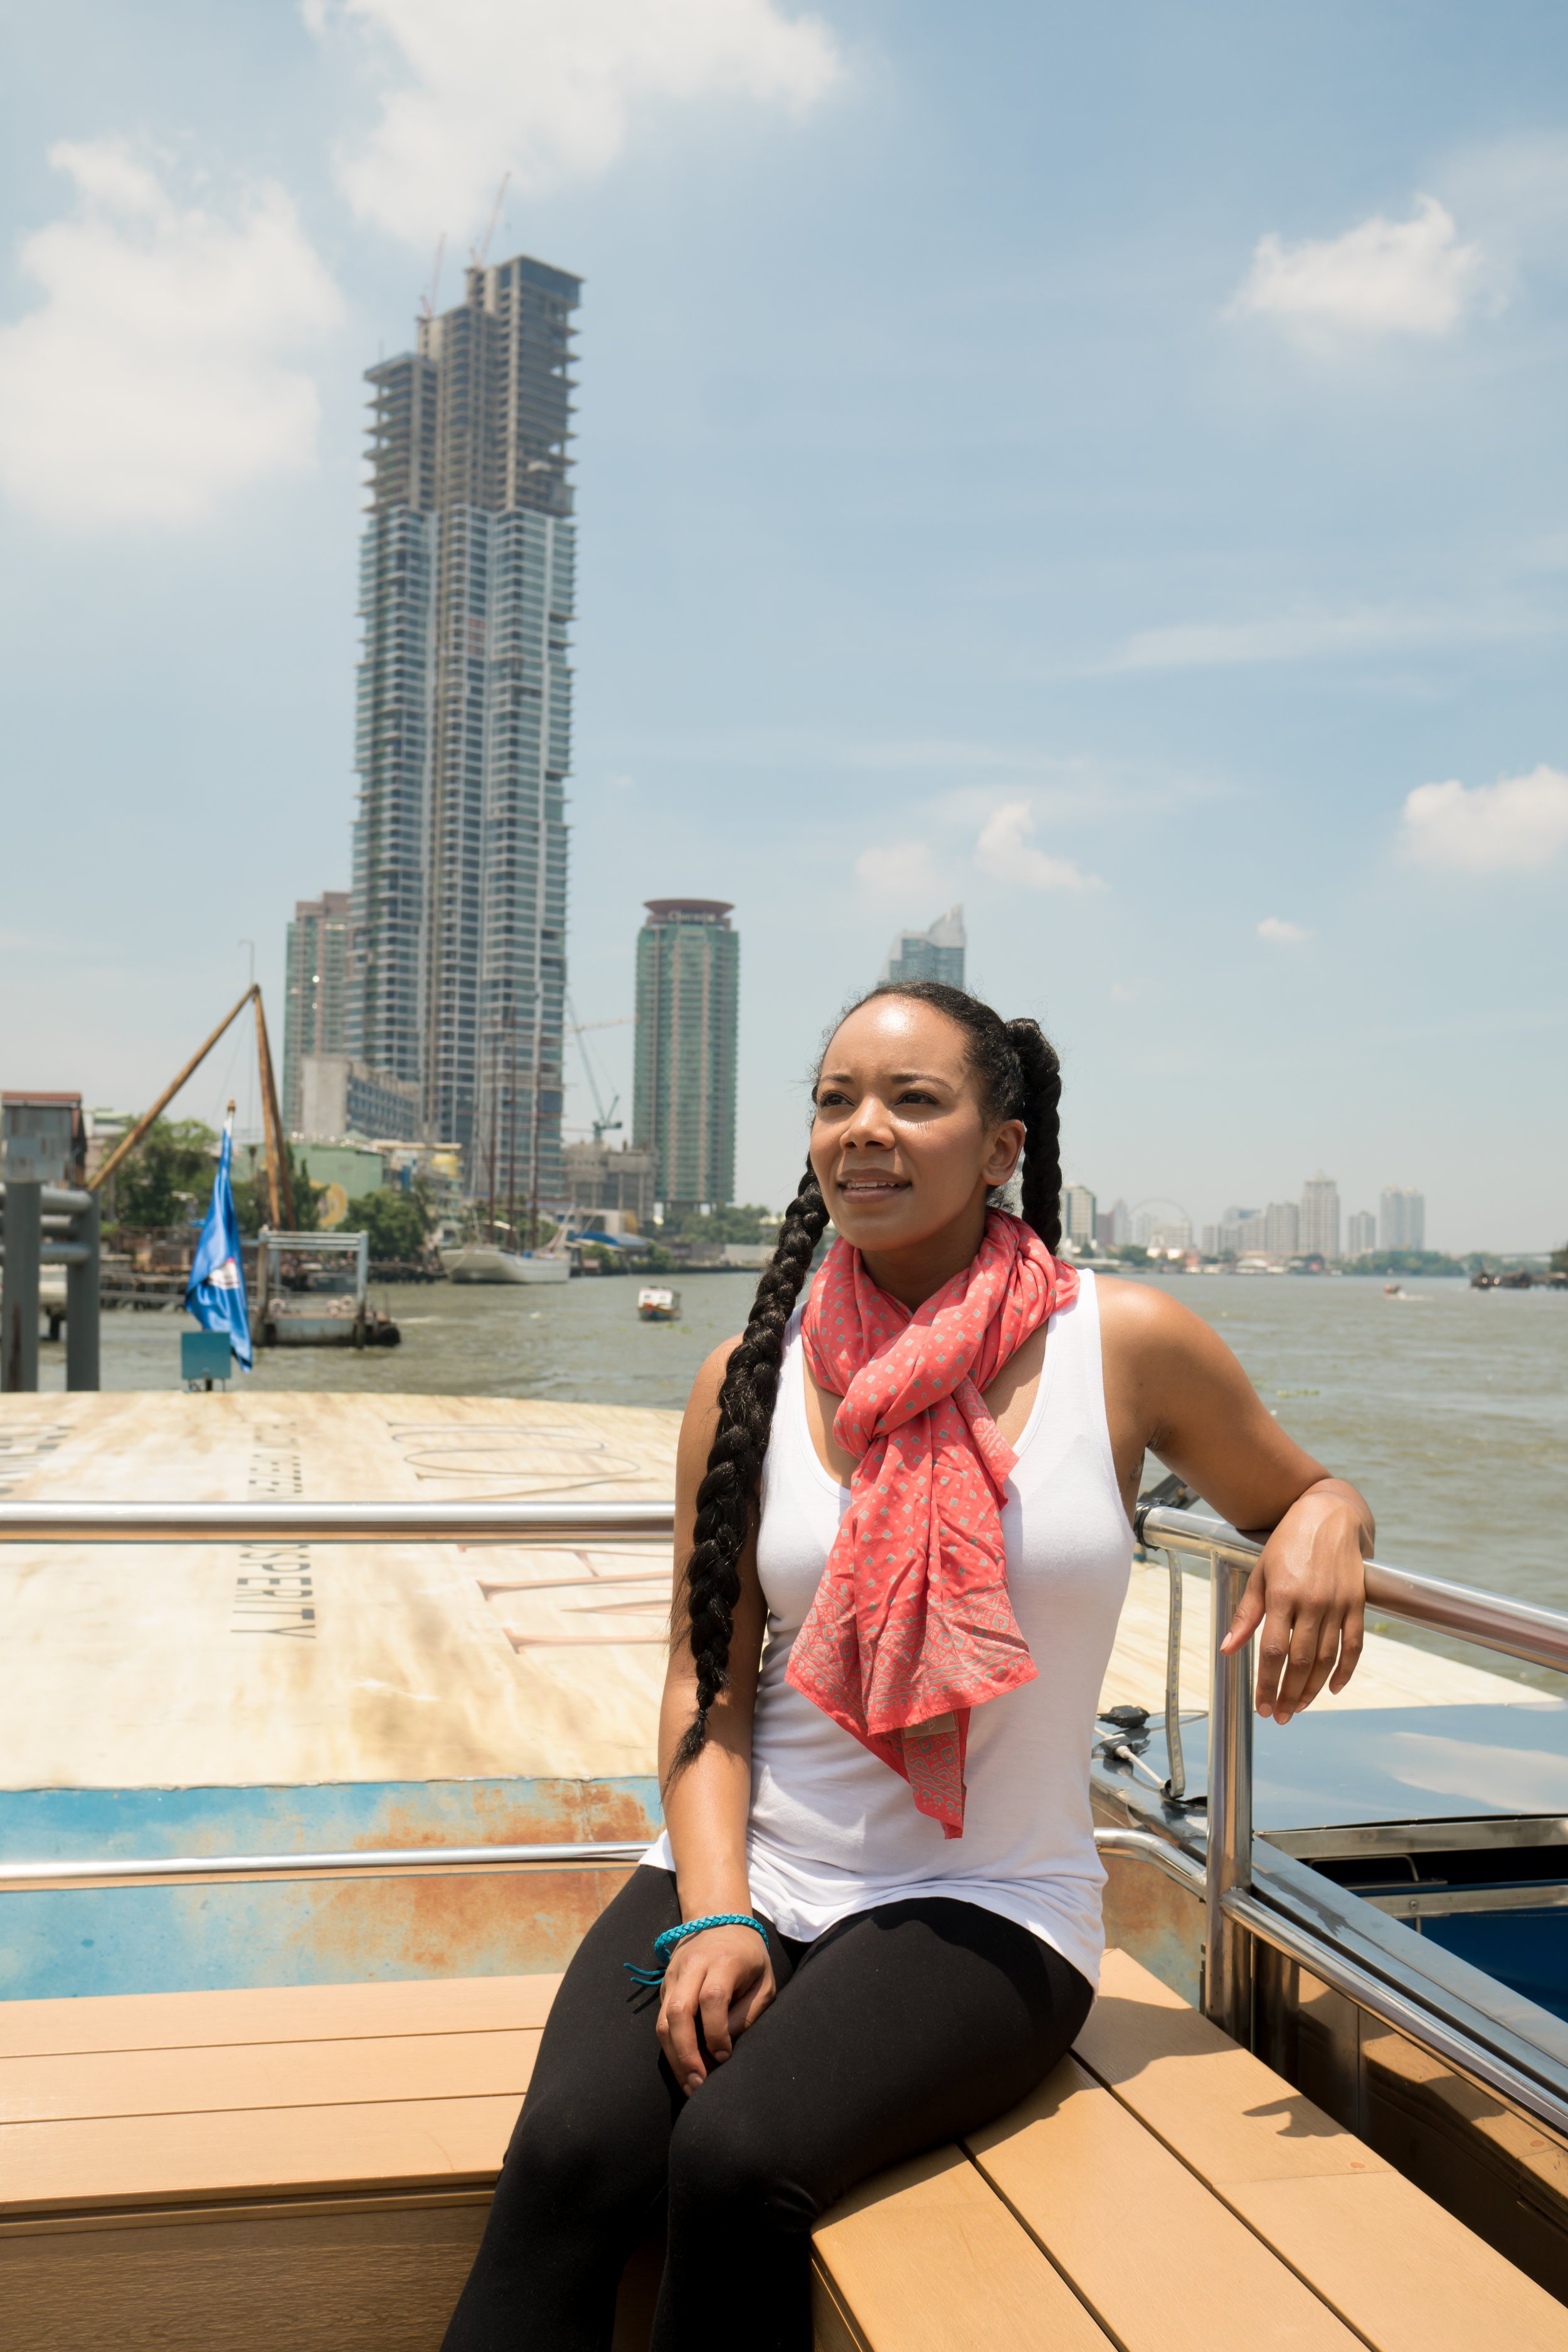
The best places to visit in Bangkok, Thailand. We visited the Grand Palace and the Reclining Buddha. I’m a fan of public transportation in Thailand. We took the SkyTrain and Ferry Boats to these two destinations. We took the blue ferry boat which was about 50 BAHT (usually 40 BAHT). This is the ferry boat that tourists take it’s slower, more expensive but more scenic. If you want the true local experience take the orange ferry boat with the orange flag. This one is 15 BAHT. You pay on board and it is faster.
THA MAHARAJ
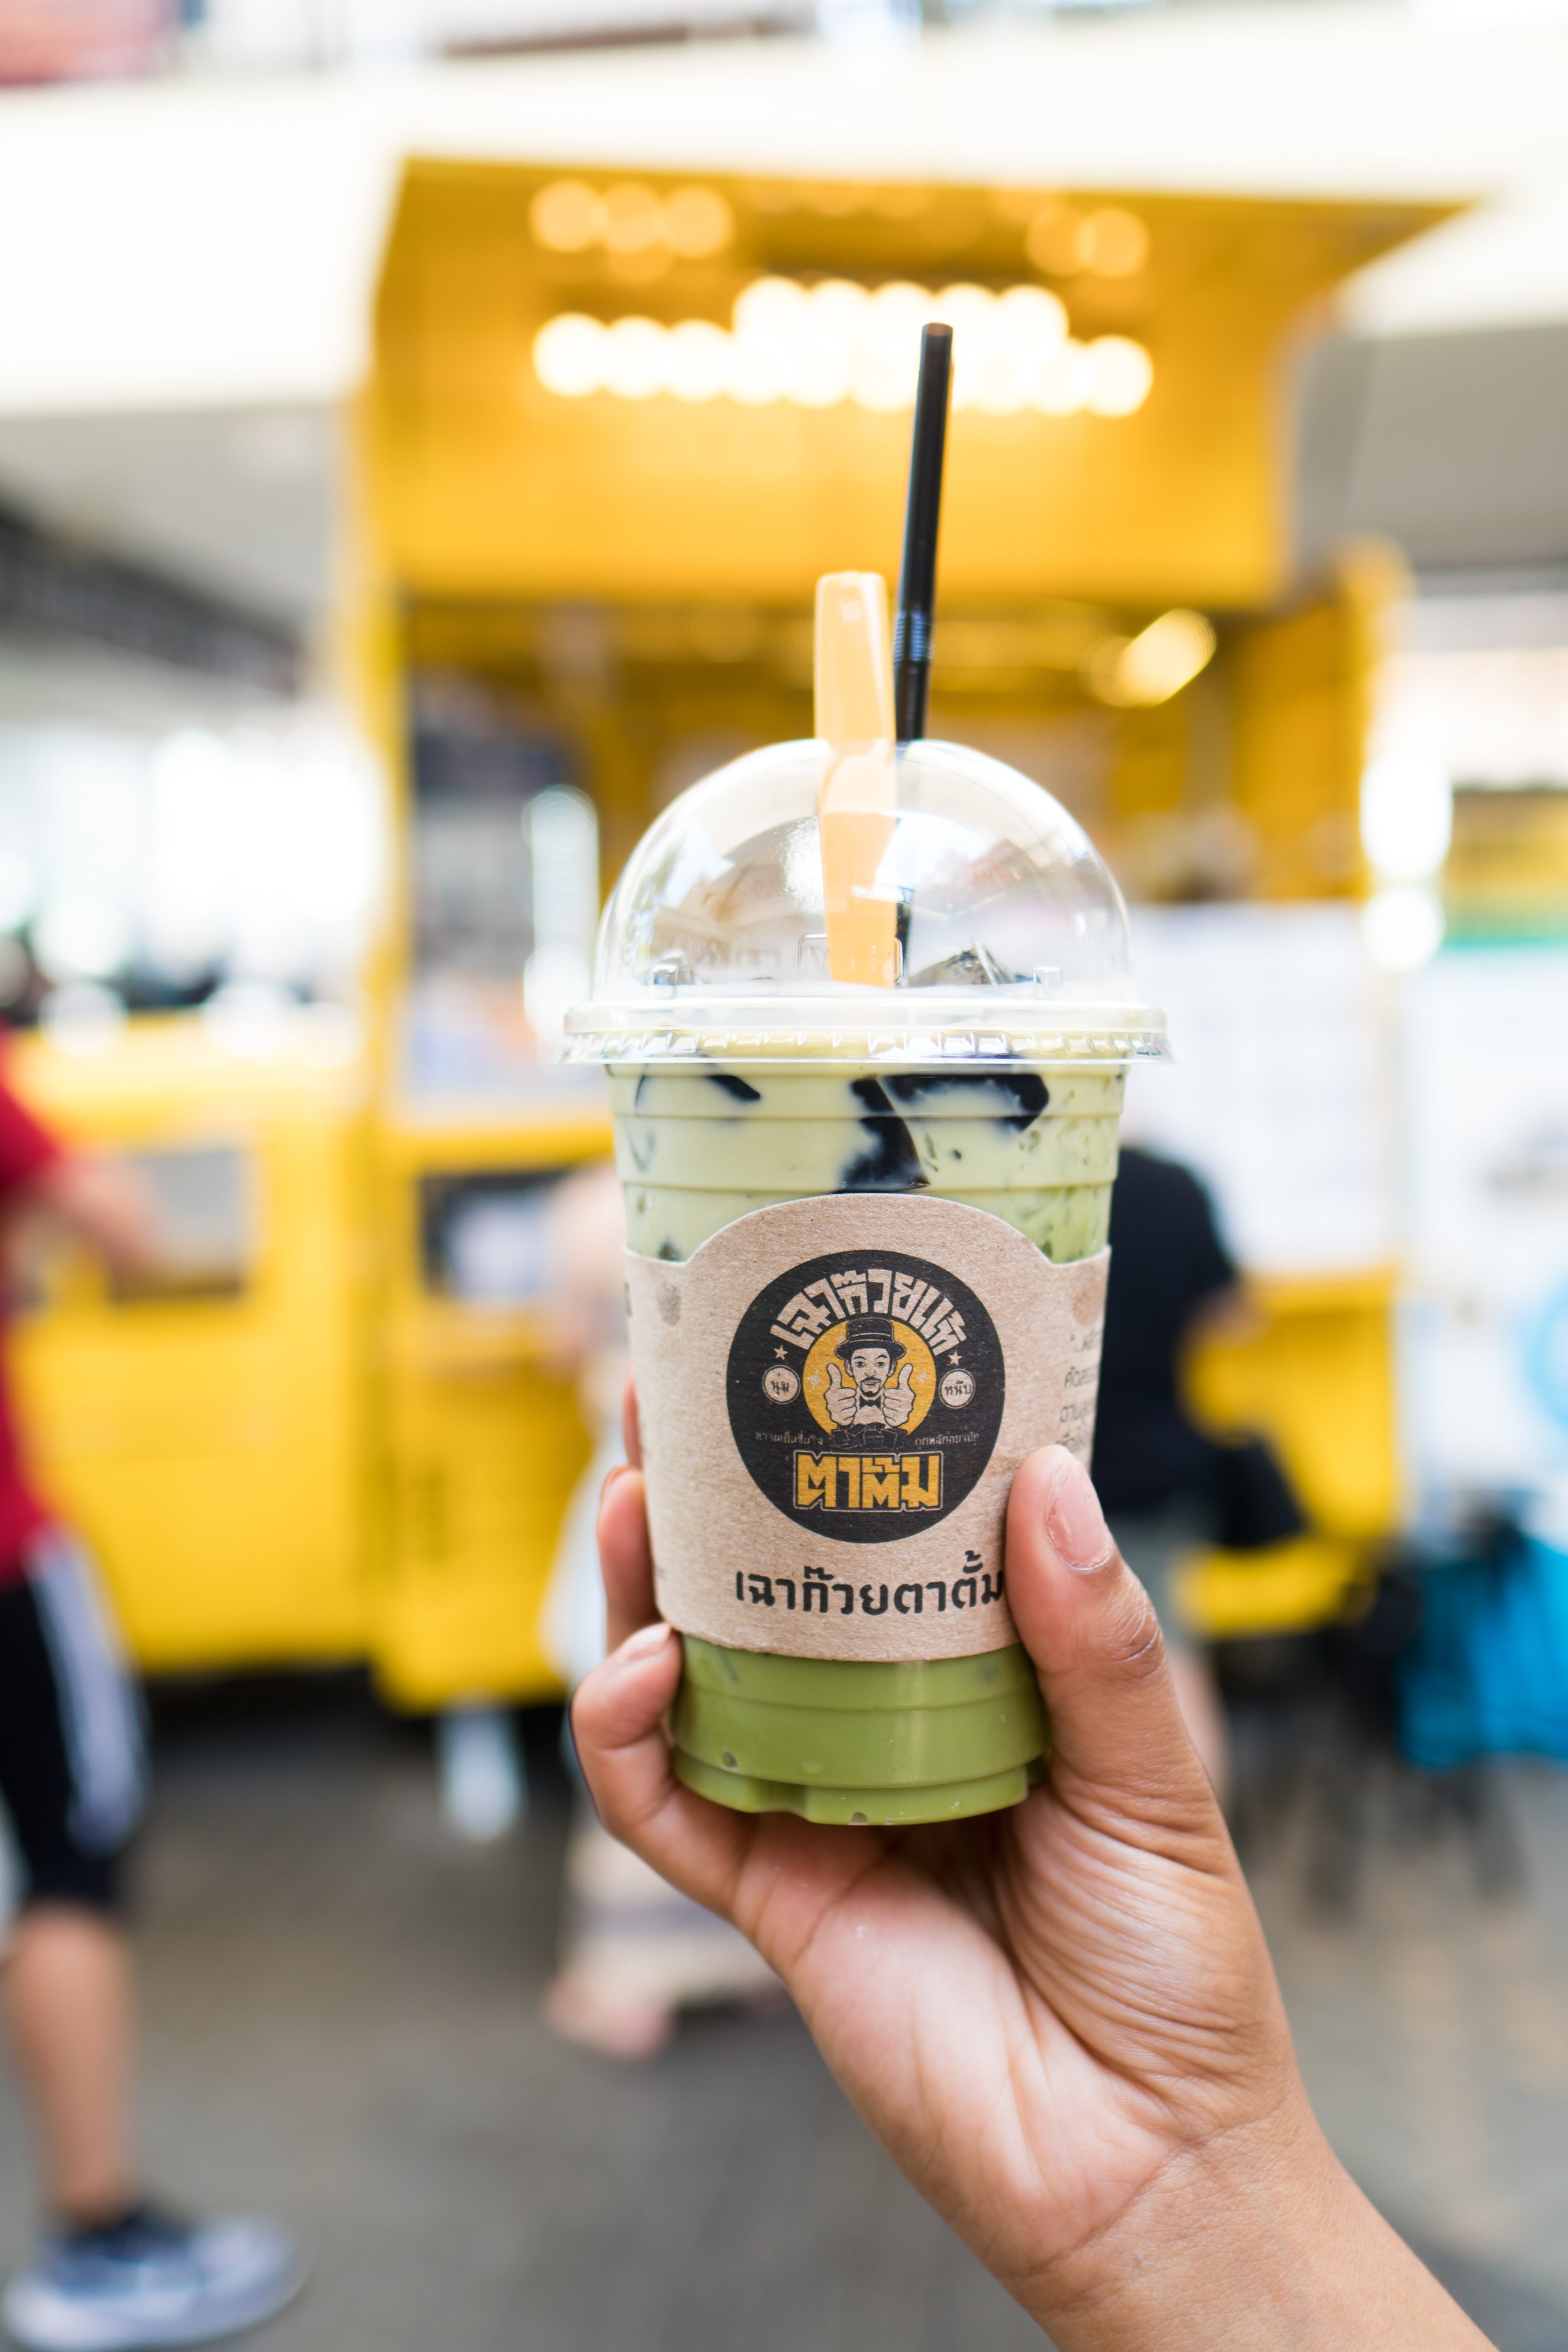
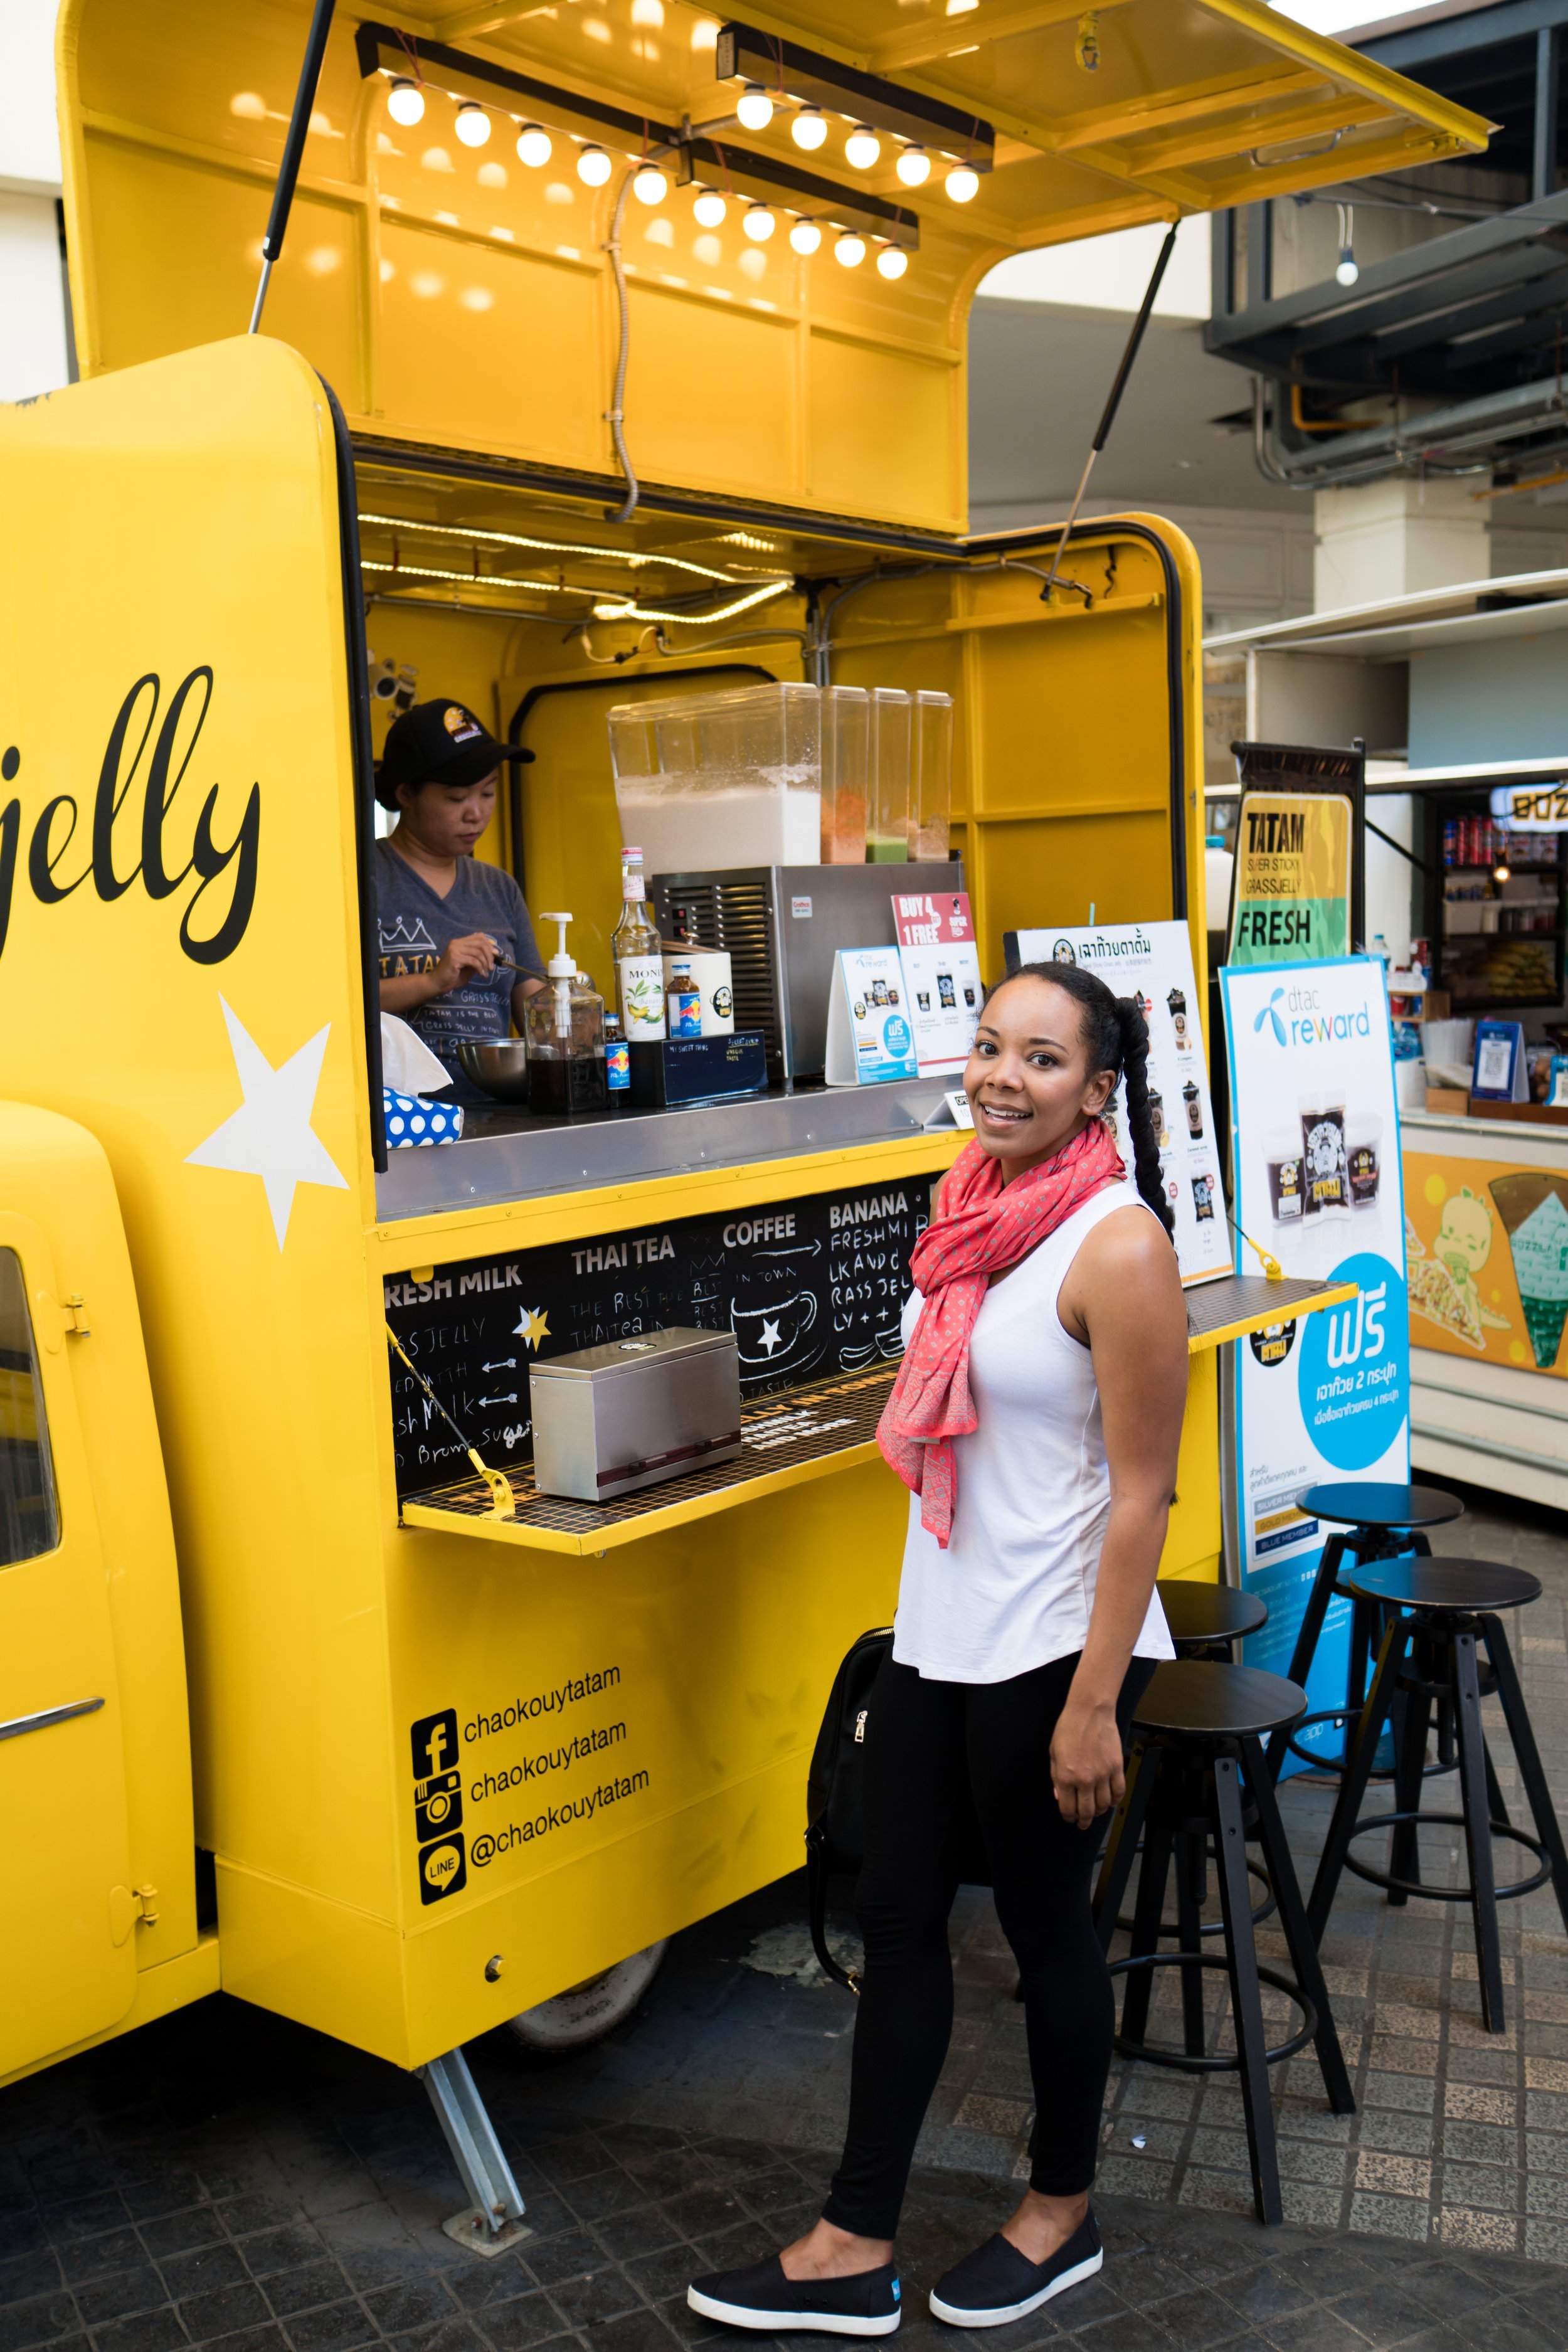
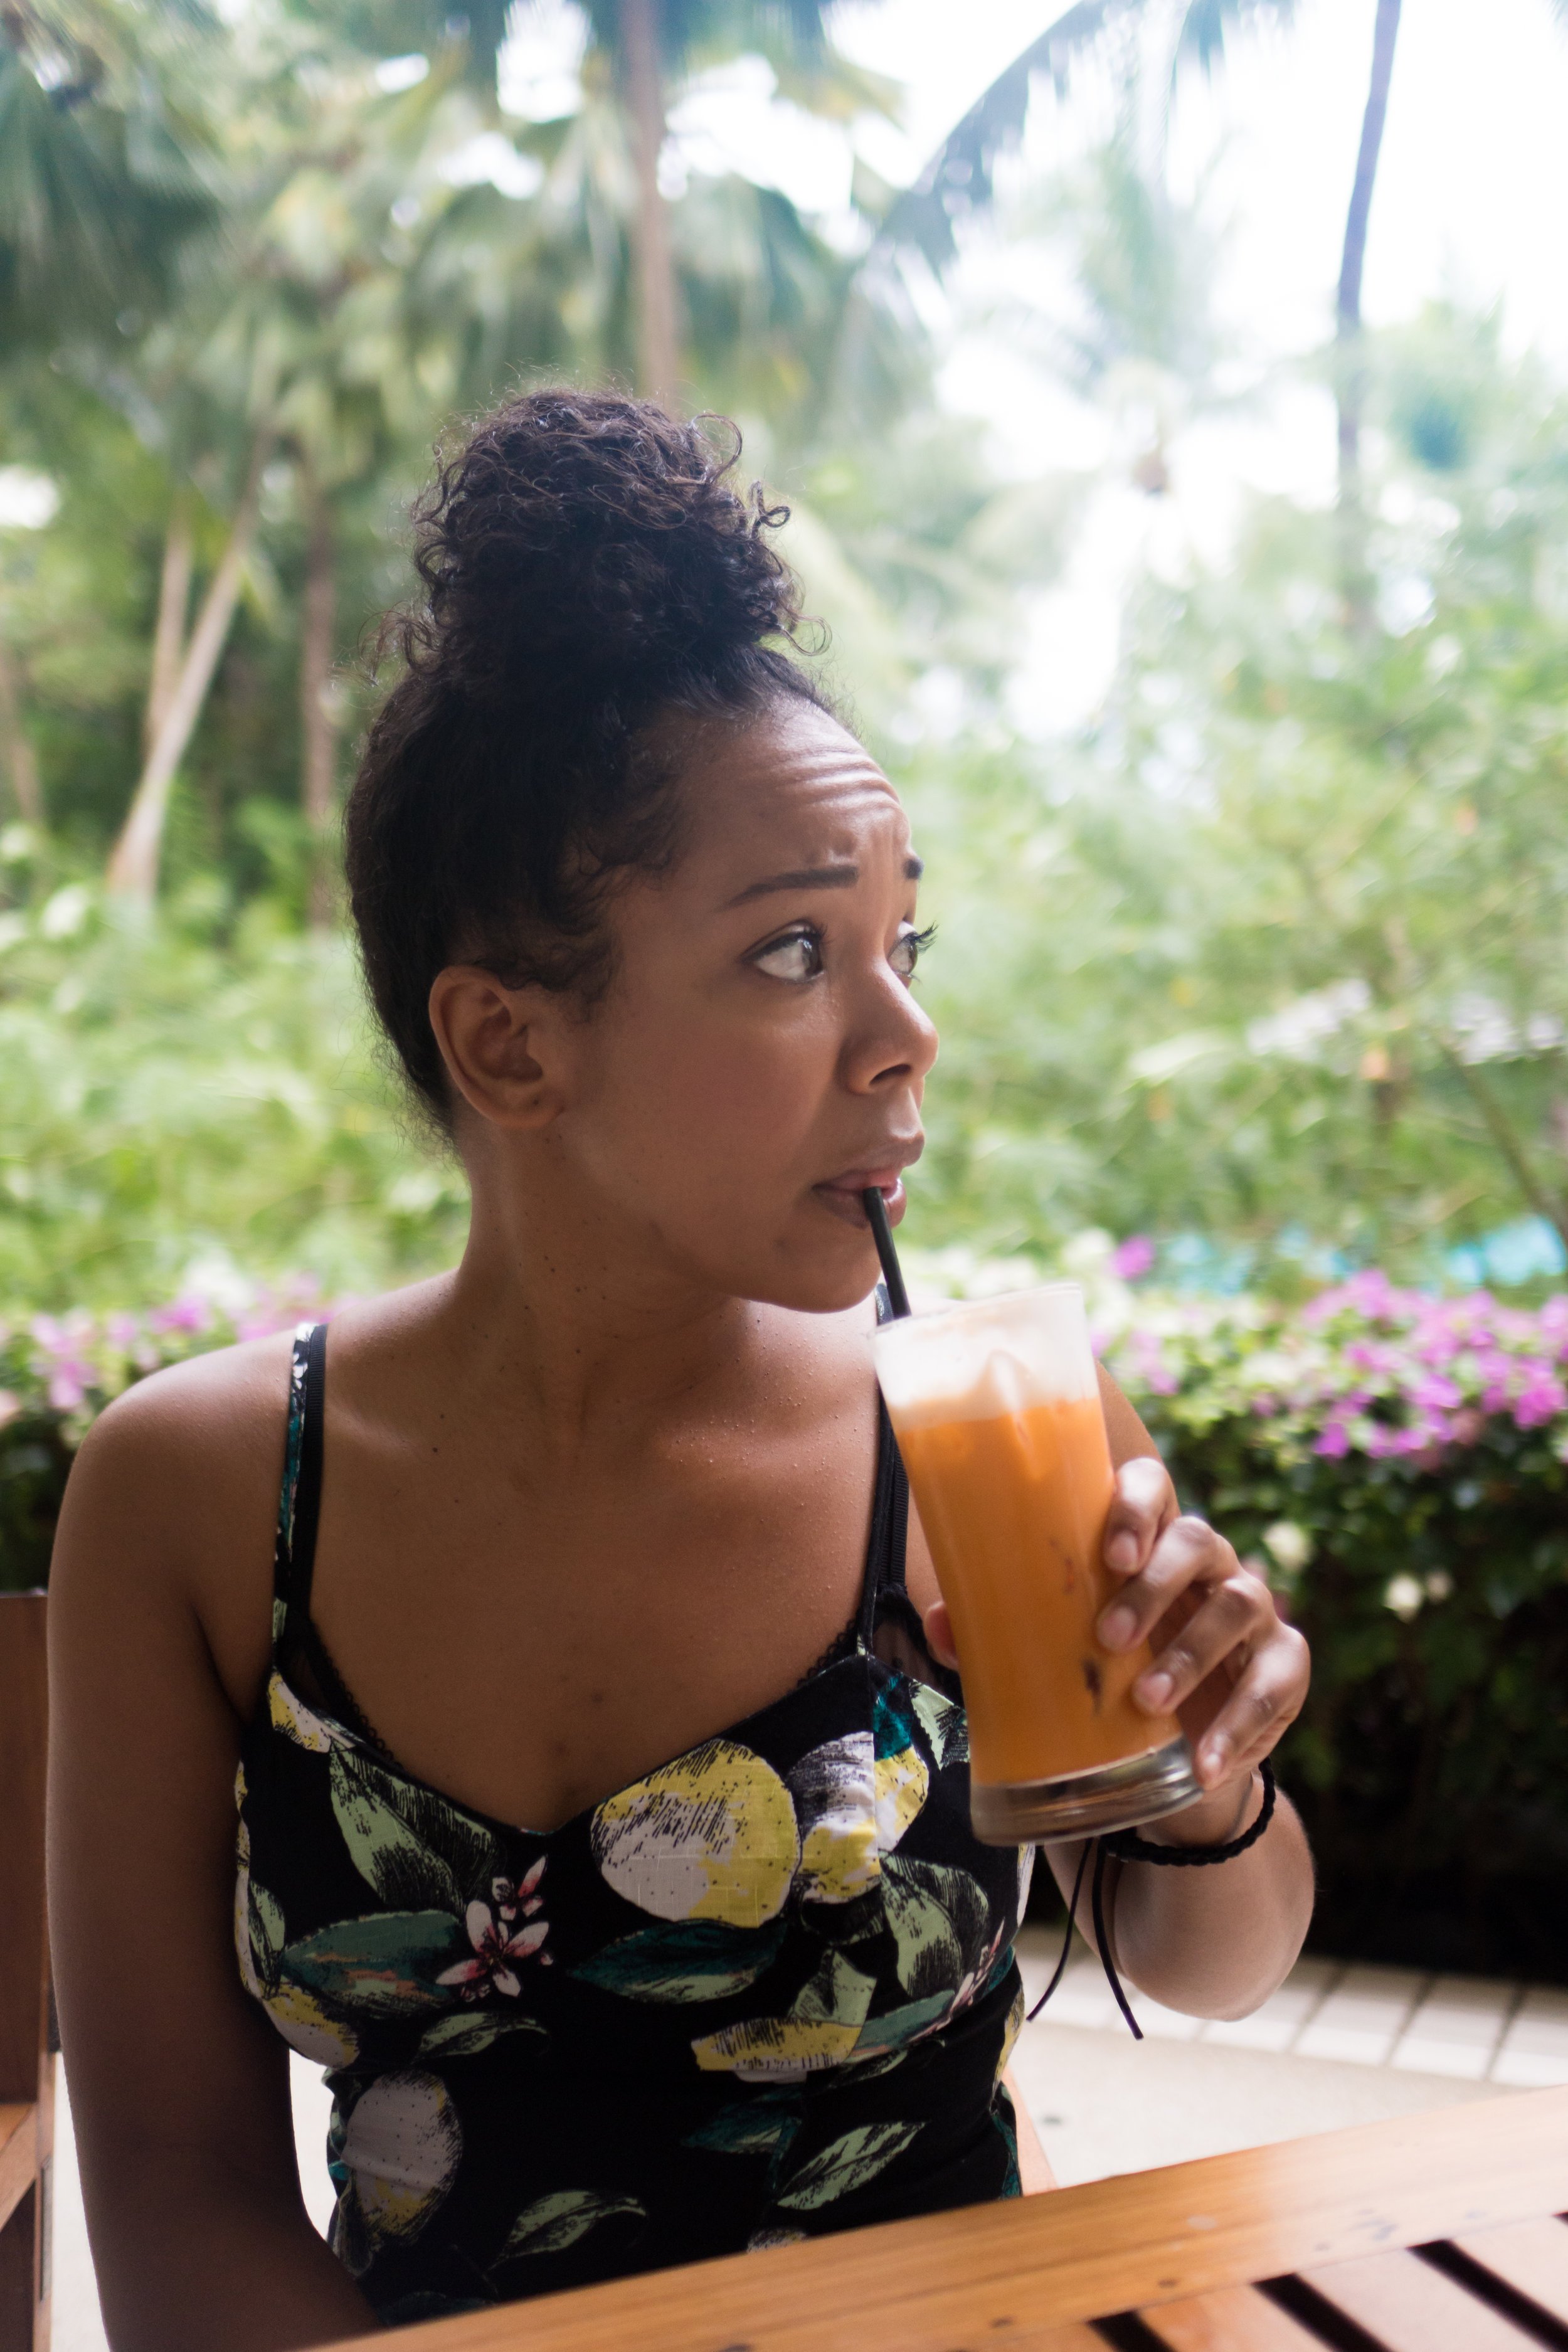
The blue ferry dropped us off at Tha Maharaj. A cute outdoor shopping area. It was the perfect rest spot to get rest in an air-conditioned Starbucks. I also grabbed some yummy Milk Tea Grass Jelly. This shopping area was so nice we ended up coming back later to grab dinner.


DRESS CODE FOR TEMPLES IN THAILAND
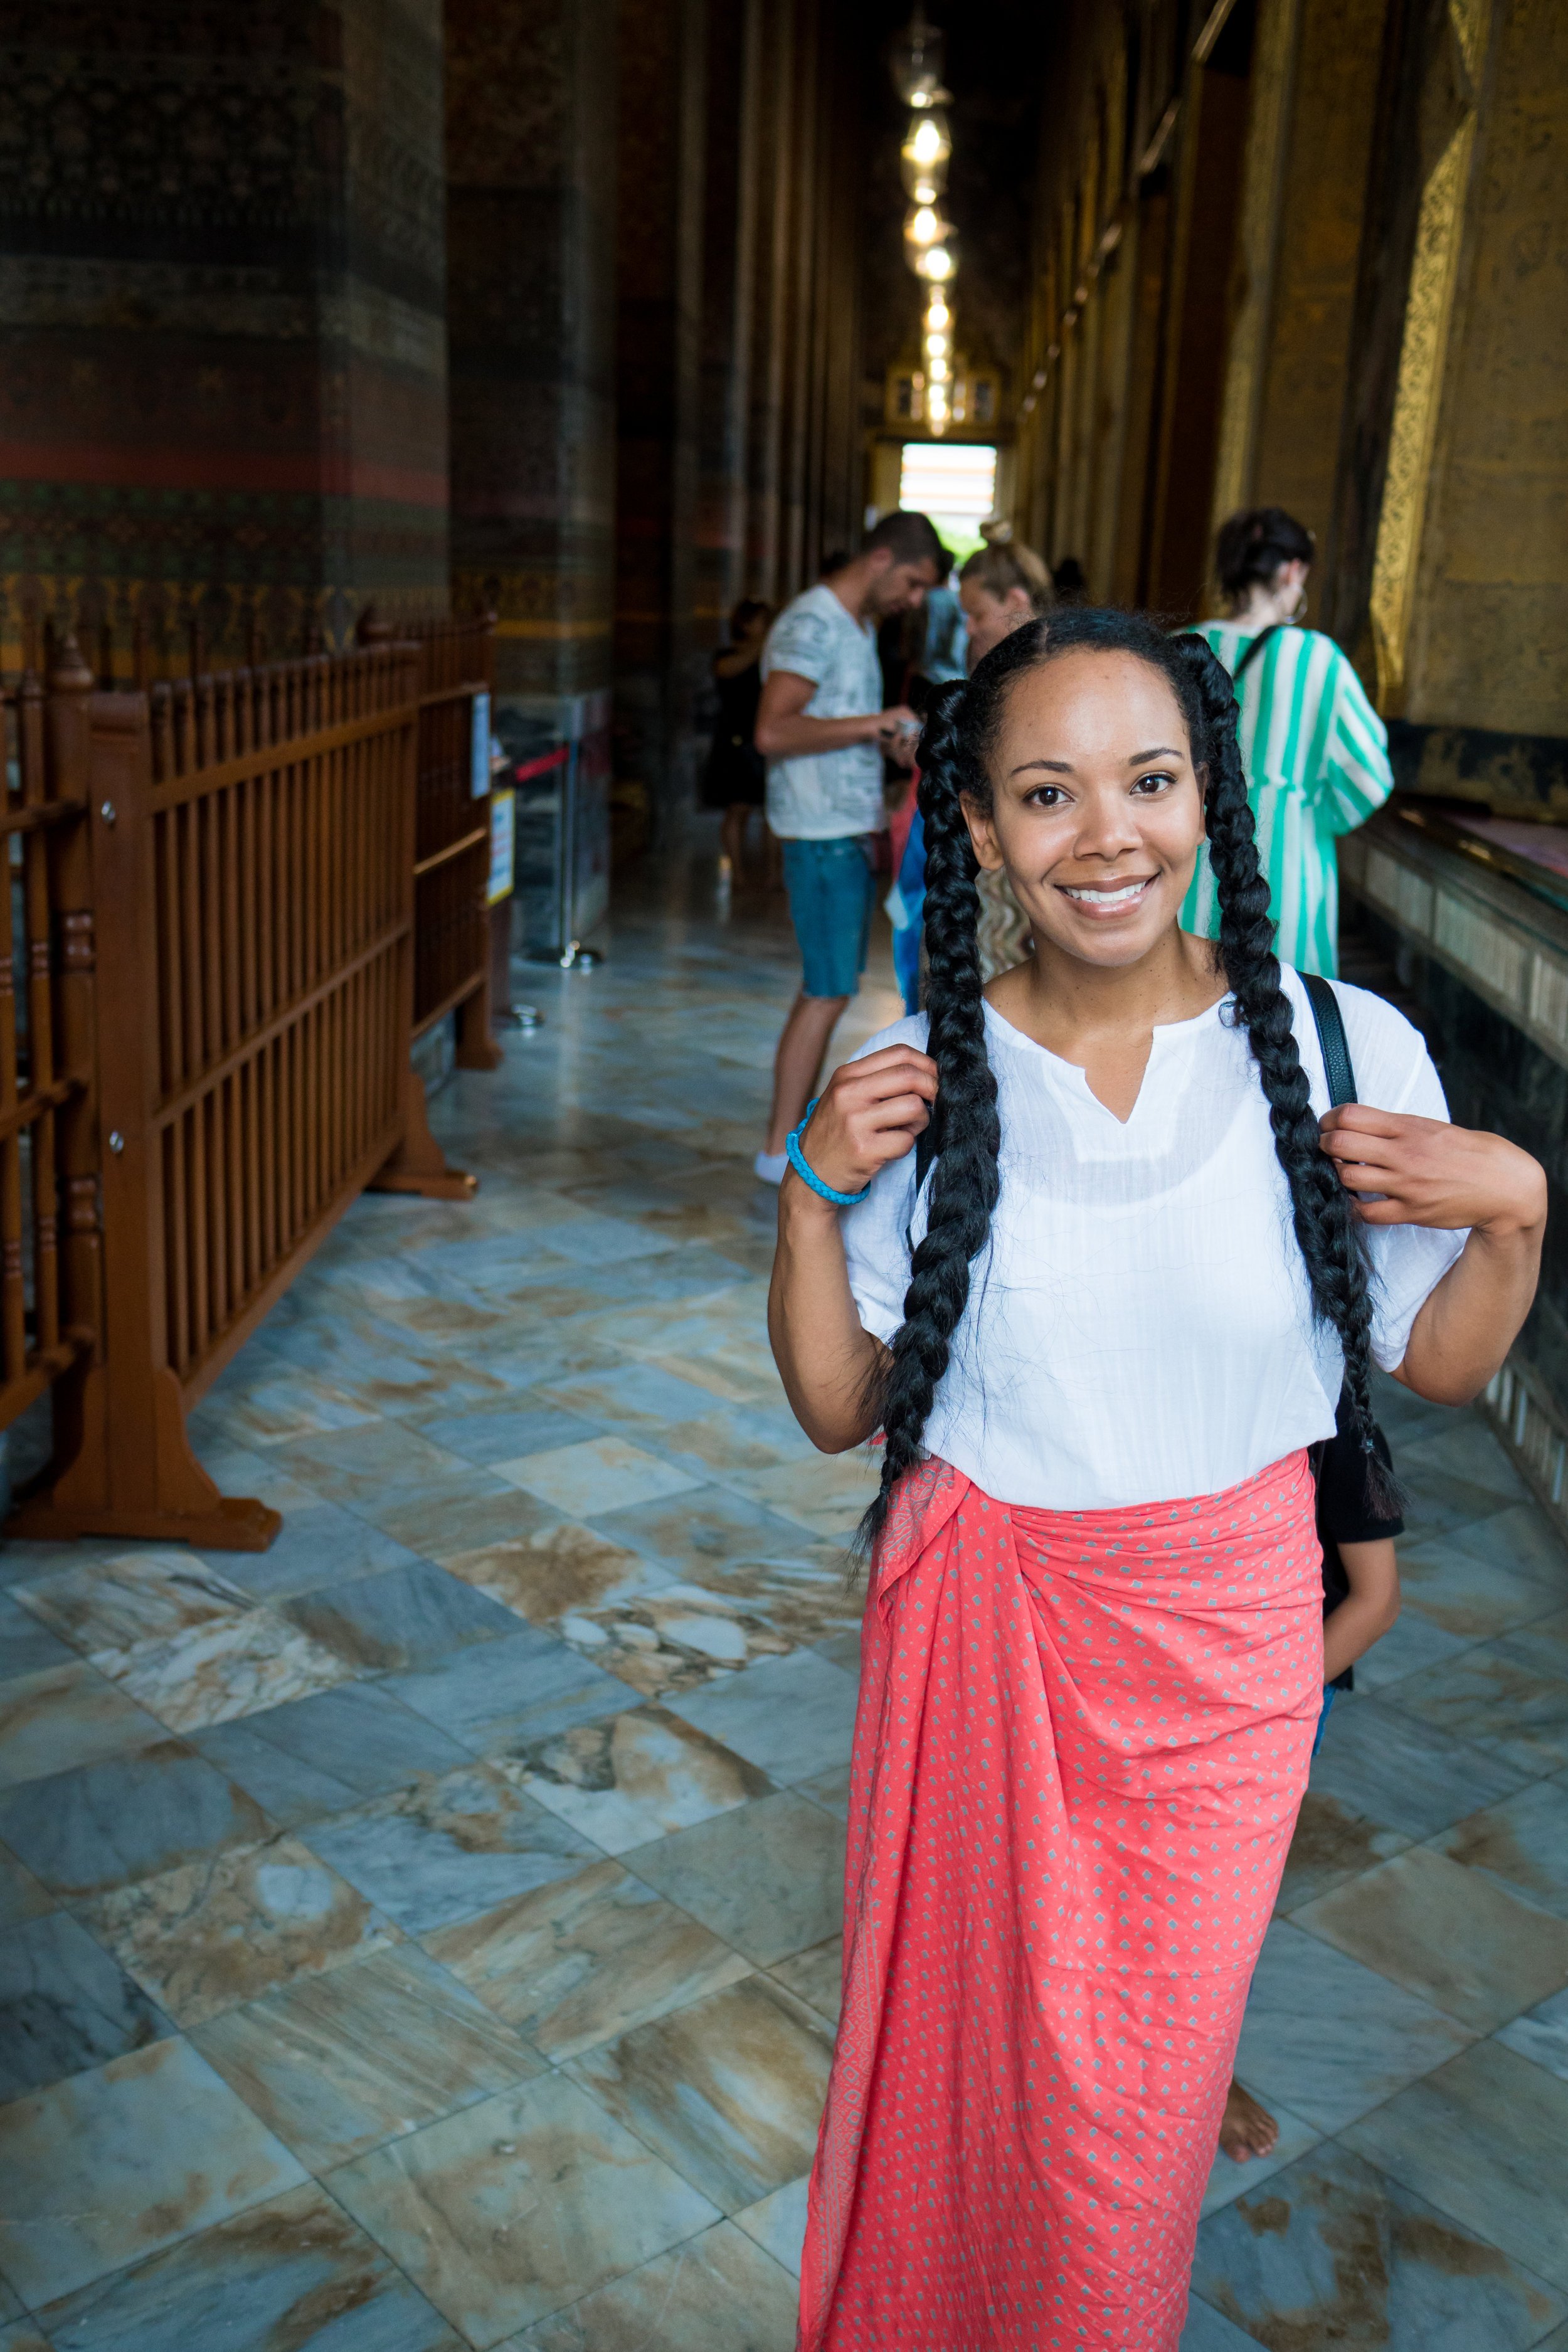
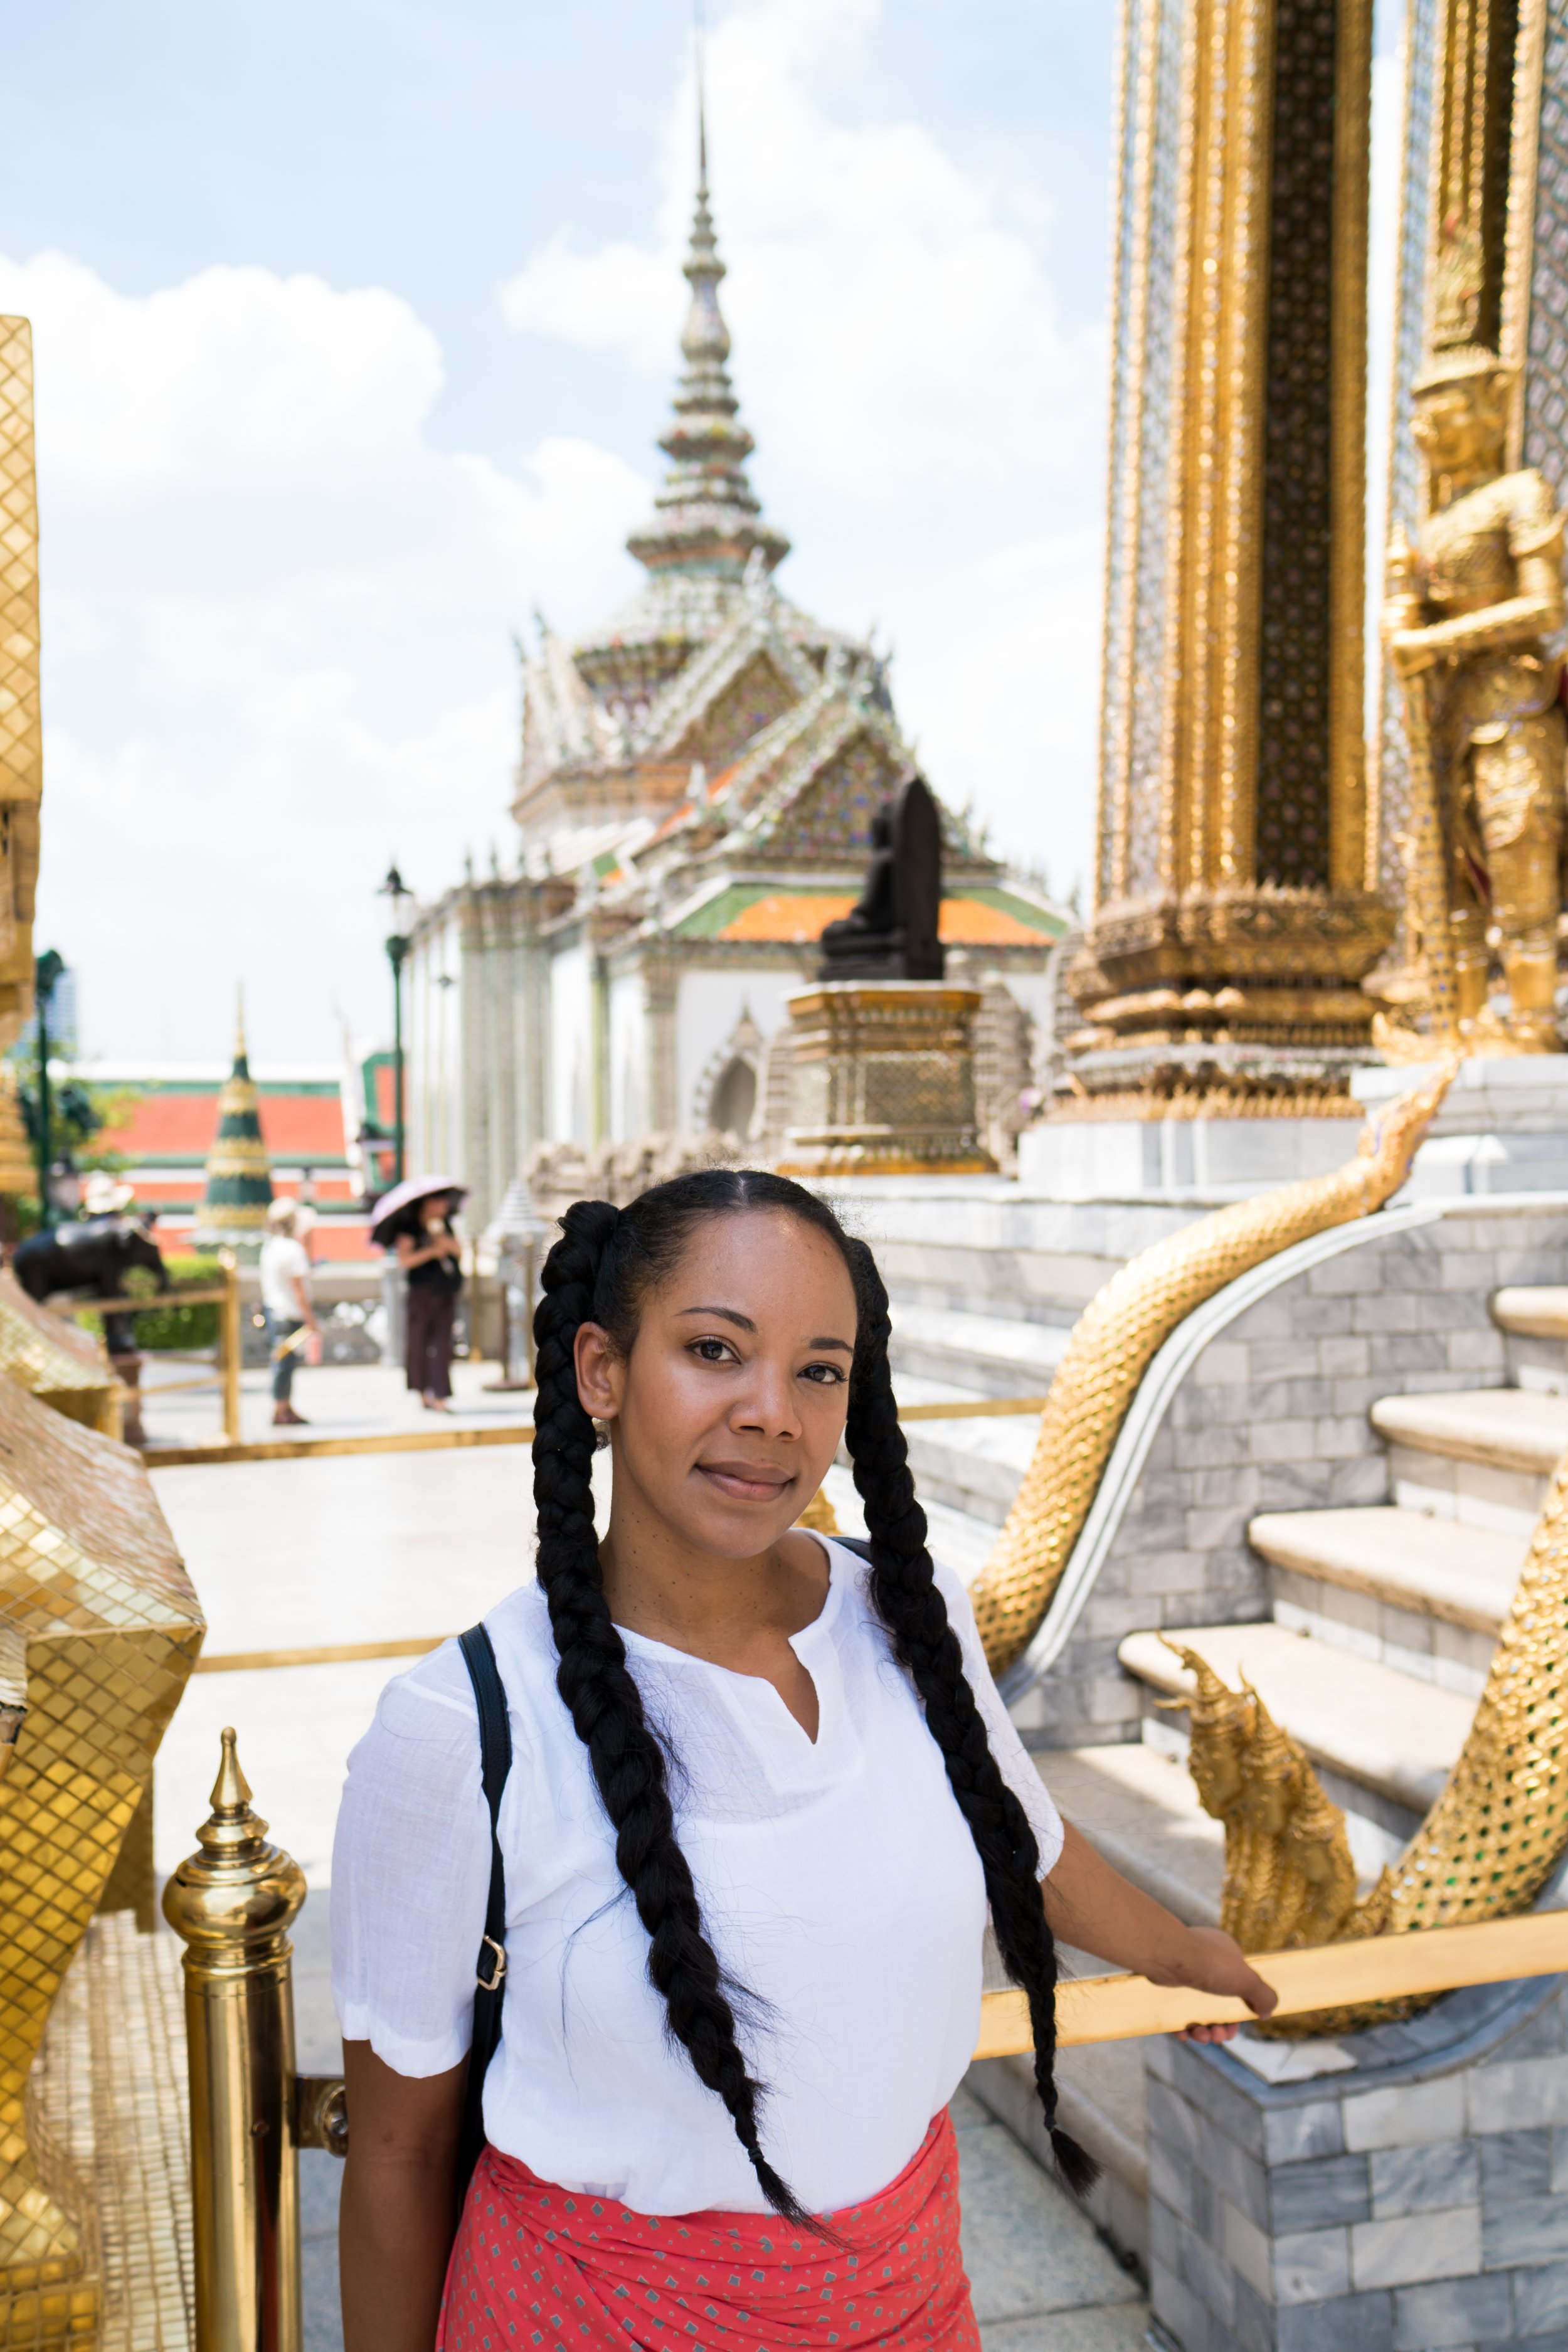
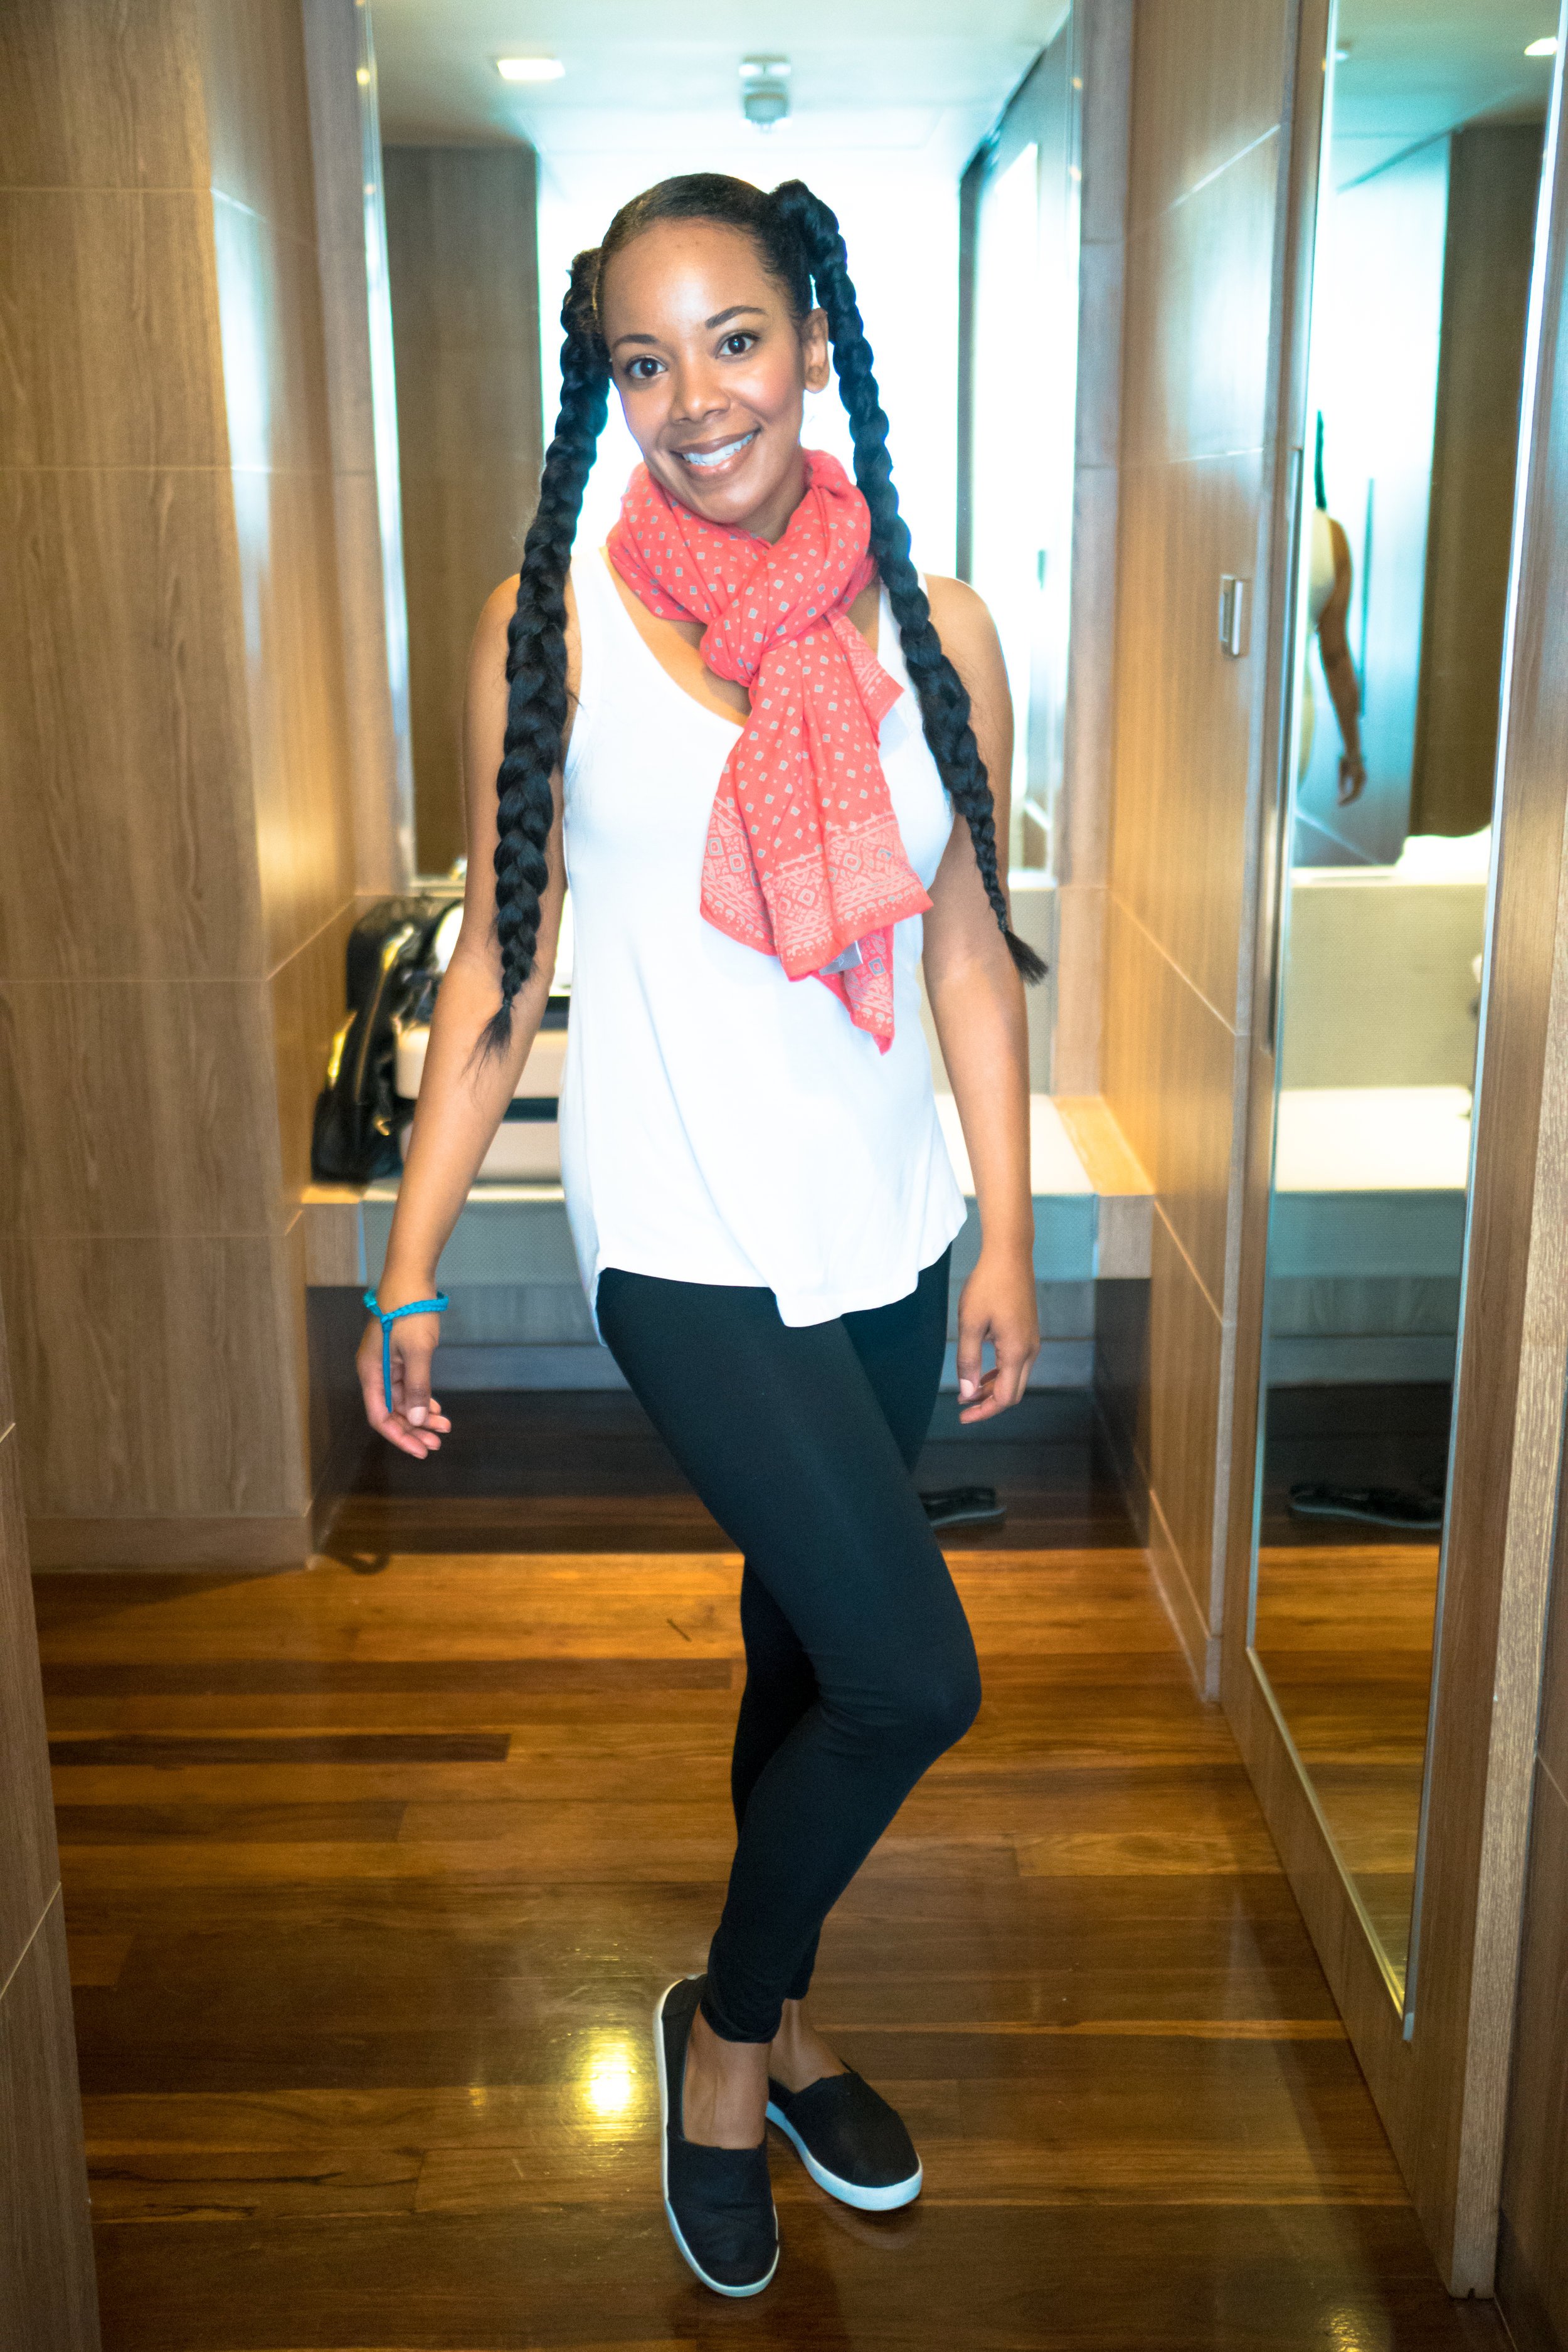
I had read about dress codes for the Grand Palace. I read that wearing a scarf over a tank top would be fine. IT WASN’T. The guards told me I would need to buy a t-shirt from the gift shop. I ended up going back outside and buying a shirt from the vendors outside. This option was cheaper and I ended up with something I like. The shirts in the palace gift shop are ugly (IMO) and overpriced. The gift shop shirts were 300 BAHT I ended up getting a cute shirt outside for 100 BAHT.
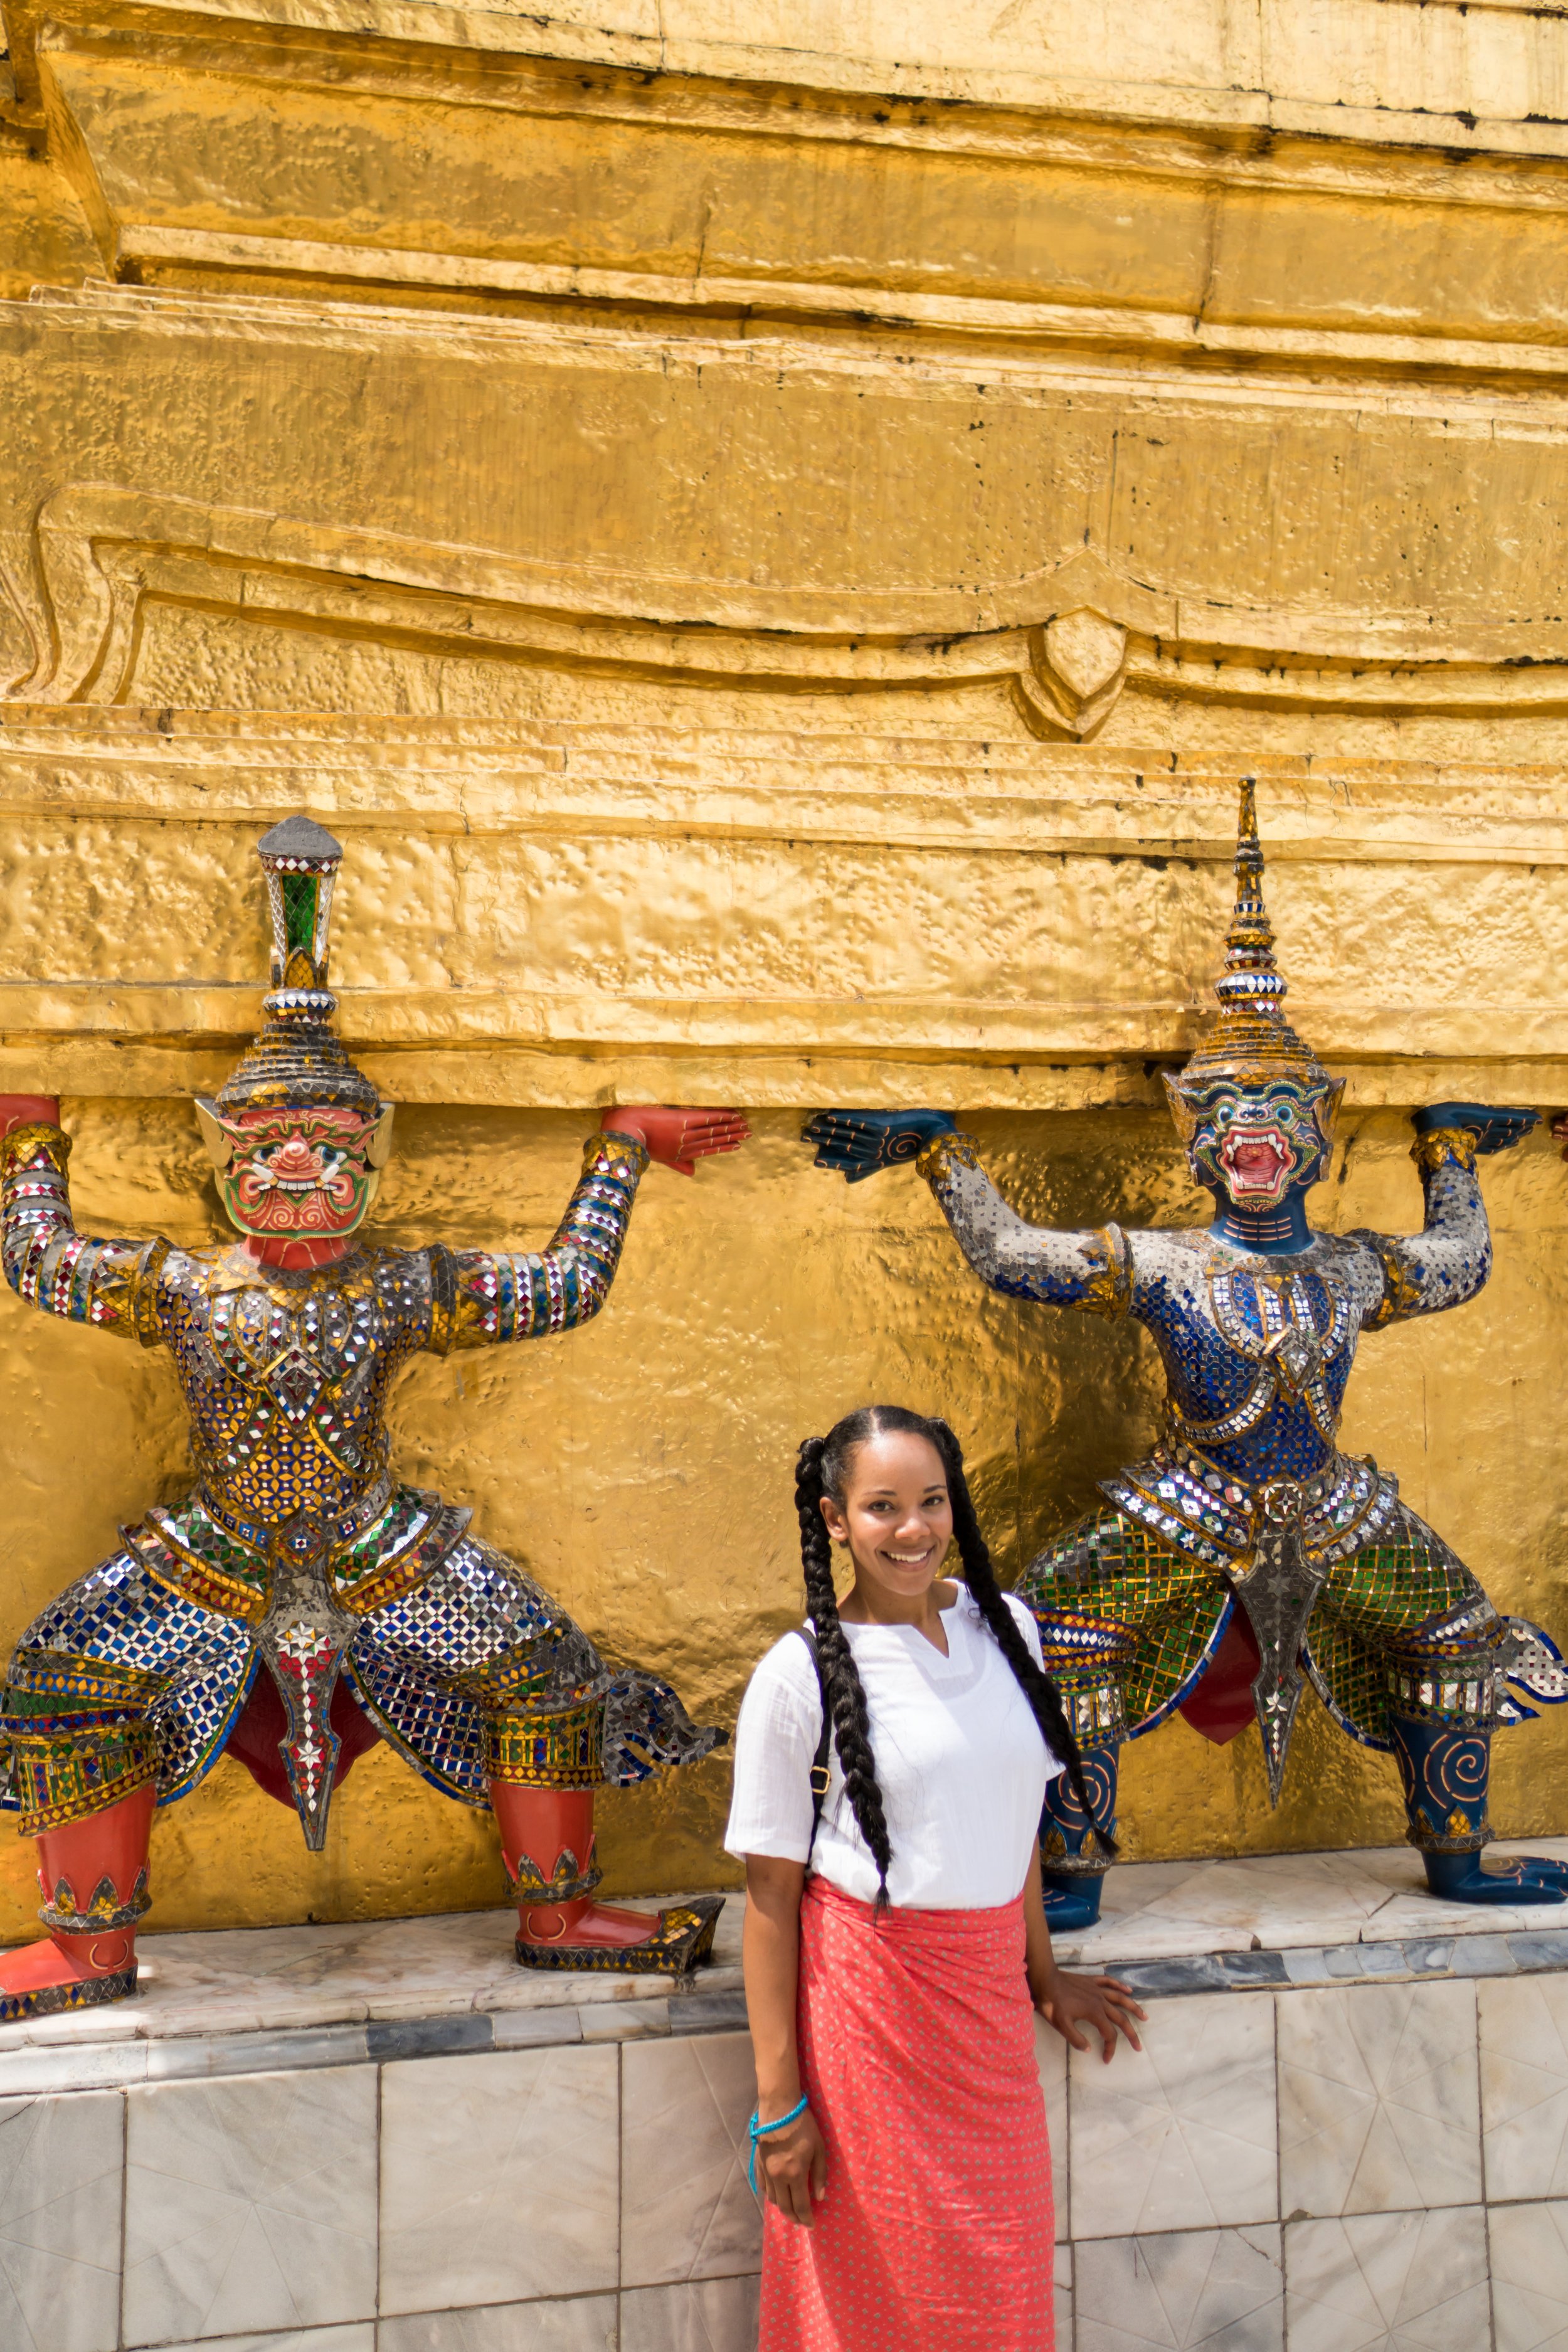
Follow the dress code. Make sure to wear closed toe shoes. Cover your knees and your shoulders. Nothing too skin tight. I had on leggings but I made a skirt with my sarong in case. If you want to walk within certain areas you’ll have to take your shoes off.
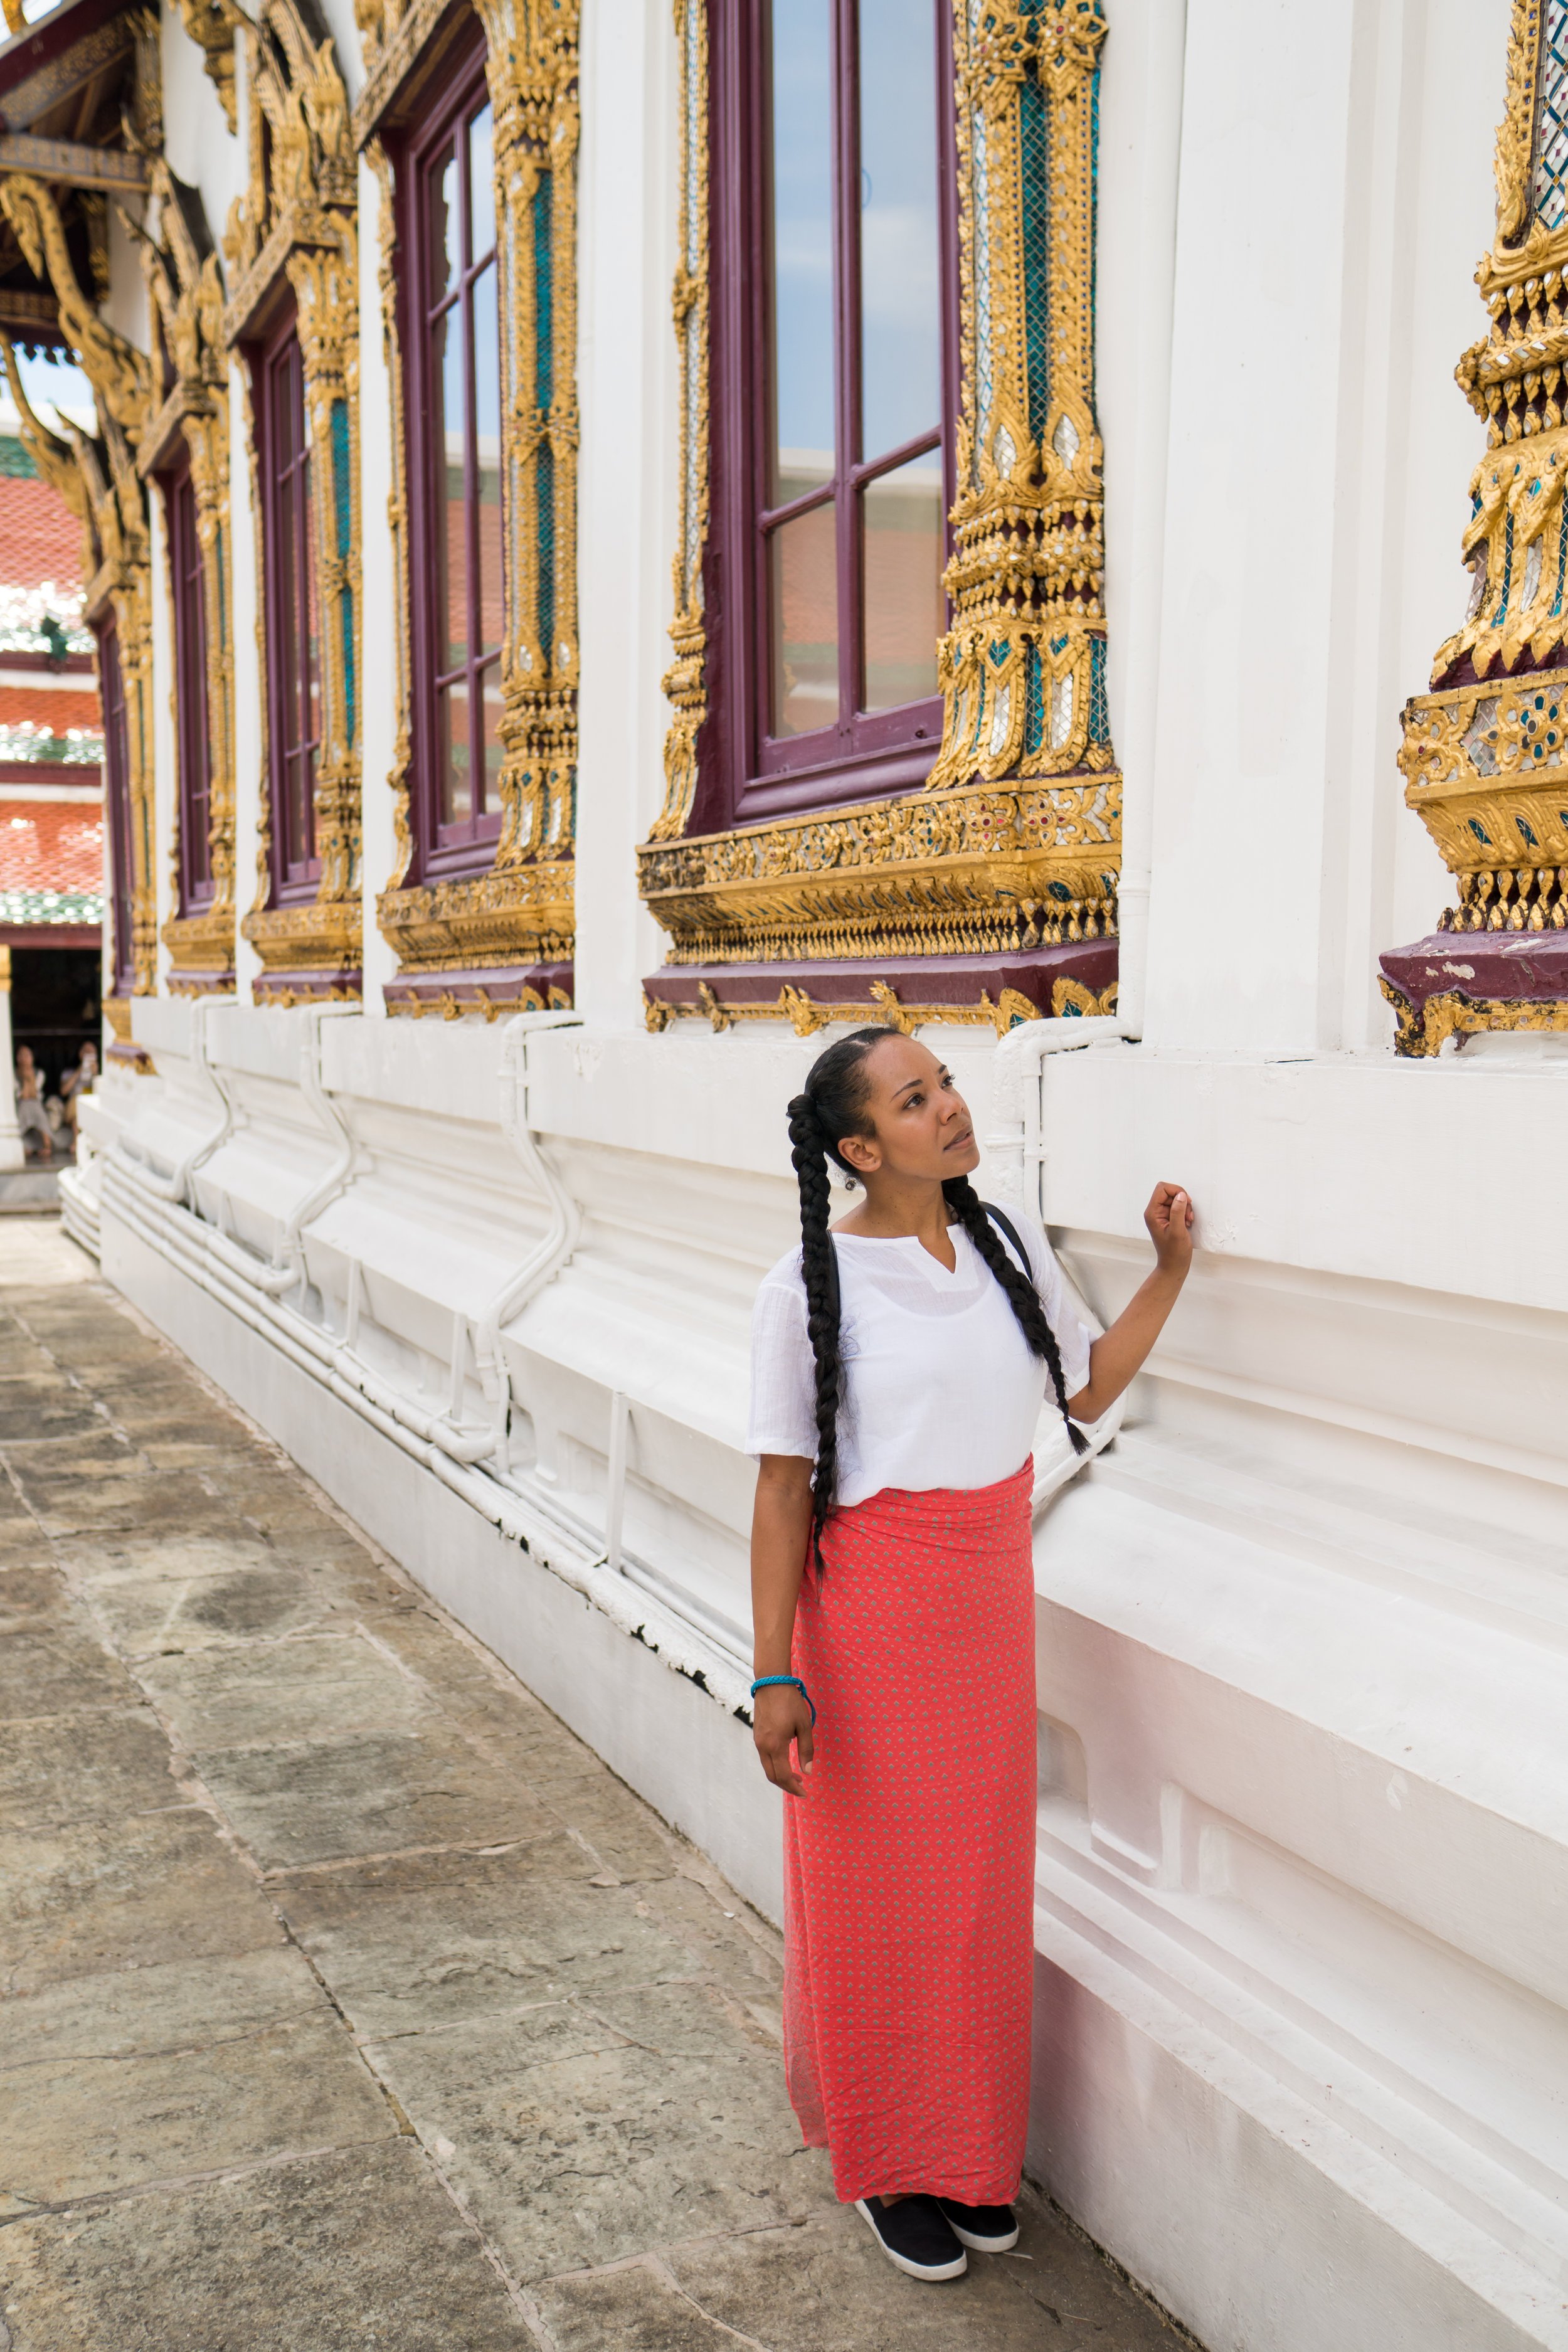
THE GRAND PALACE
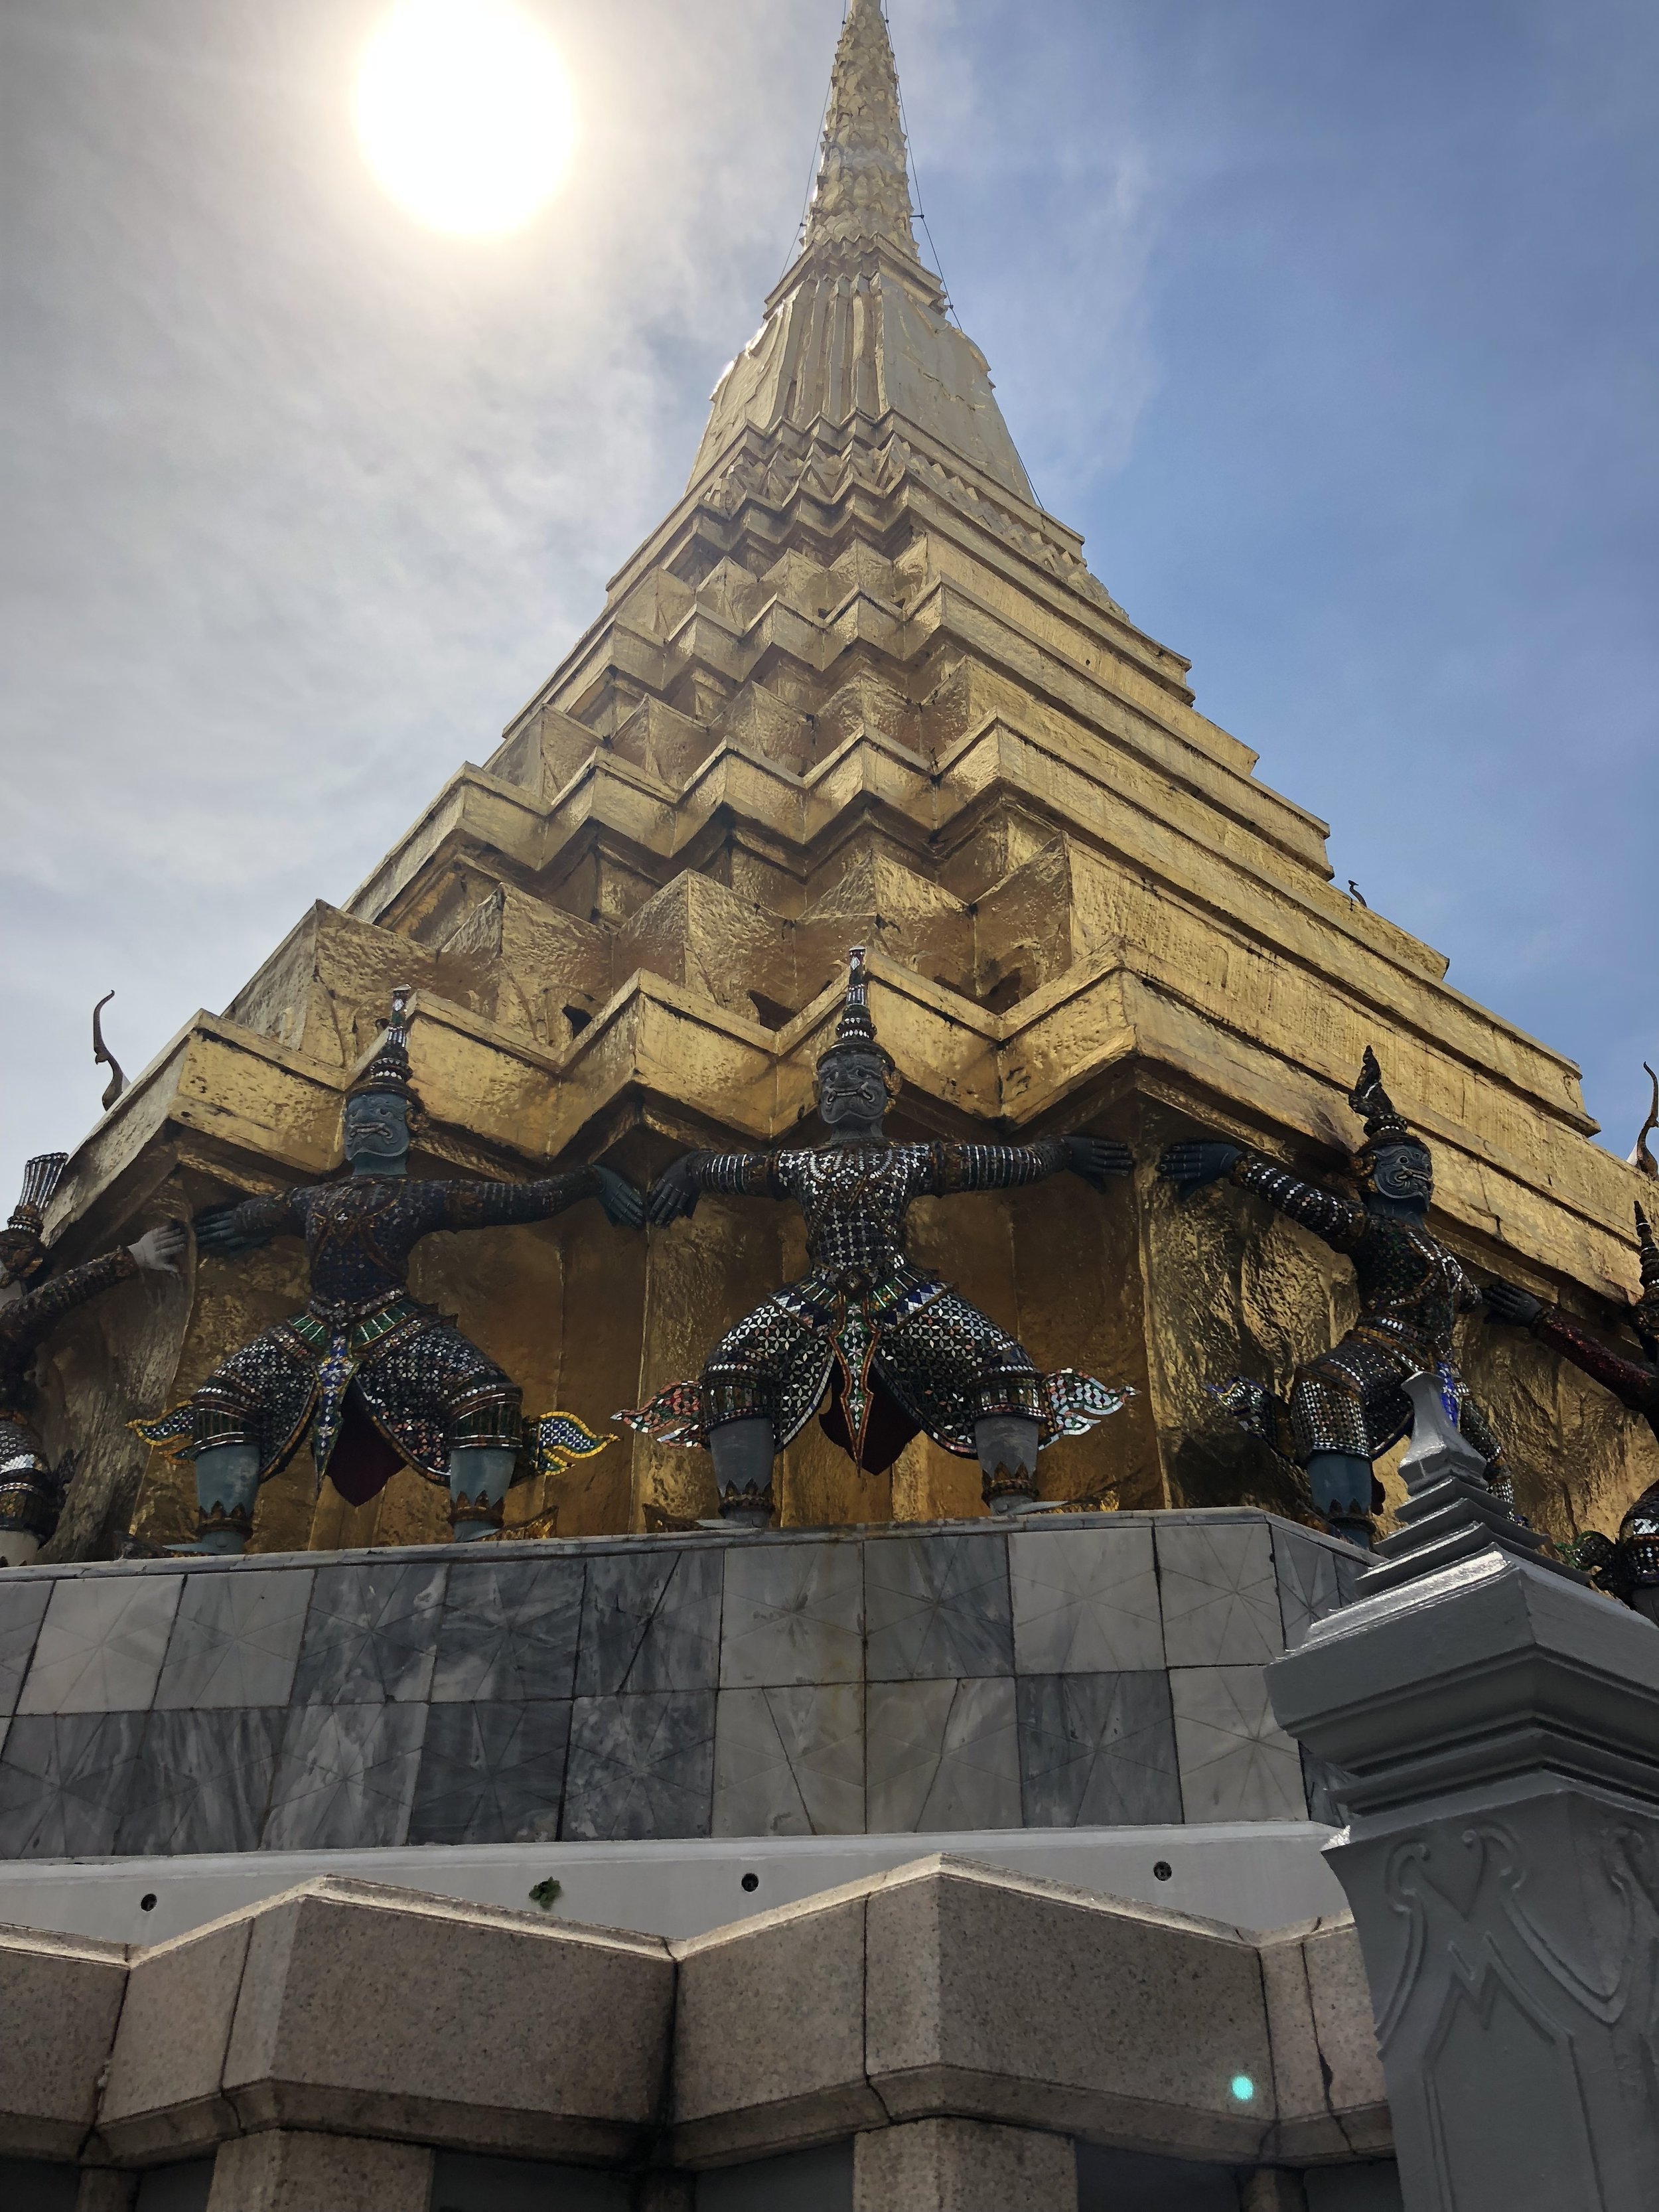
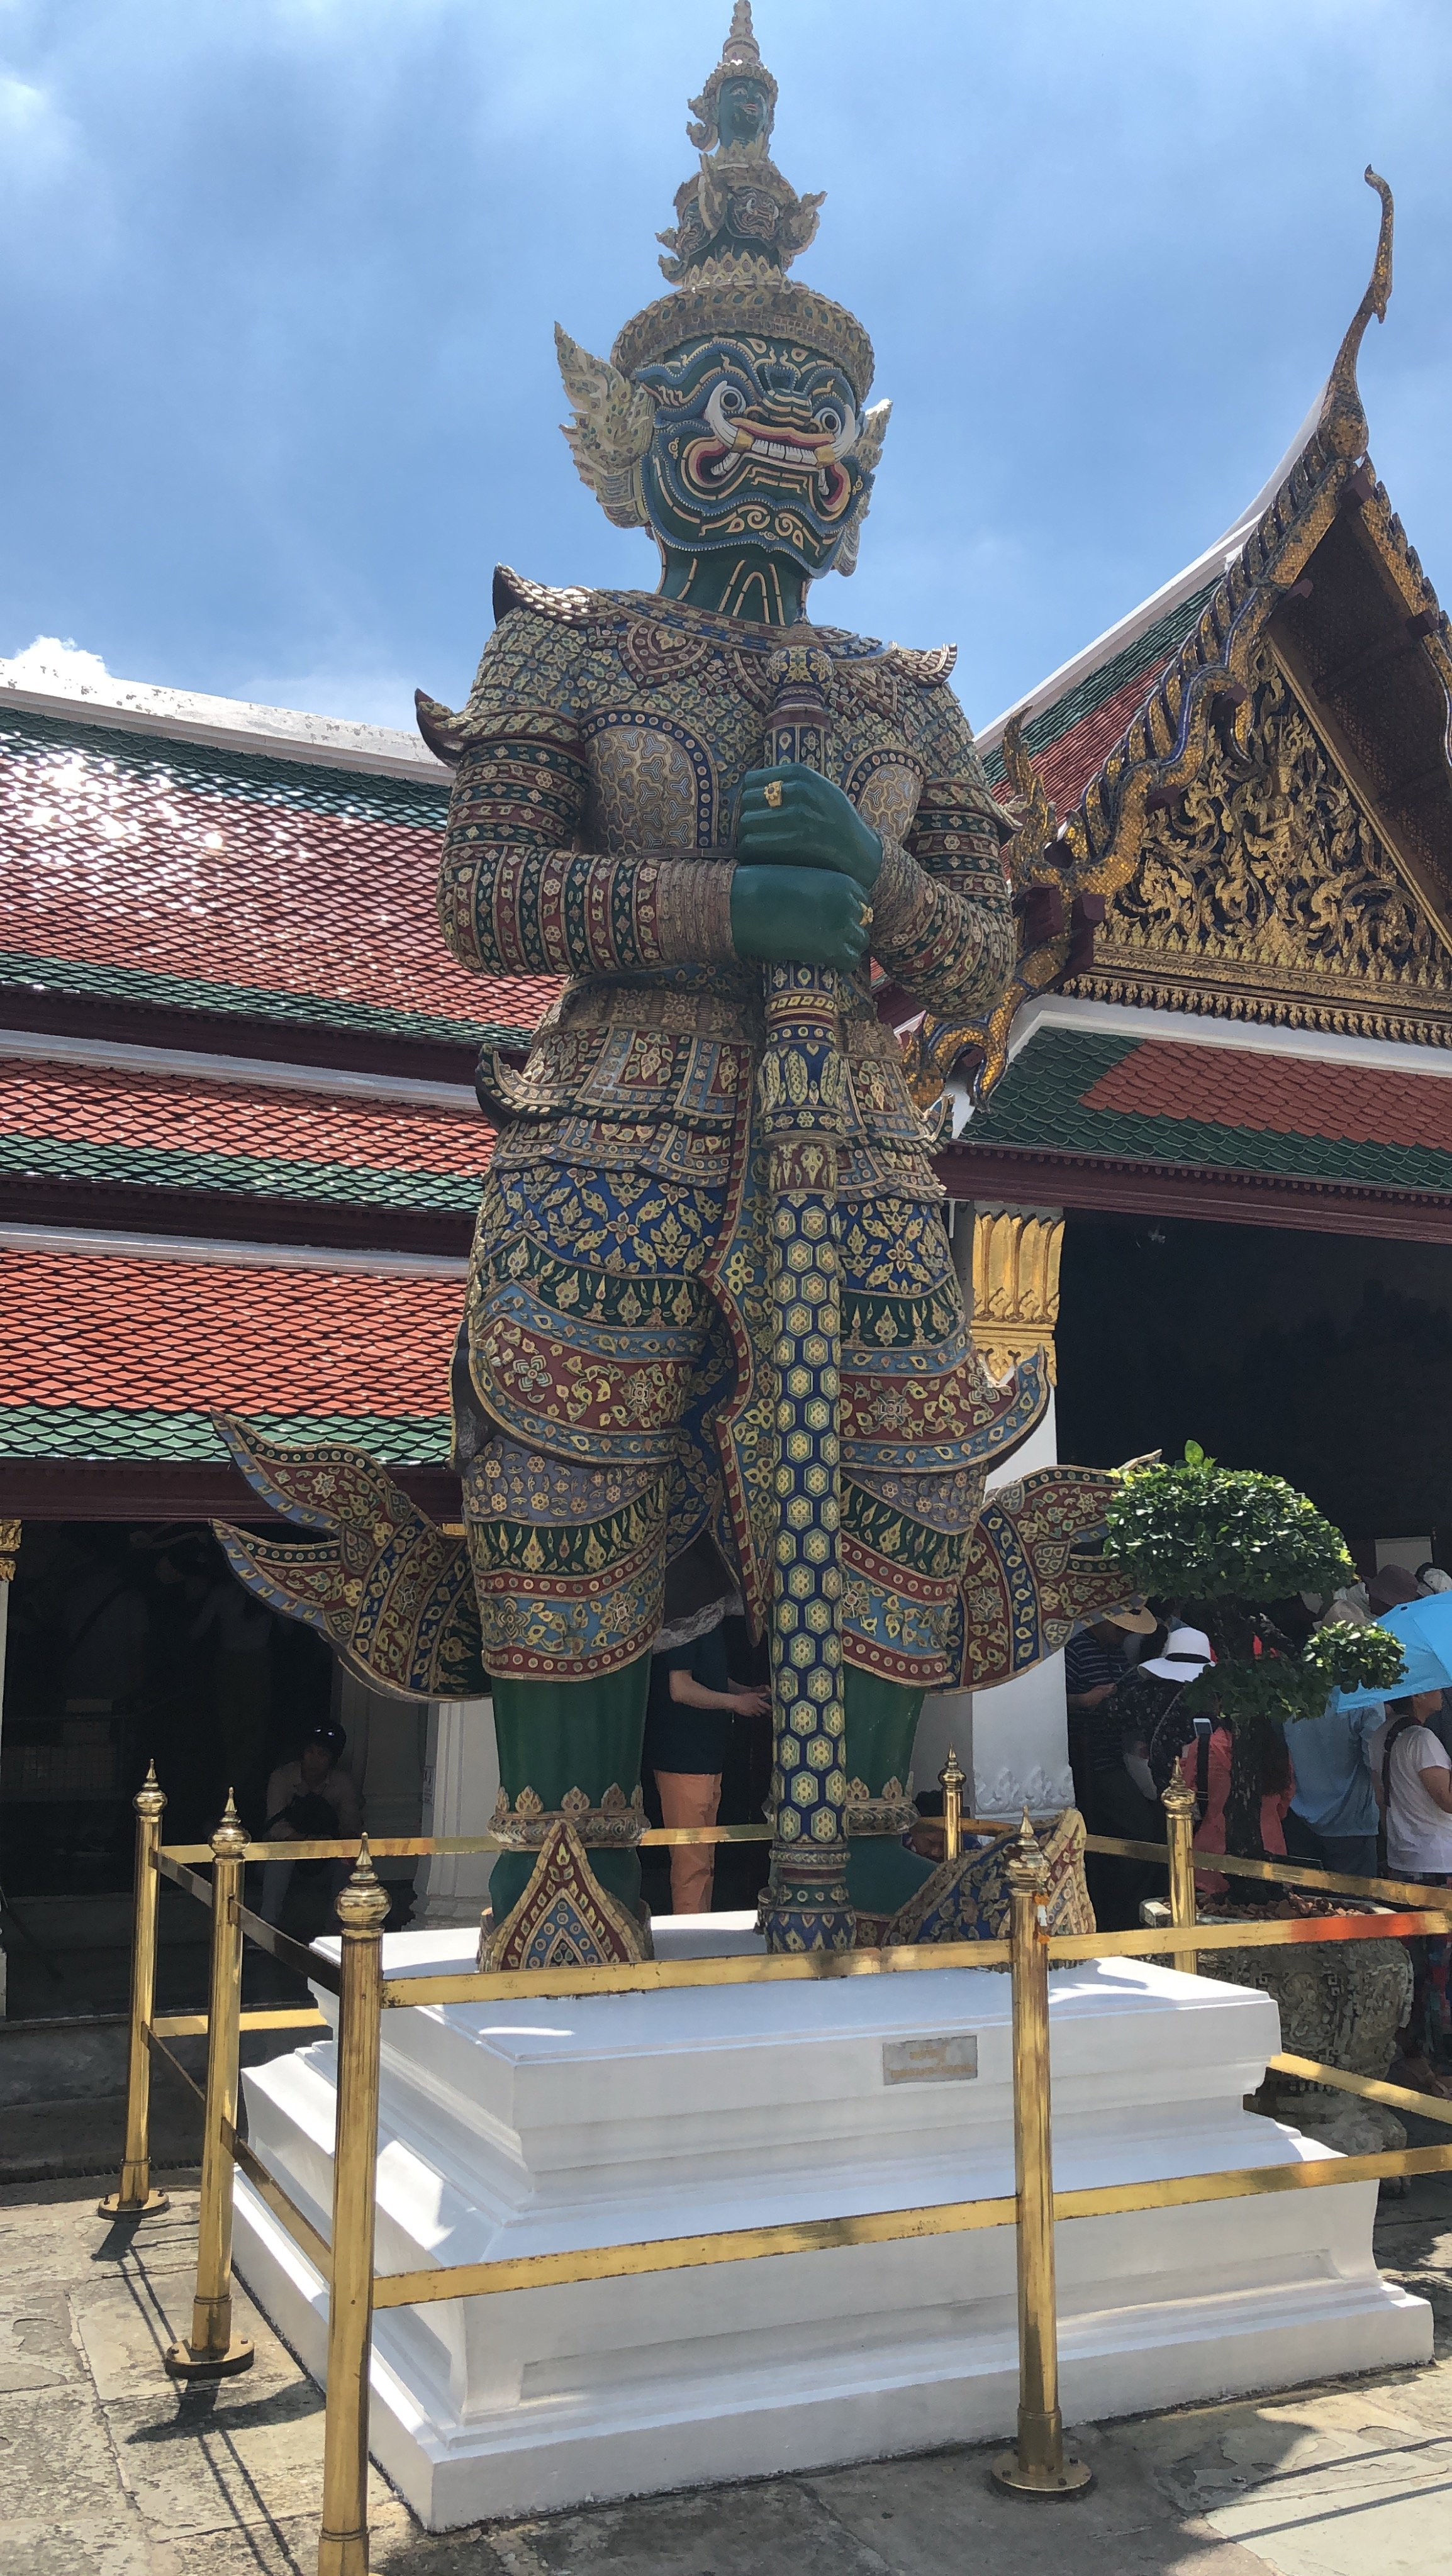
If you only see one Temple while in Thailand. The Grand Palace is it. It covers everything. It’s huge, beautiful and crowded. Leading up to the Grand Palace you will have a lot of people try to scam you. Be aware and keep focused on getting where you need to go. We ALMOST got scammed but we keep our intuition on point. For access to The Grand Palace, you have to get a ticket. It was about 500 BAHT. The Grand Palace itself is beautiful - gold, sparkly and exquisite.
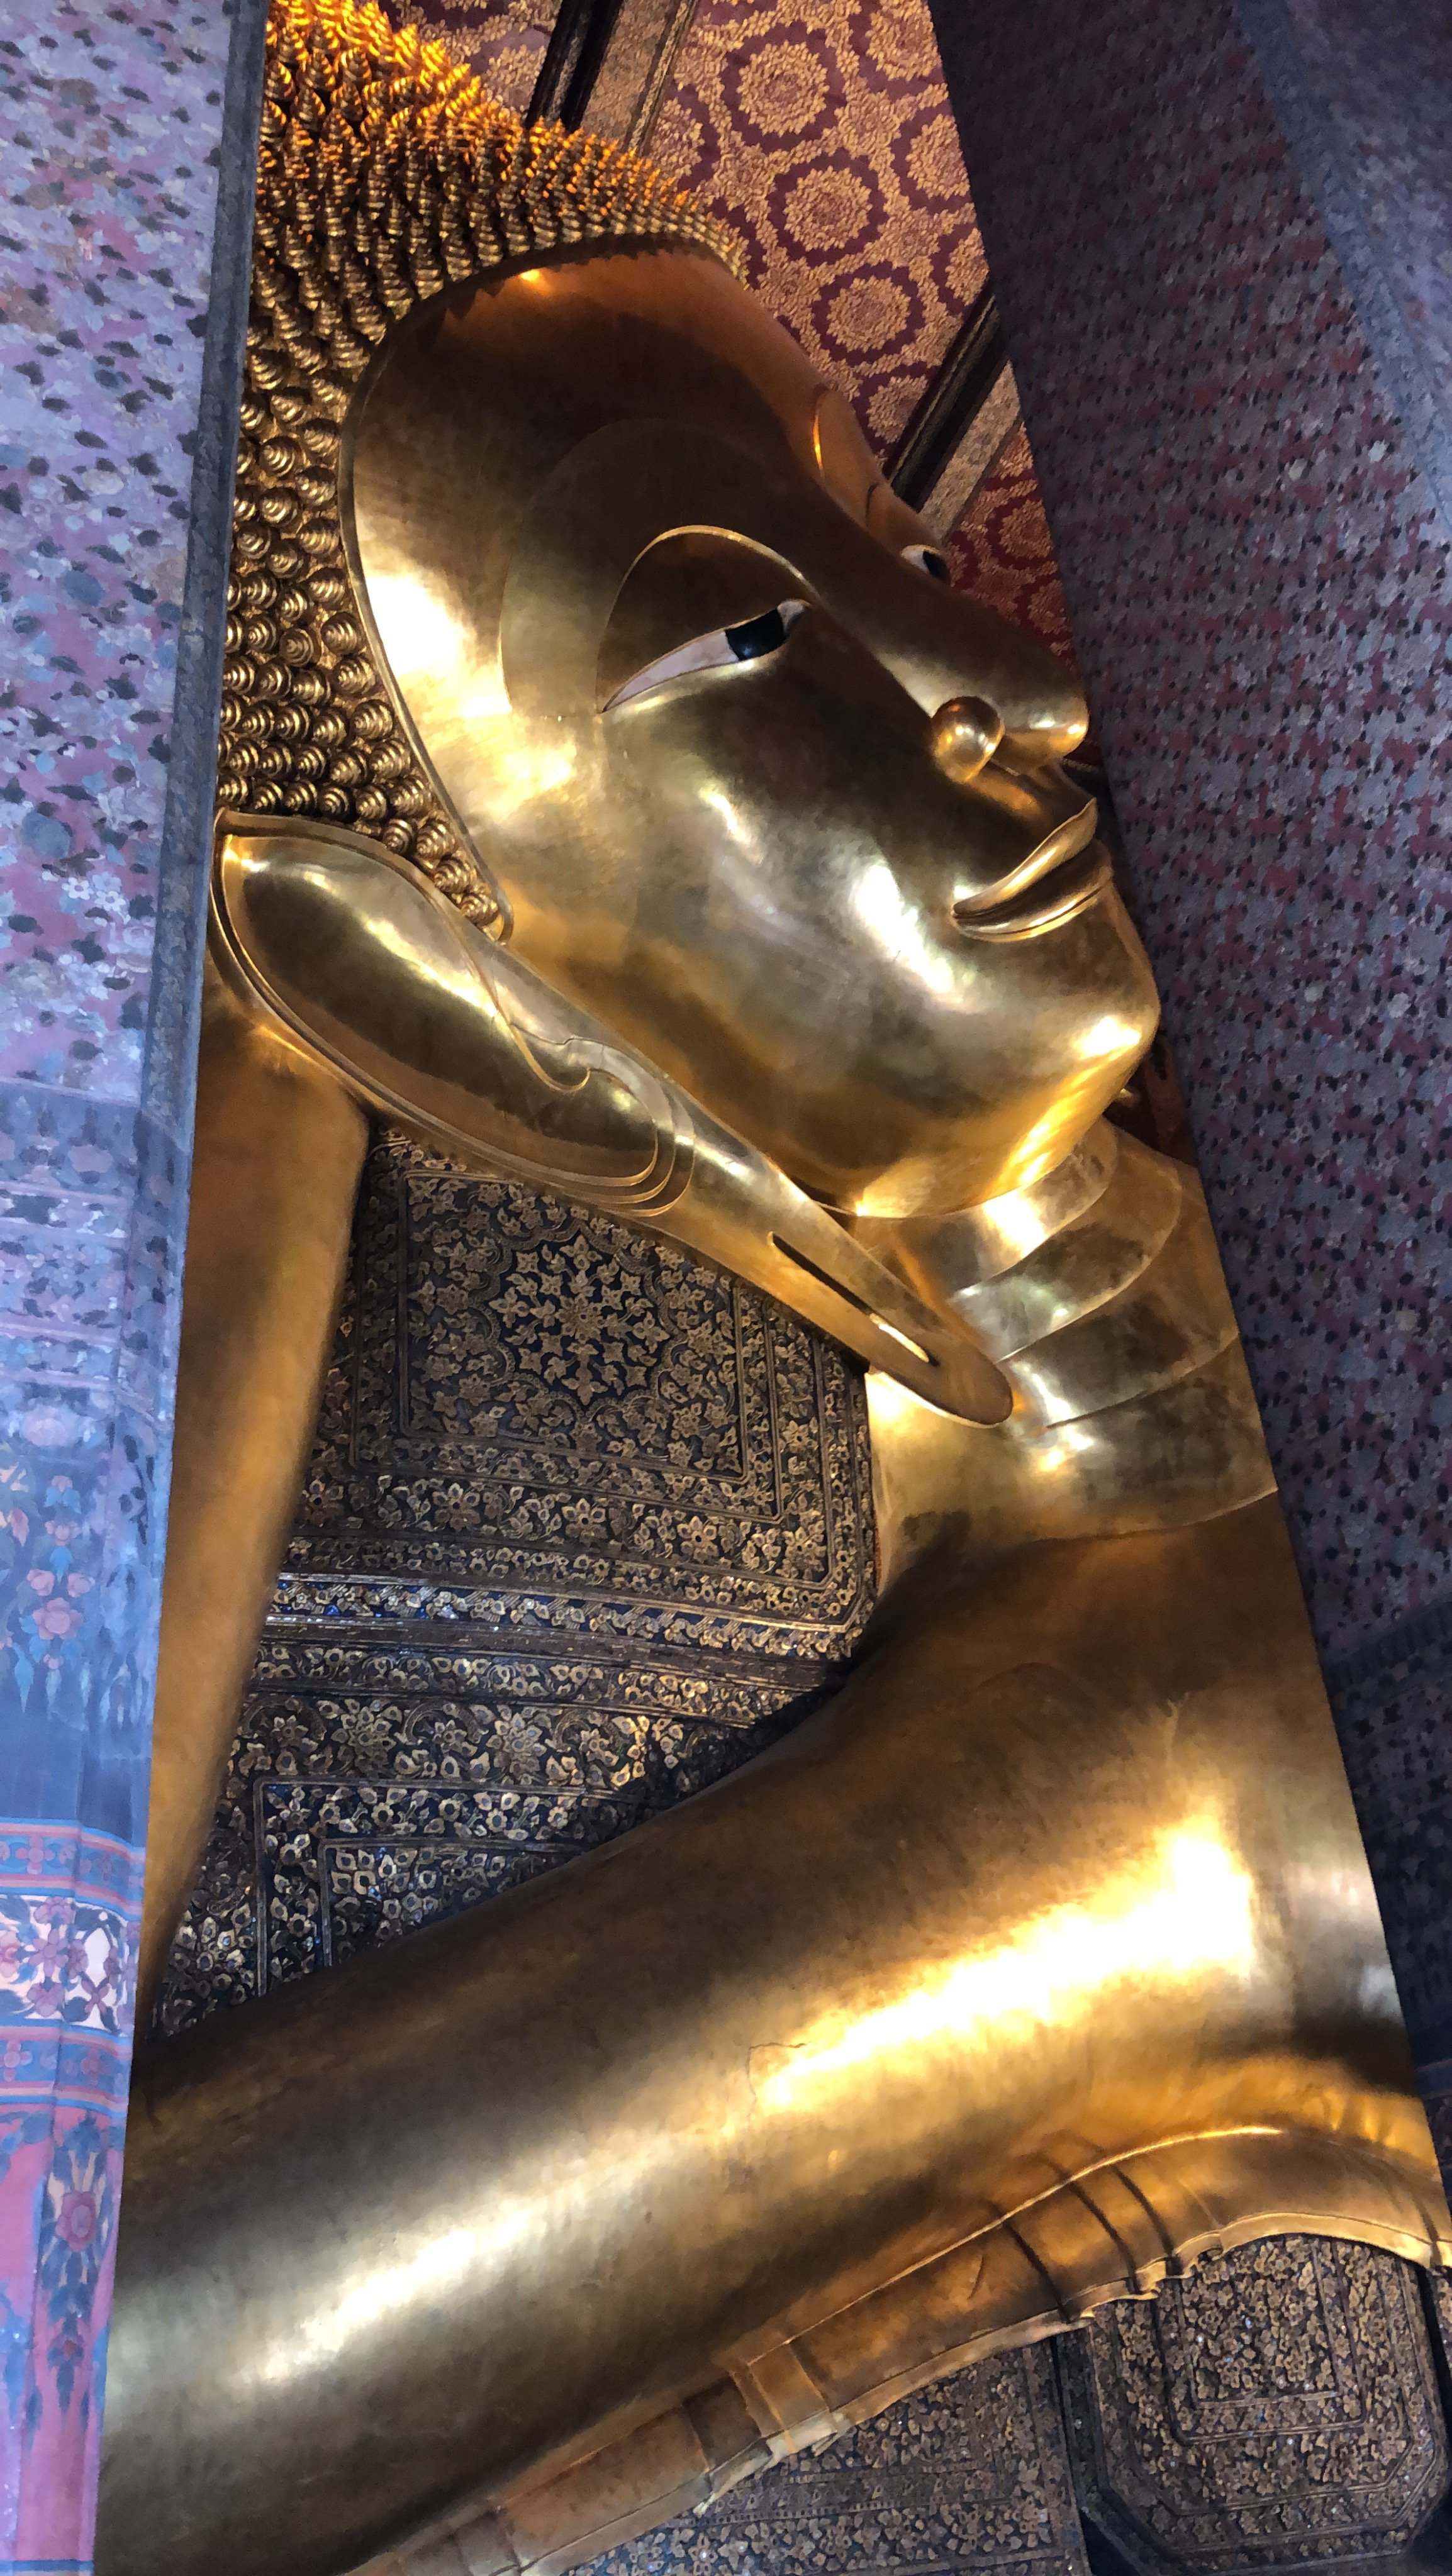
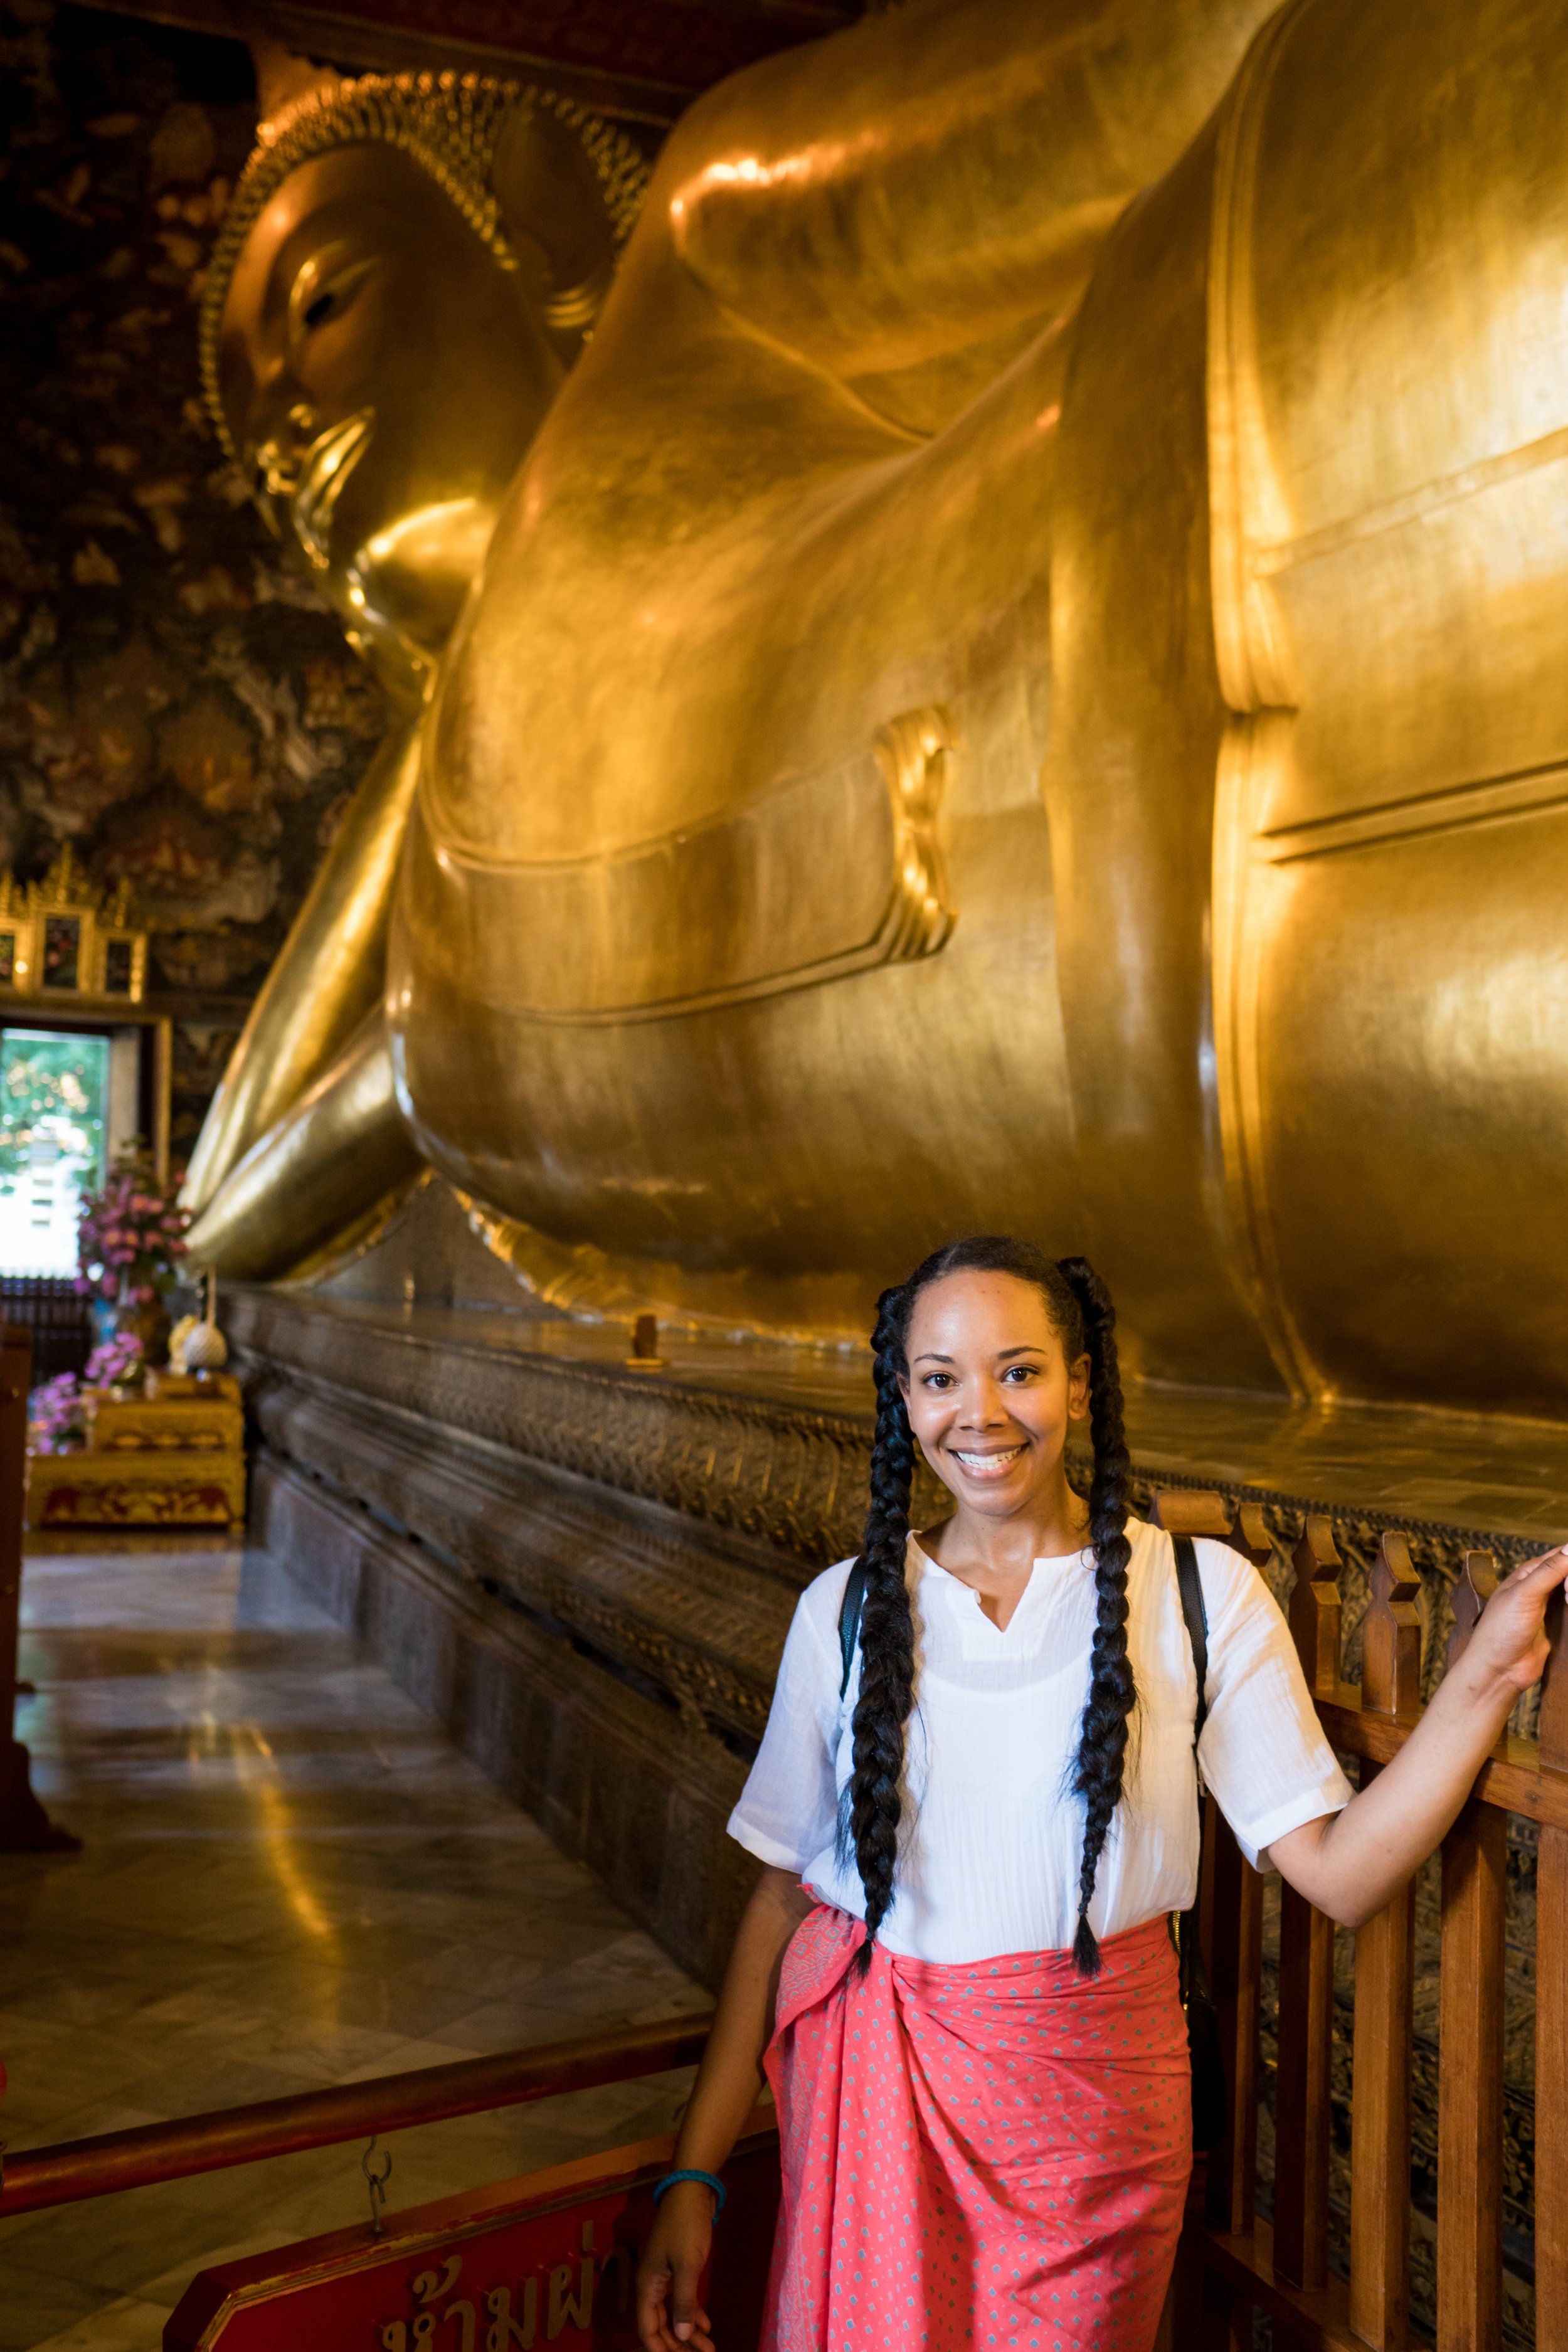
Reclining Buddha
From the Grand Palace, the Reclining Buddha is walking distance. I repeat it’s walking distance. If someone says it’s closed they’re lying to you. In fact, it’s so close by, check for yourself before trusting some random person.
I enjoyed reclining Buddha a bit more. It was less crowded but also I was in awe of its size. It’s very cool to see in person.
My trip wasn't long enough to visit more temples. But I’m glad I was able to visit the Grand Palace and Reclining Buddha. That was enough for me. Since I’m not into being in the tourist filled crowds.
TIFFY’S TRAVEL TIPS
If you want to get to the places faster and cheaper take the Orange ferry boat for 15 BAHT. It’s fast though so you might have to jump on or off to your destination. You pay on the boat. The blue ferry boat is more of a tourist trap and slower. Less crowded though.
There are a lot of scammers and taxis with not meters around The Grand Palace and Reclining Buddha. Some of them even wear uniforms. Be aware!
If you don’t want to wear your temple outfit because of the heat pack an outfit you can throw on when you get there.
If you see the Grand Palace walk over and see Reclining Buddha. Best to get both out of the way, the same day.
Tha Maharaj (Bangkok) is a great little shopping area. If you need a break with restaurants that have A/C. Also not too crowded and has some good photo opportunities.
Watch the video: Best Thailand Travel Tips (Bangkok)


Bangkok, Thailand: Terminal 21 and Ratchada Night Market
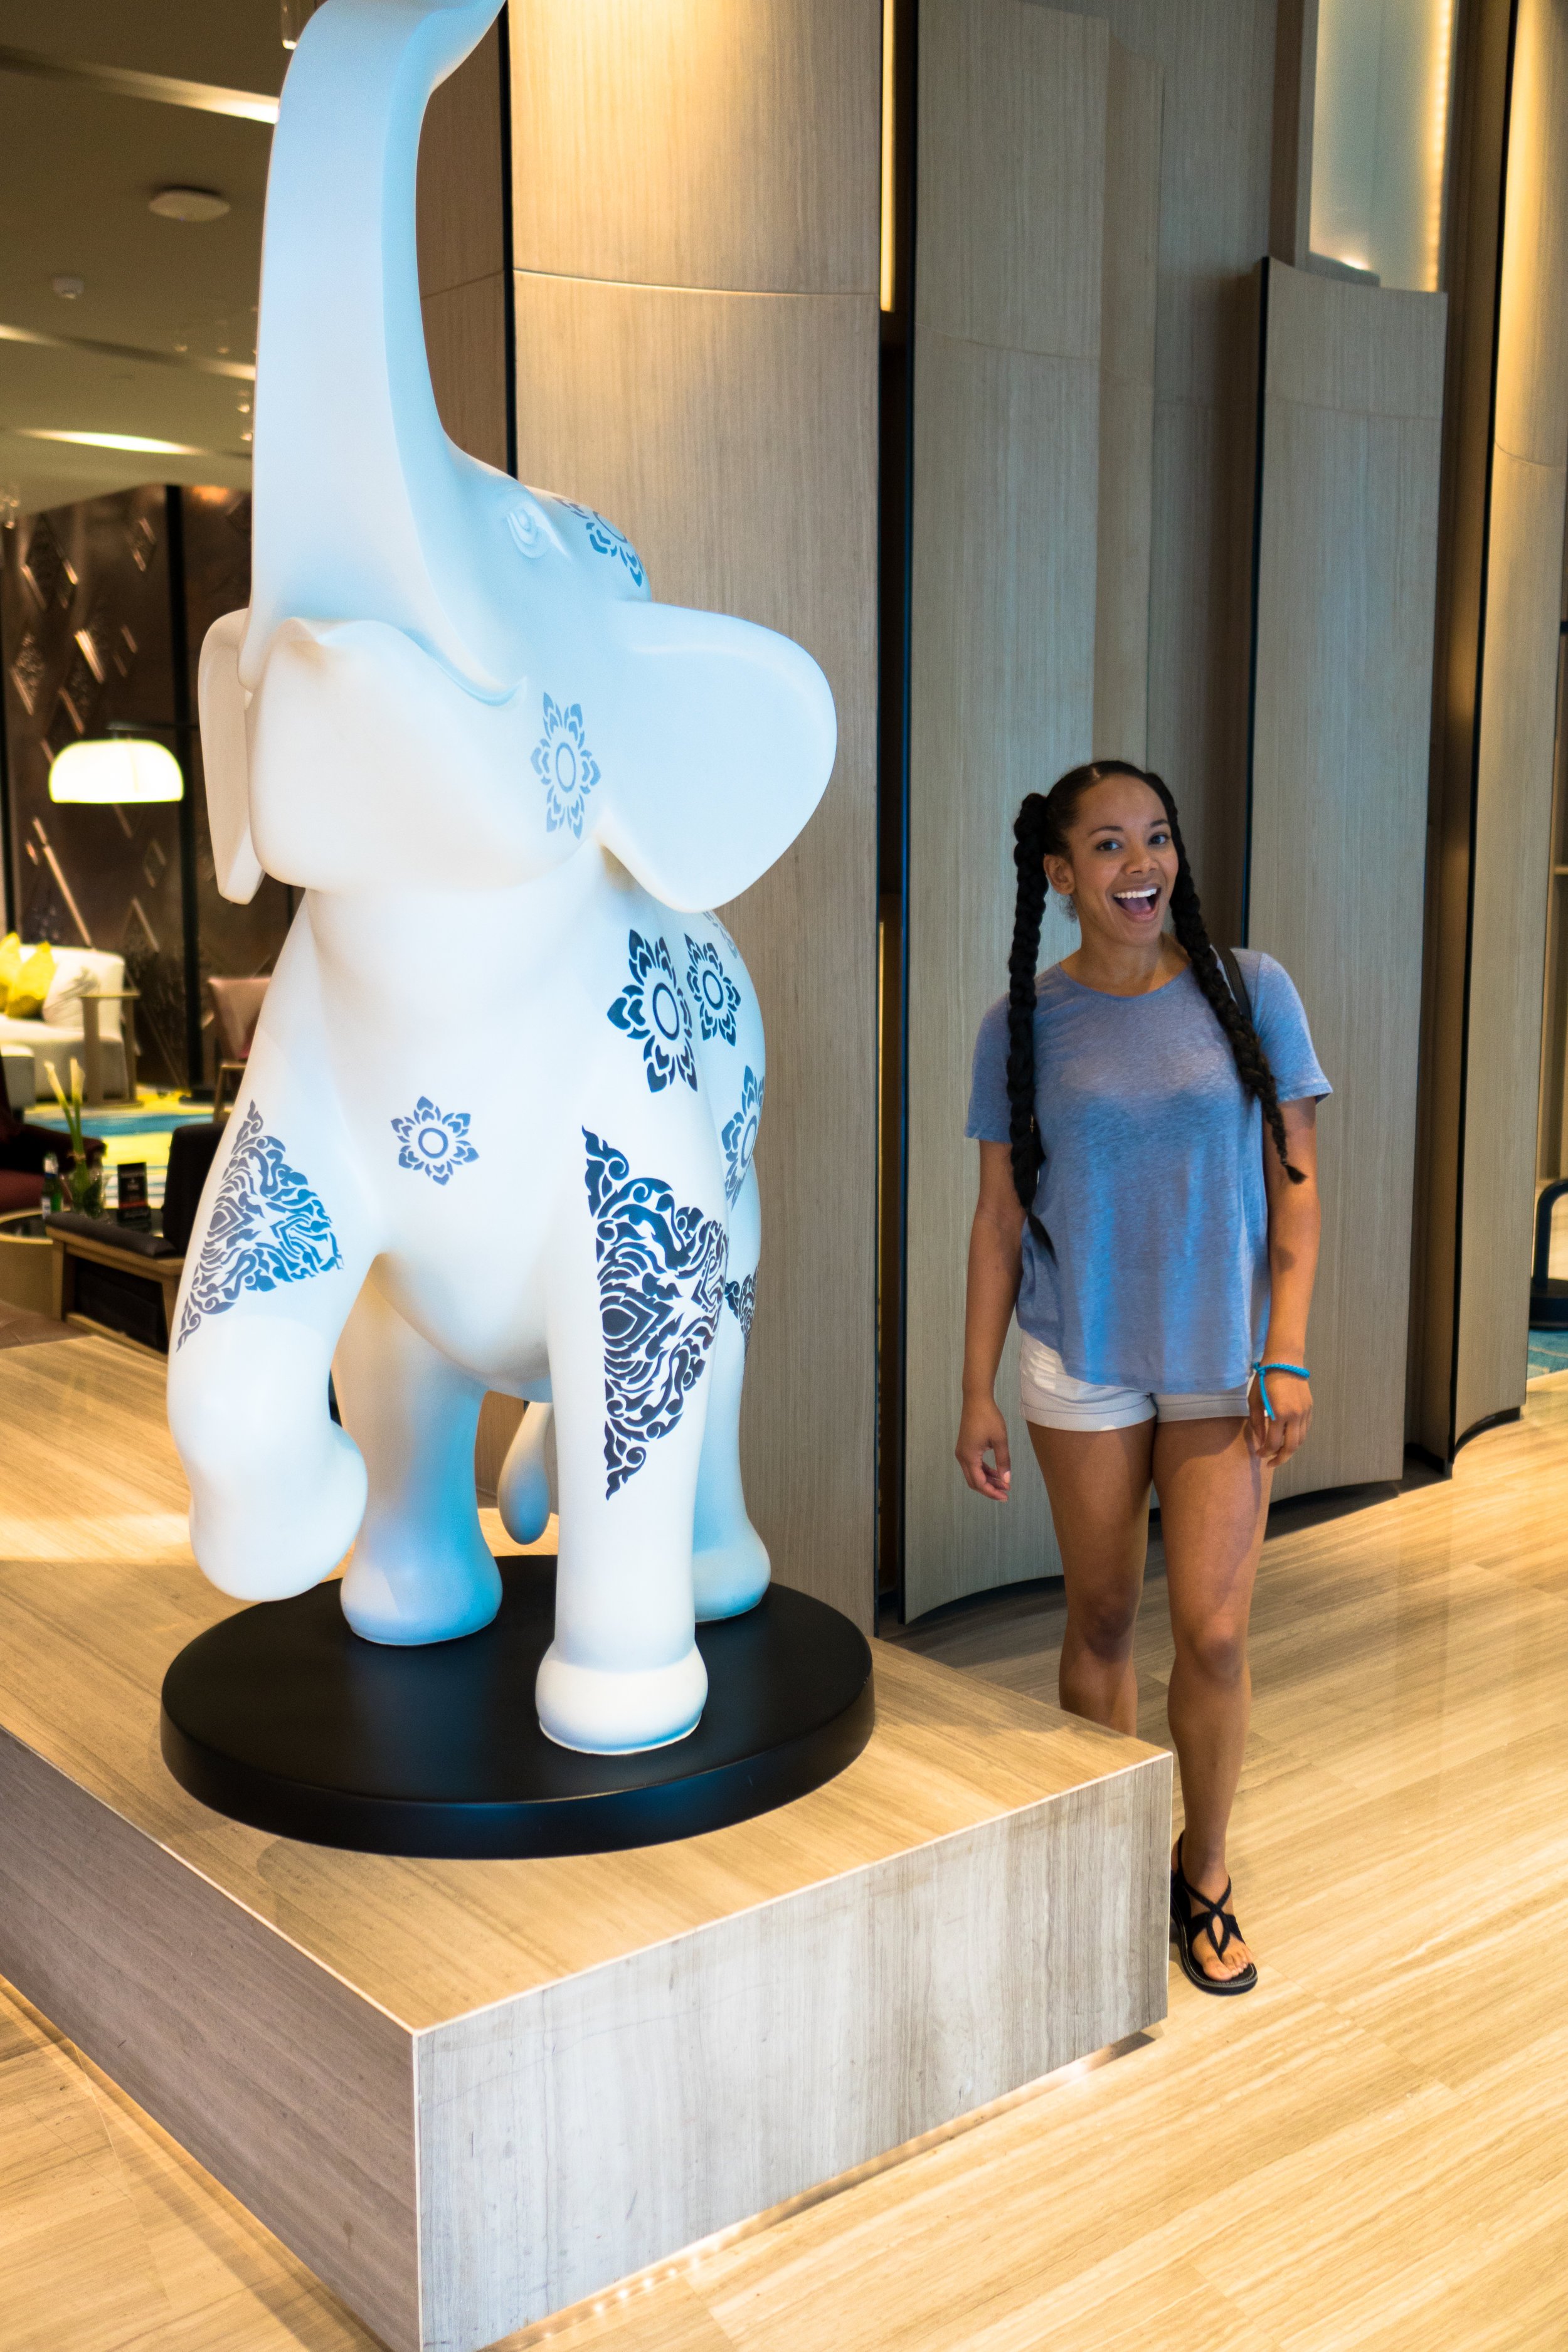
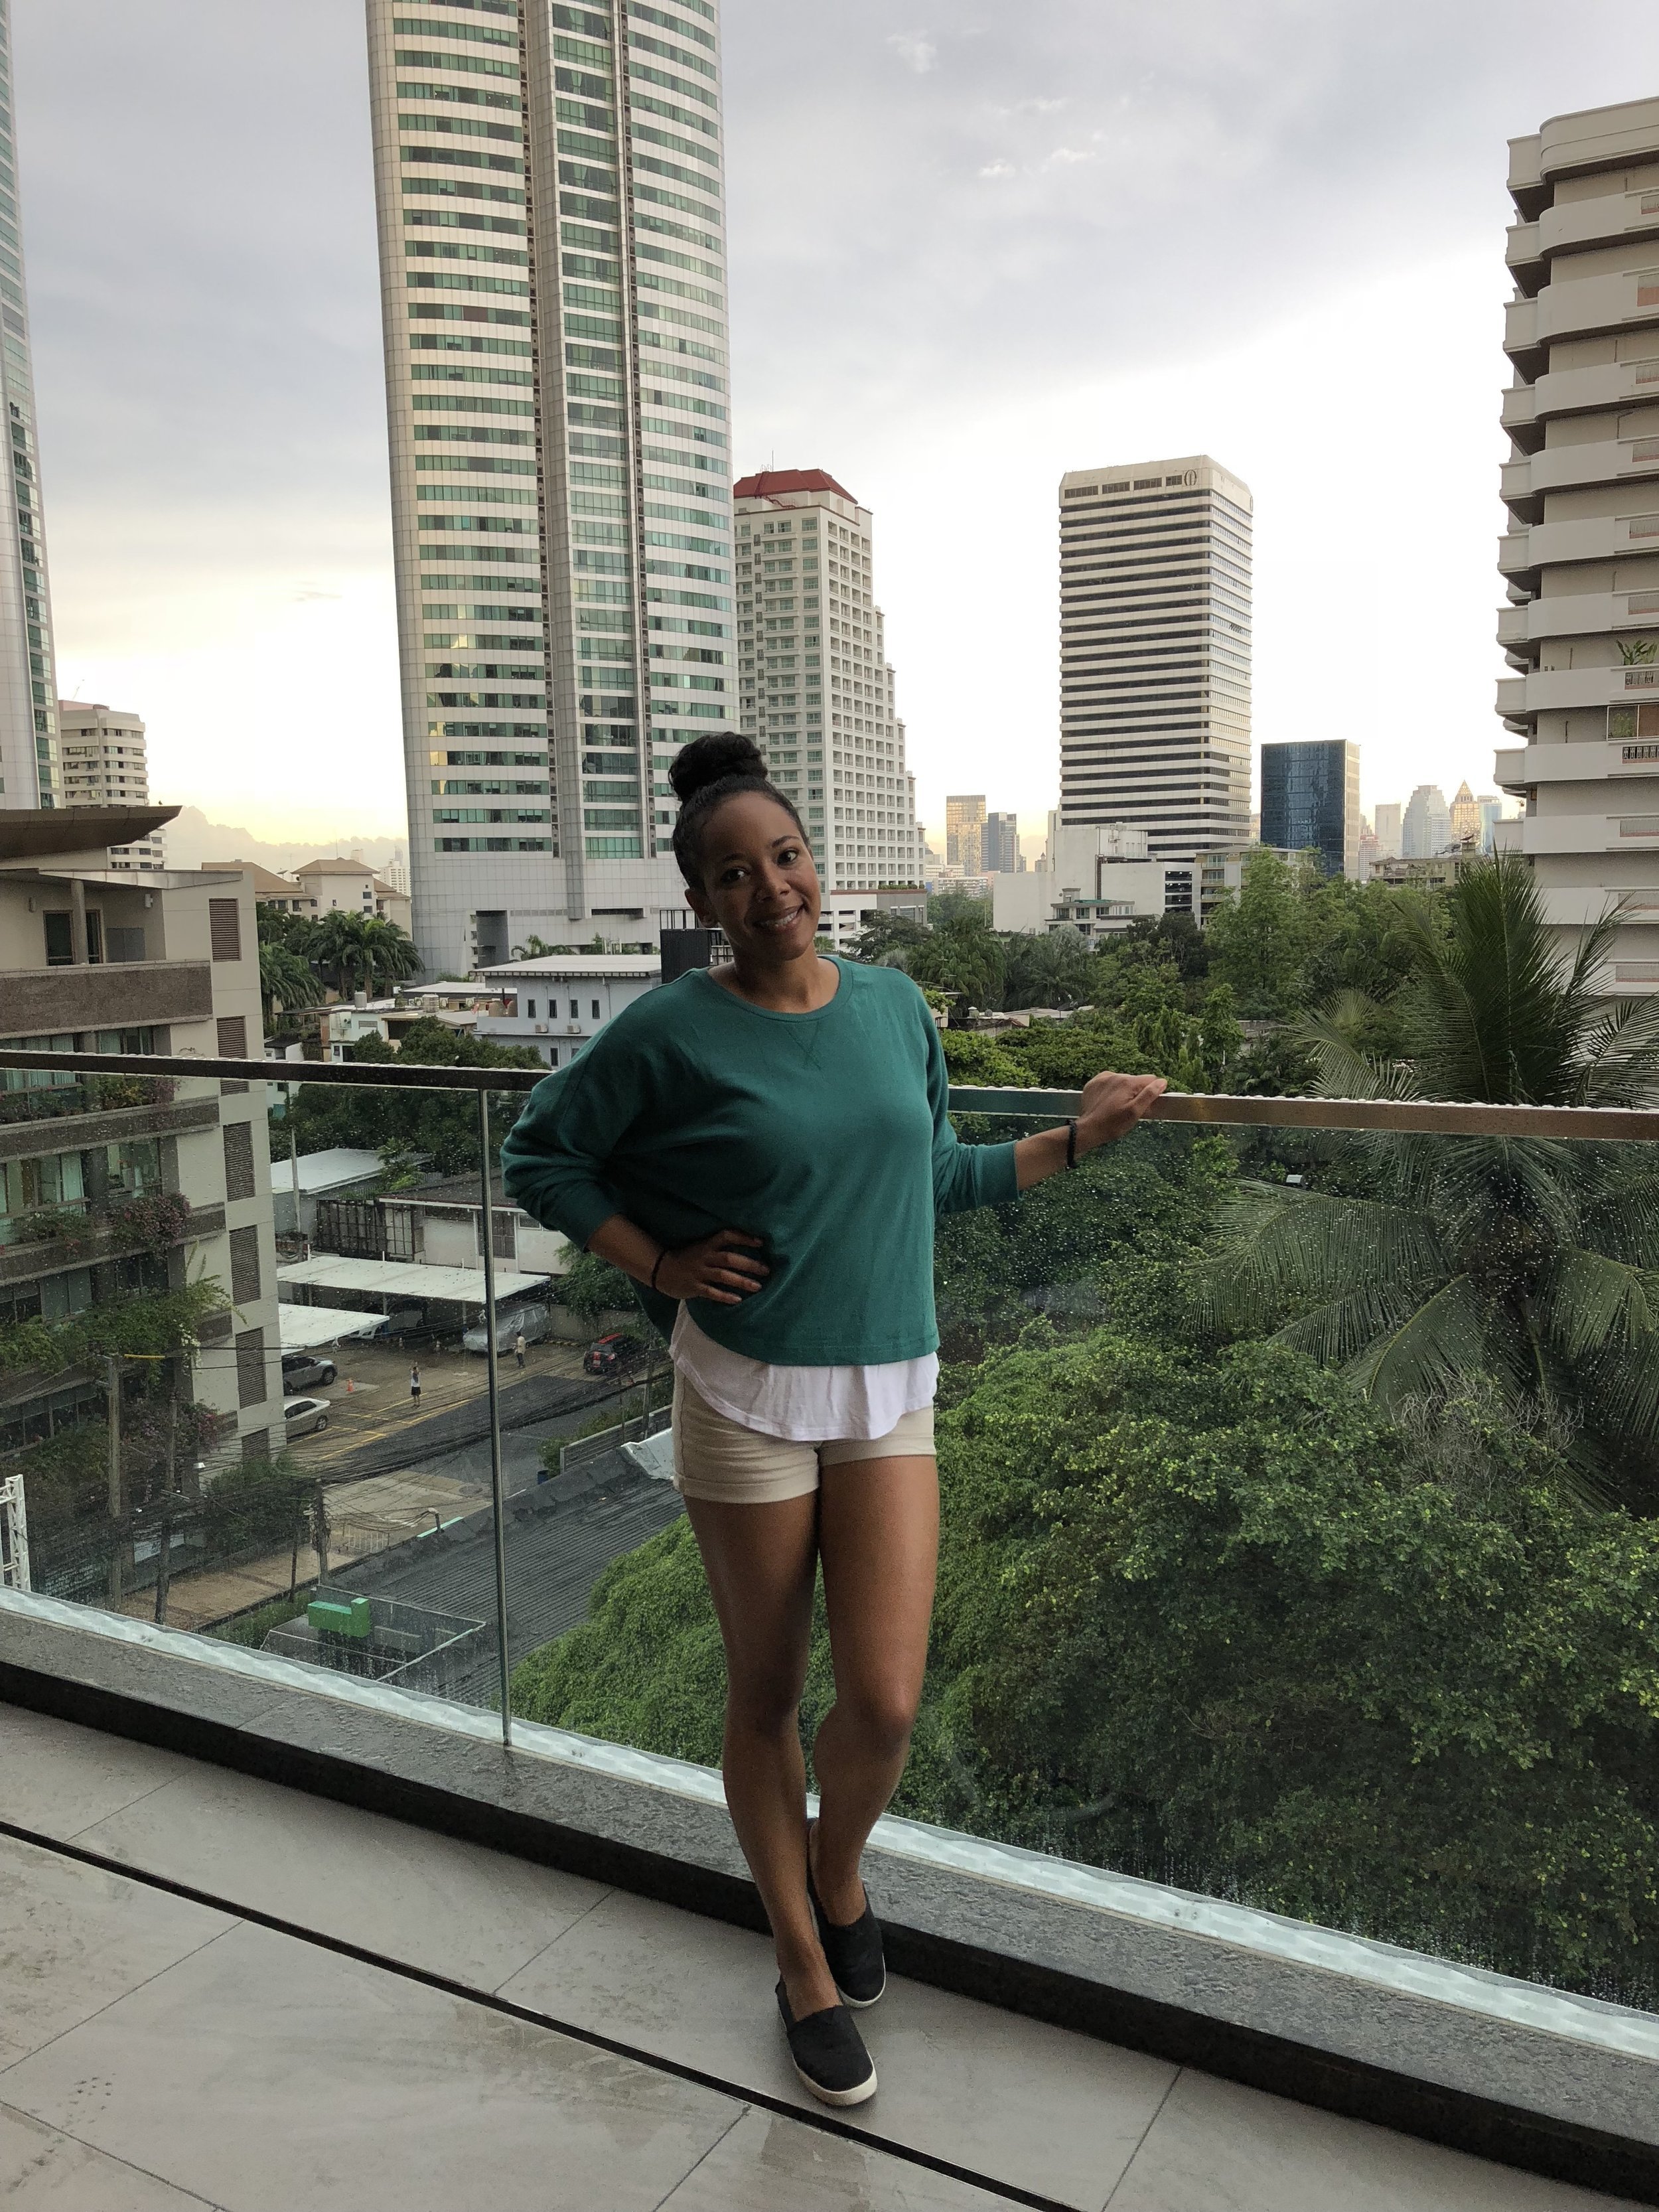
During the first part of the trip, we stayed at the Novotel Sukhumvit 20 in Bangkok, Thailand. I loved this hotel and would stay again. It was walking distance to the SkyTrain and MRT. Which made traveling around very easy, once you got the hang of it.
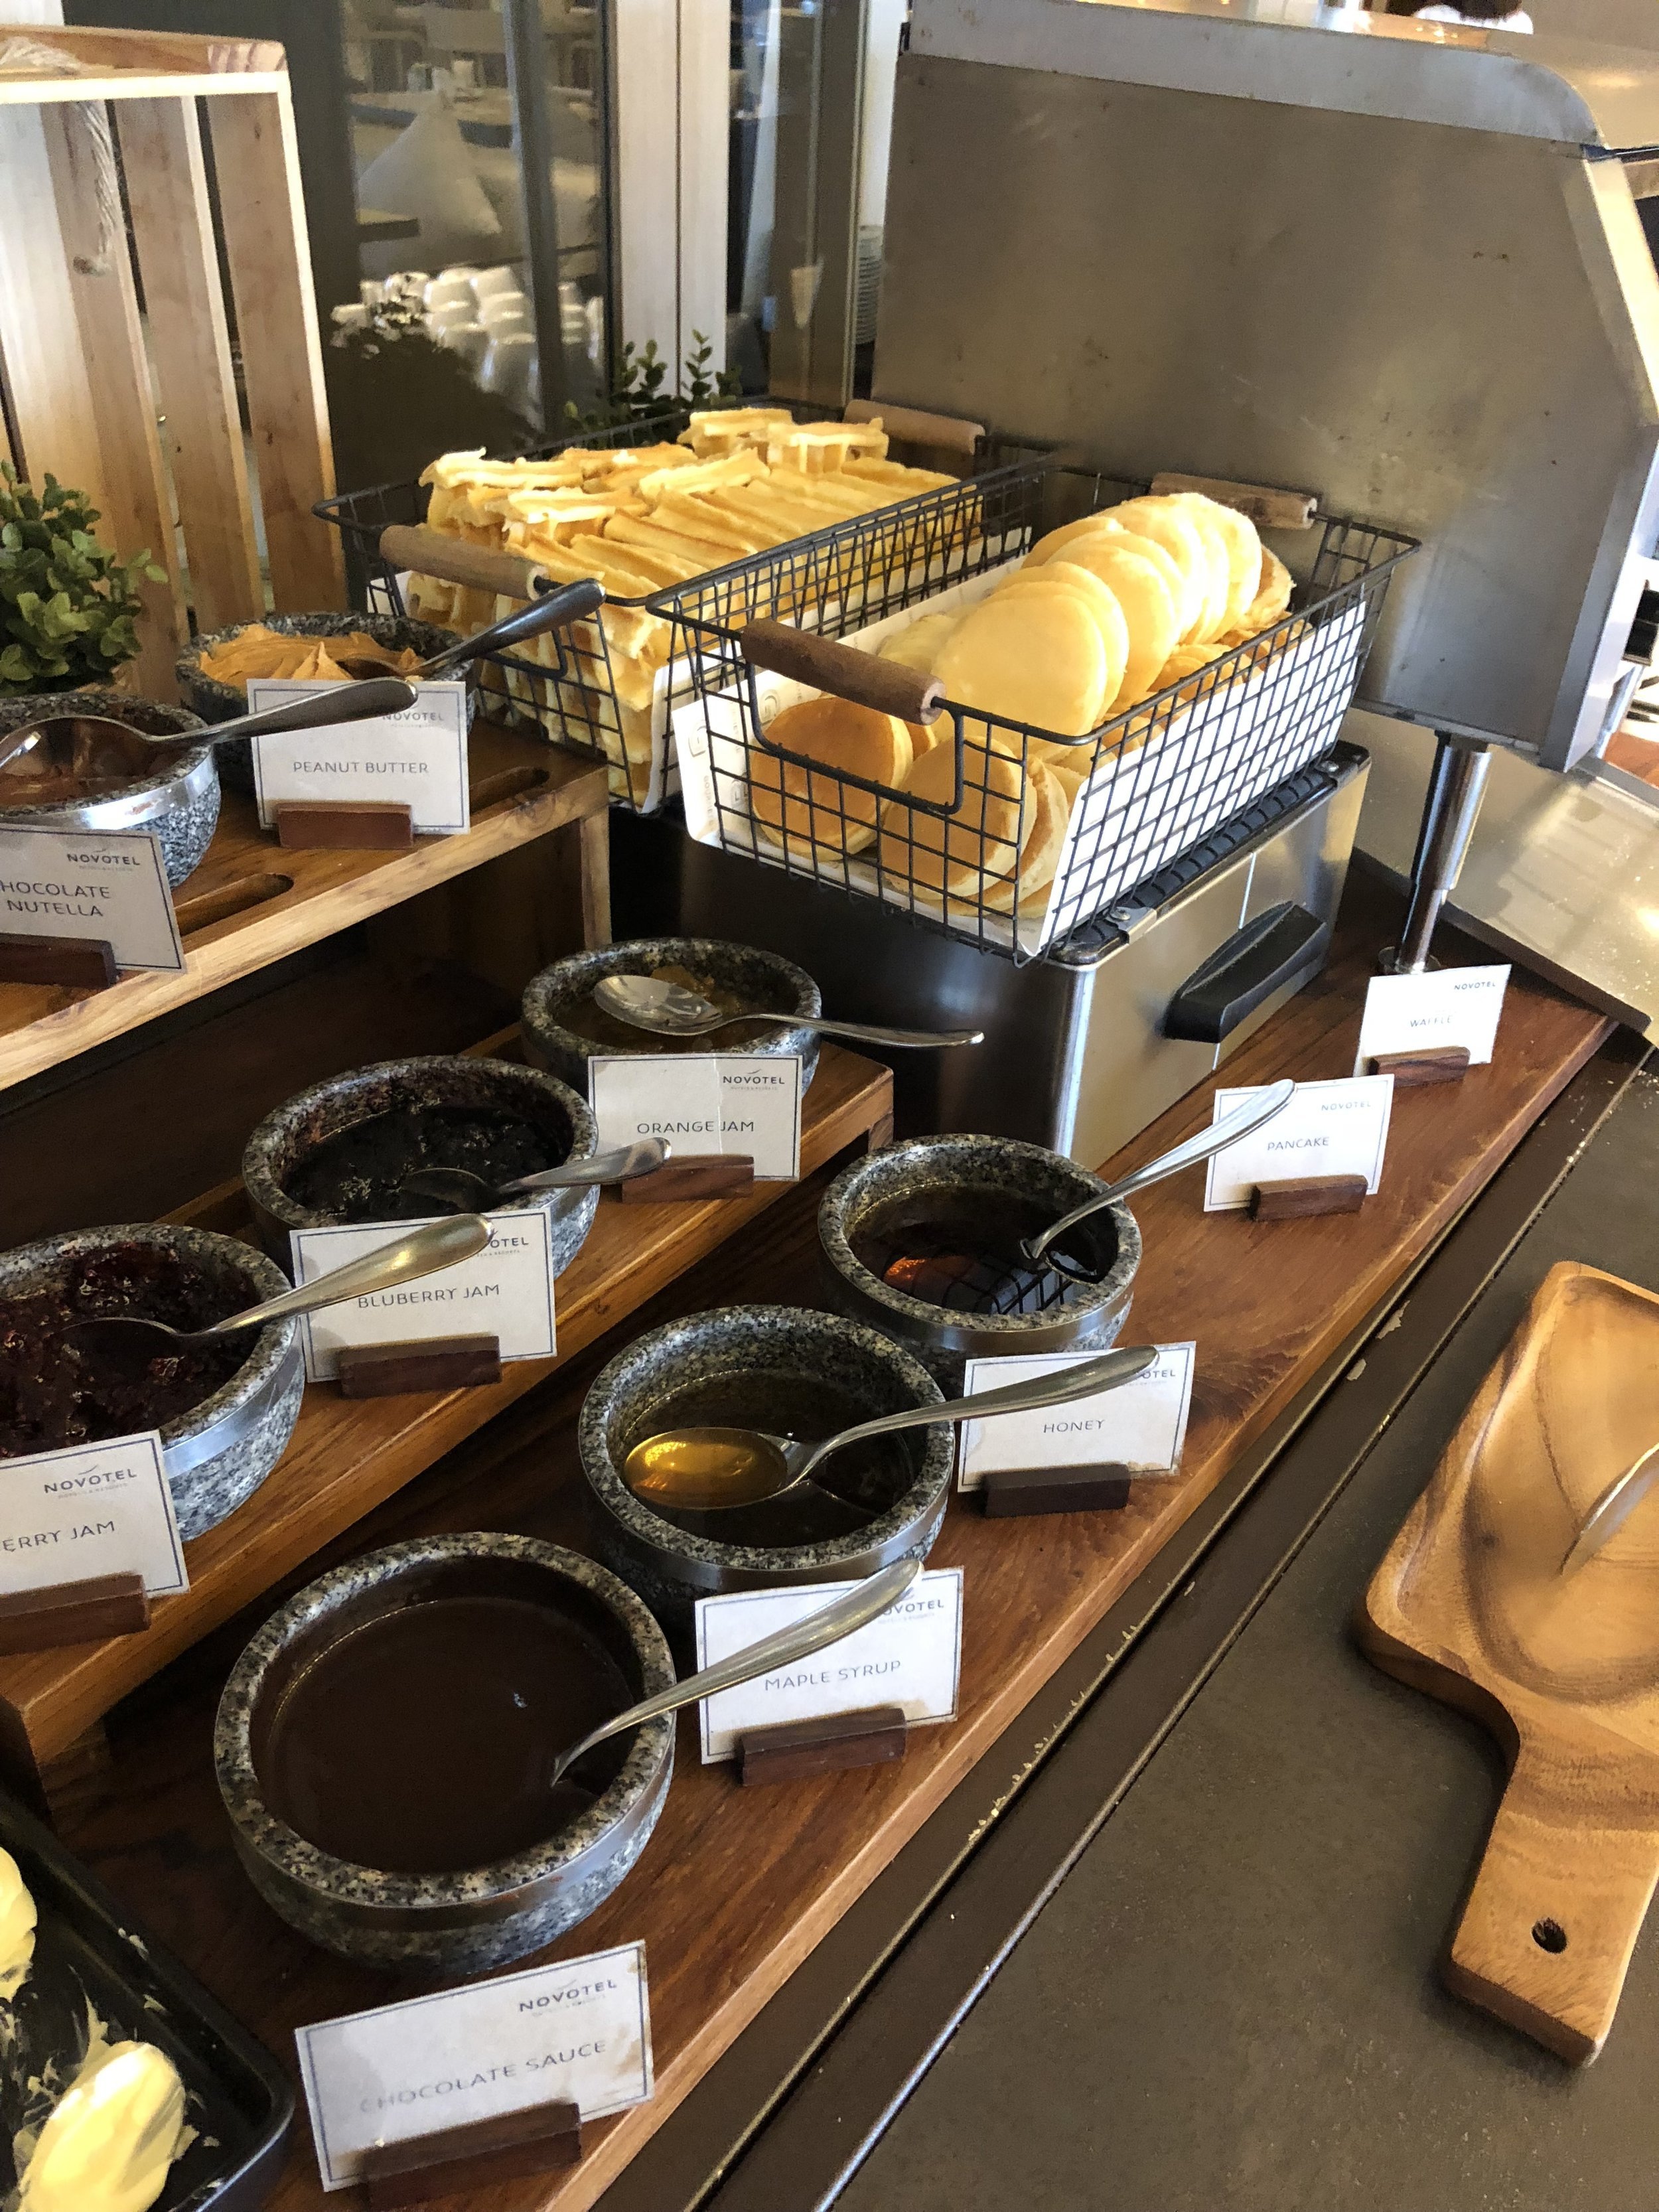
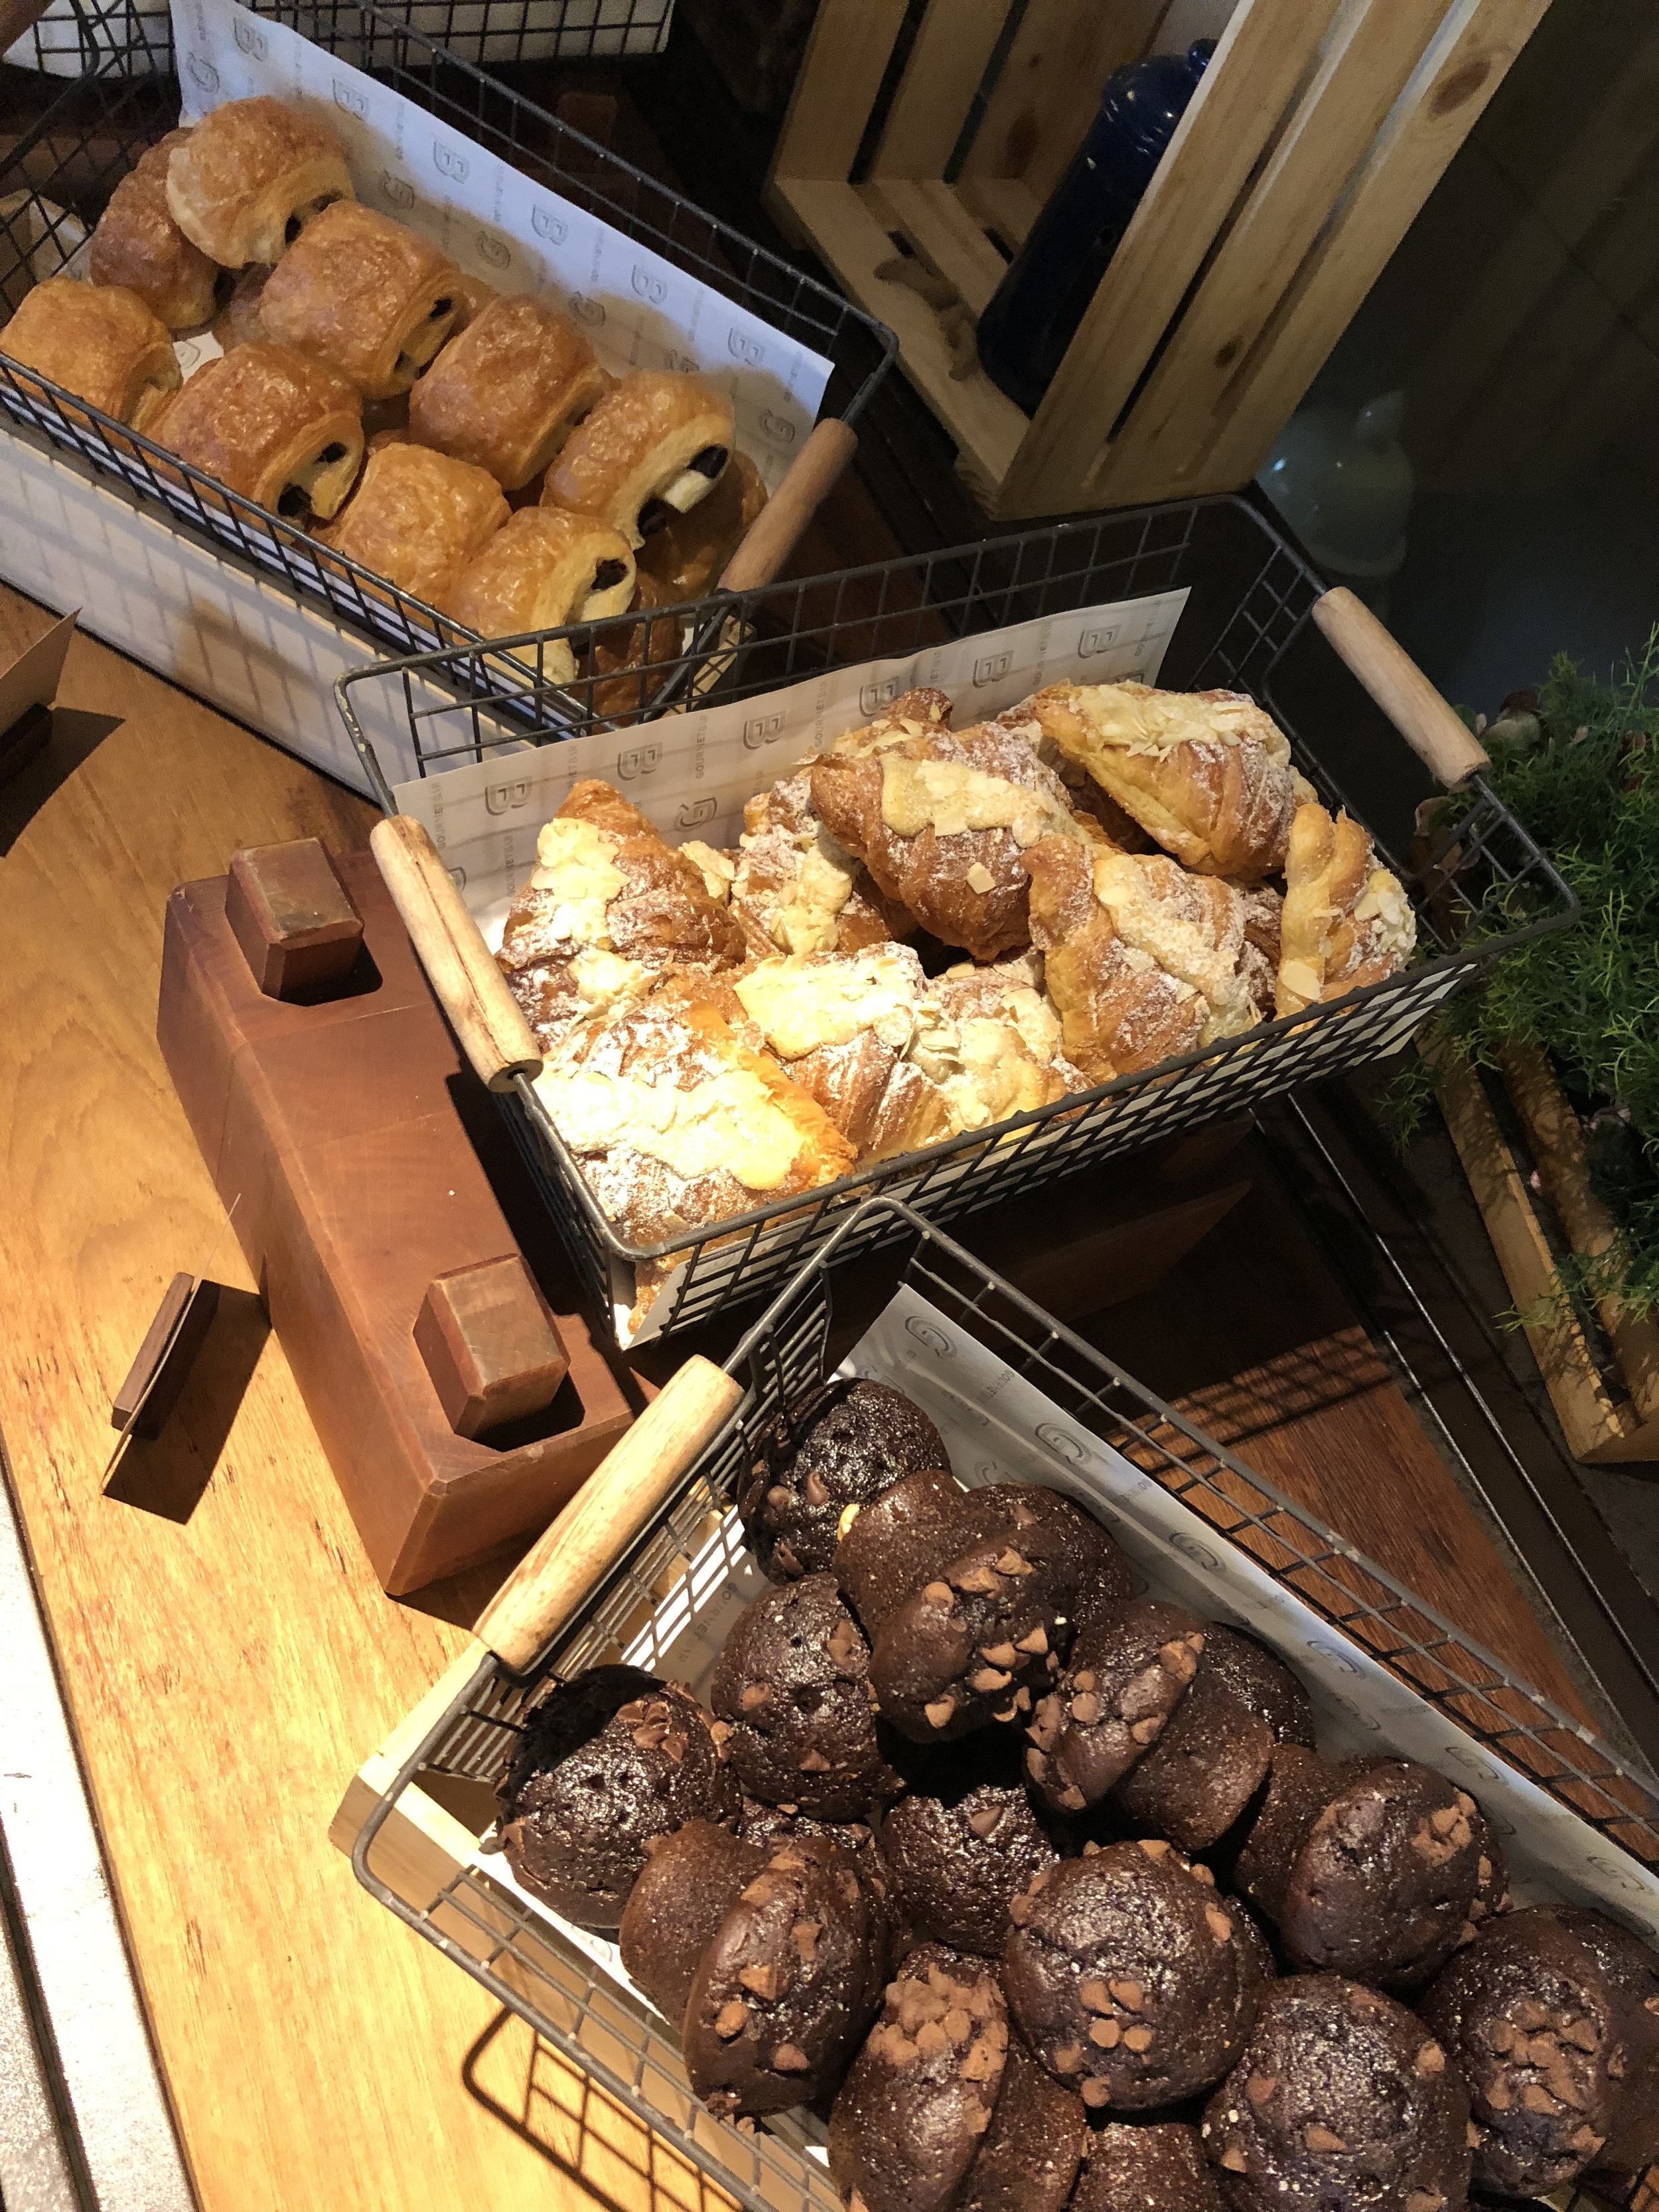
The Novotel is also home to one of the best breakfast buffets I’ve ever had in my life. Get breakfast included in your stay! It’s magnificent. I took advantage, every day. Sometimes due to traveling this was the only real meal I had.
After a day full of travel it’s best to get accustomed to the new time zone. For us, that meant getting a jump on exploring and not staying inside the hotel room and getting tempted to nap.
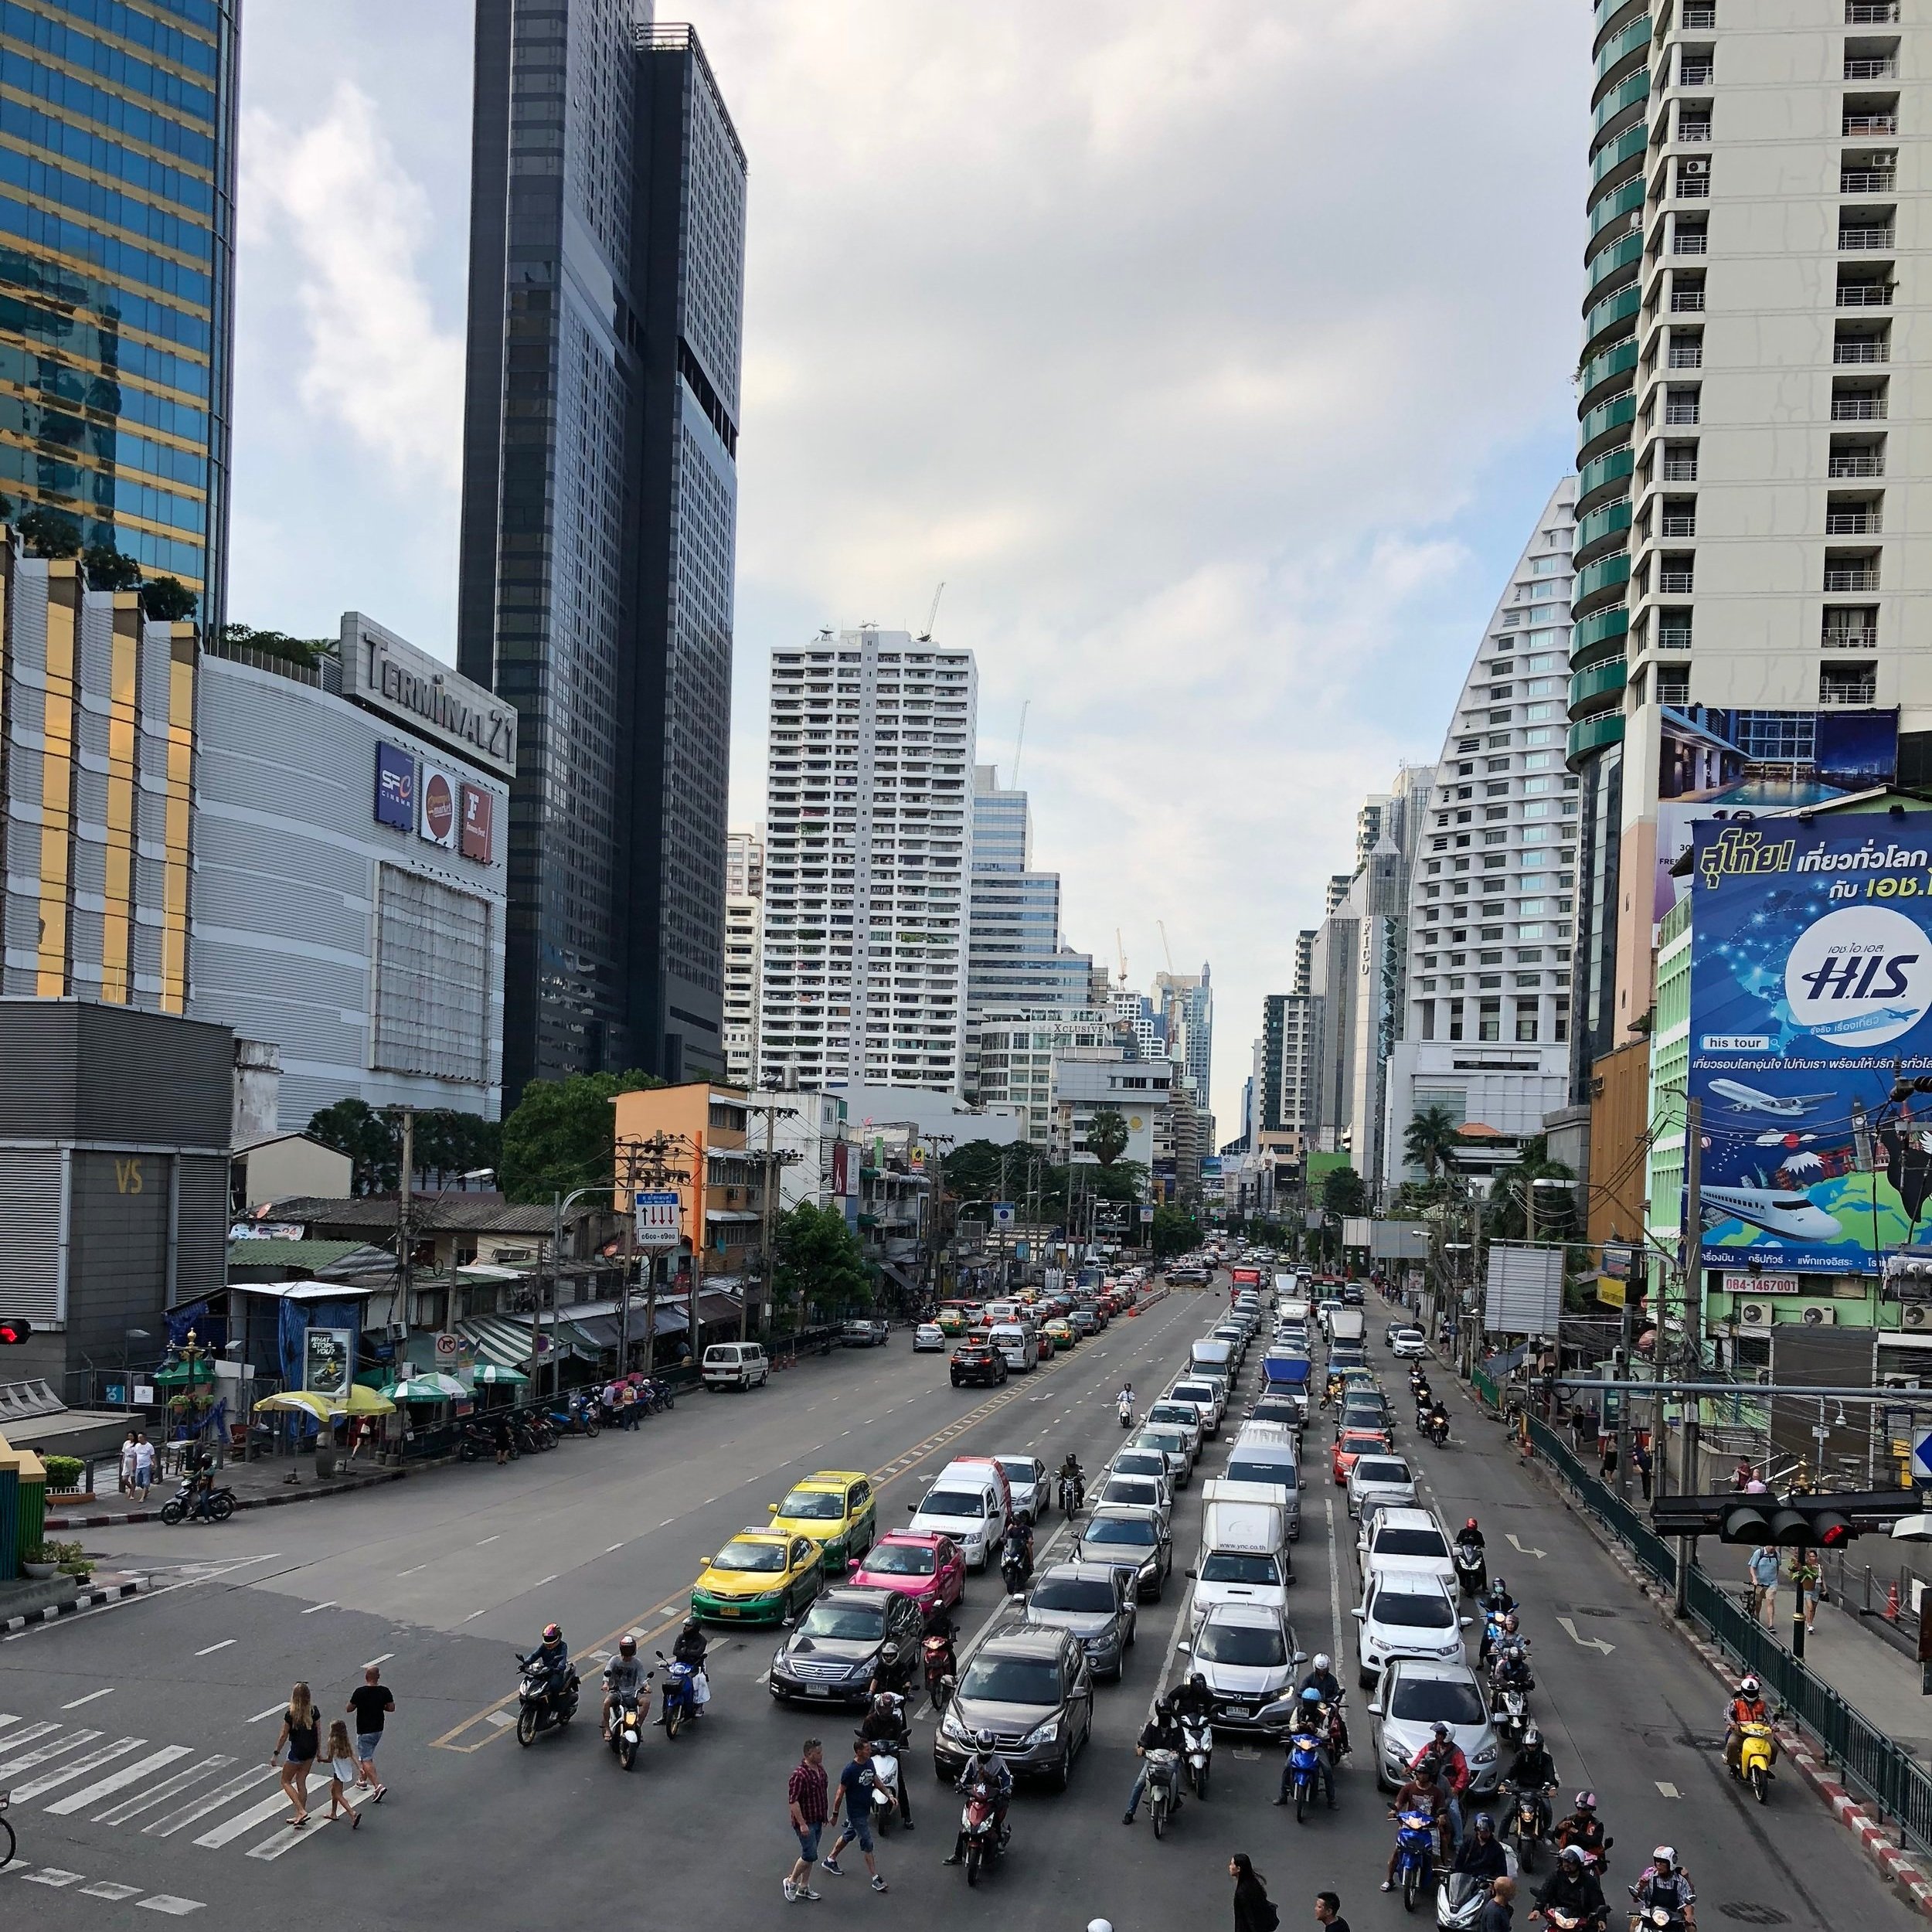
We decided to walk to Terminal 21 - which was a HUGE mall near us. You would need a good 6 hours or more to see everything this mall has to offer. Airport Terminal is the theme, so every floor represents a popular tourist destination. You’ll have a floor that represents Paris and another that signifies San Francisco.
This mall is nine stories high. I don’t even think I made it to all nine floors. I found the prices to be like mall prices in the US. A little cheaper, but it’s a great escape from the heat and they have tasty food options.

Terminal 21 Bangkok Thailand
From there we checked out the Ratchada Night Market. We took the MRT subway system. A quick note about the subway system. When you’re traveling one way they will give you a token. Keep that token with you since it’s what you’ll use to leave the MRT system. From my memory, it was about 40 BAHT to travel where we needed to go.
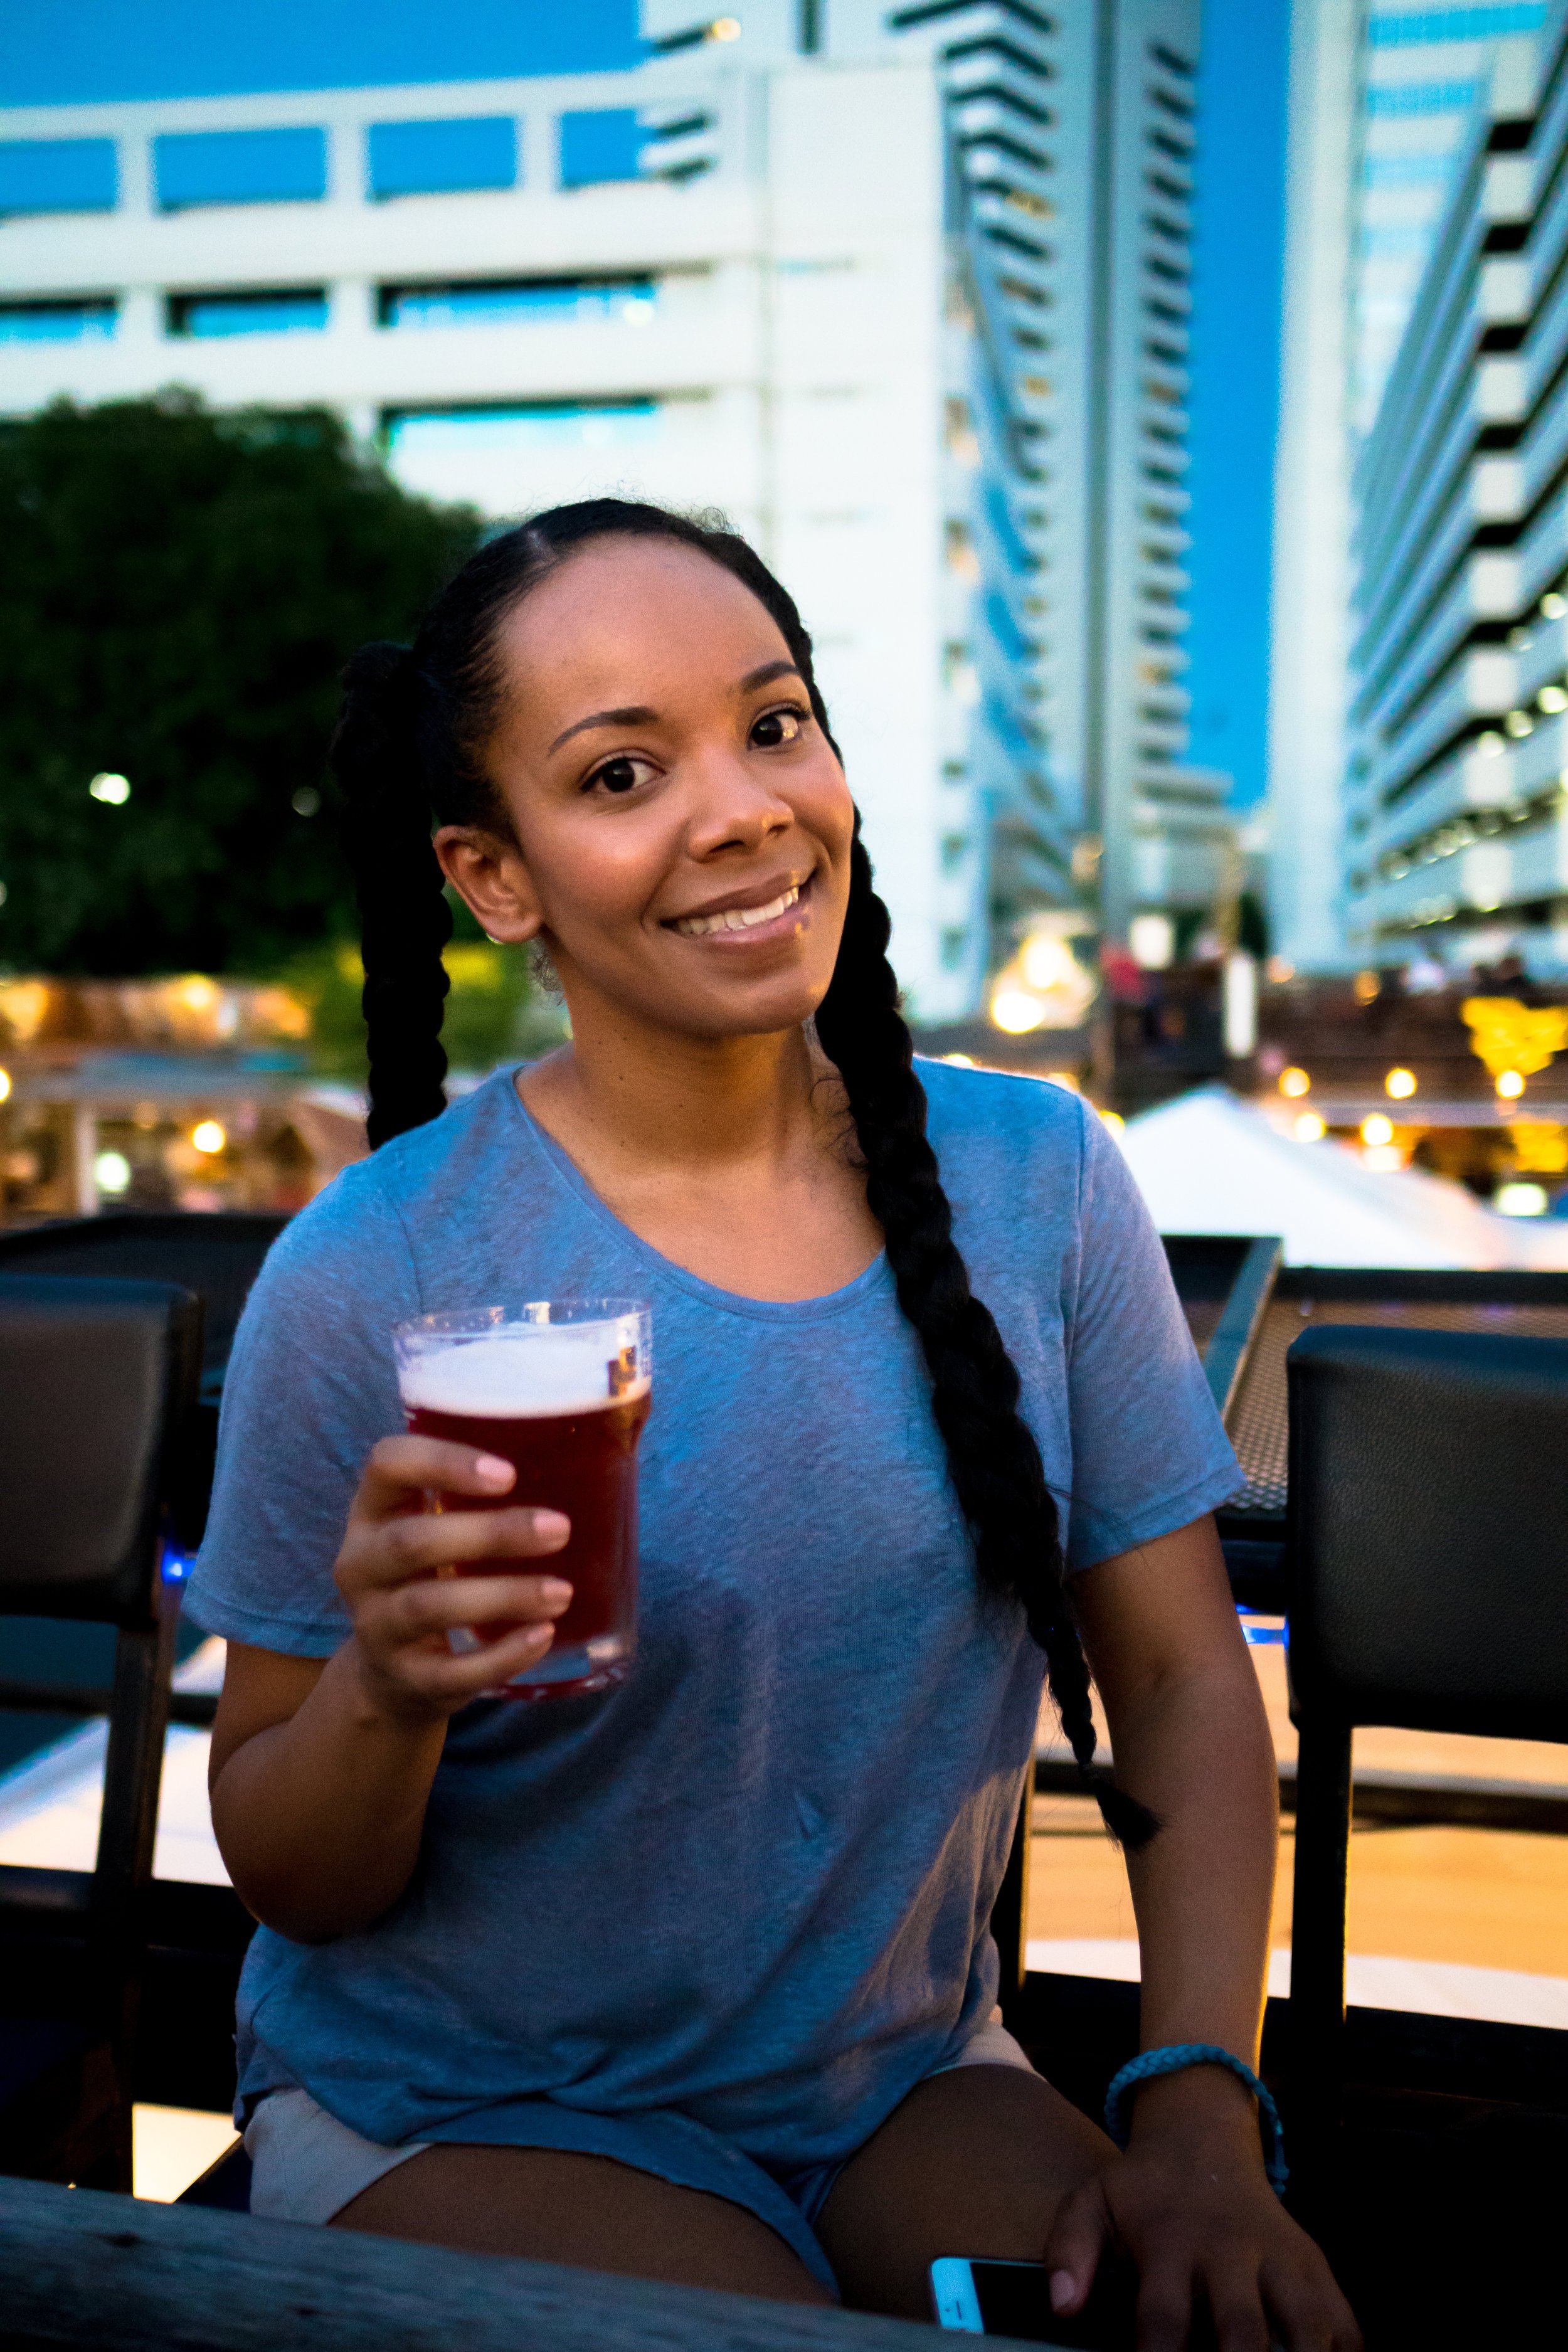
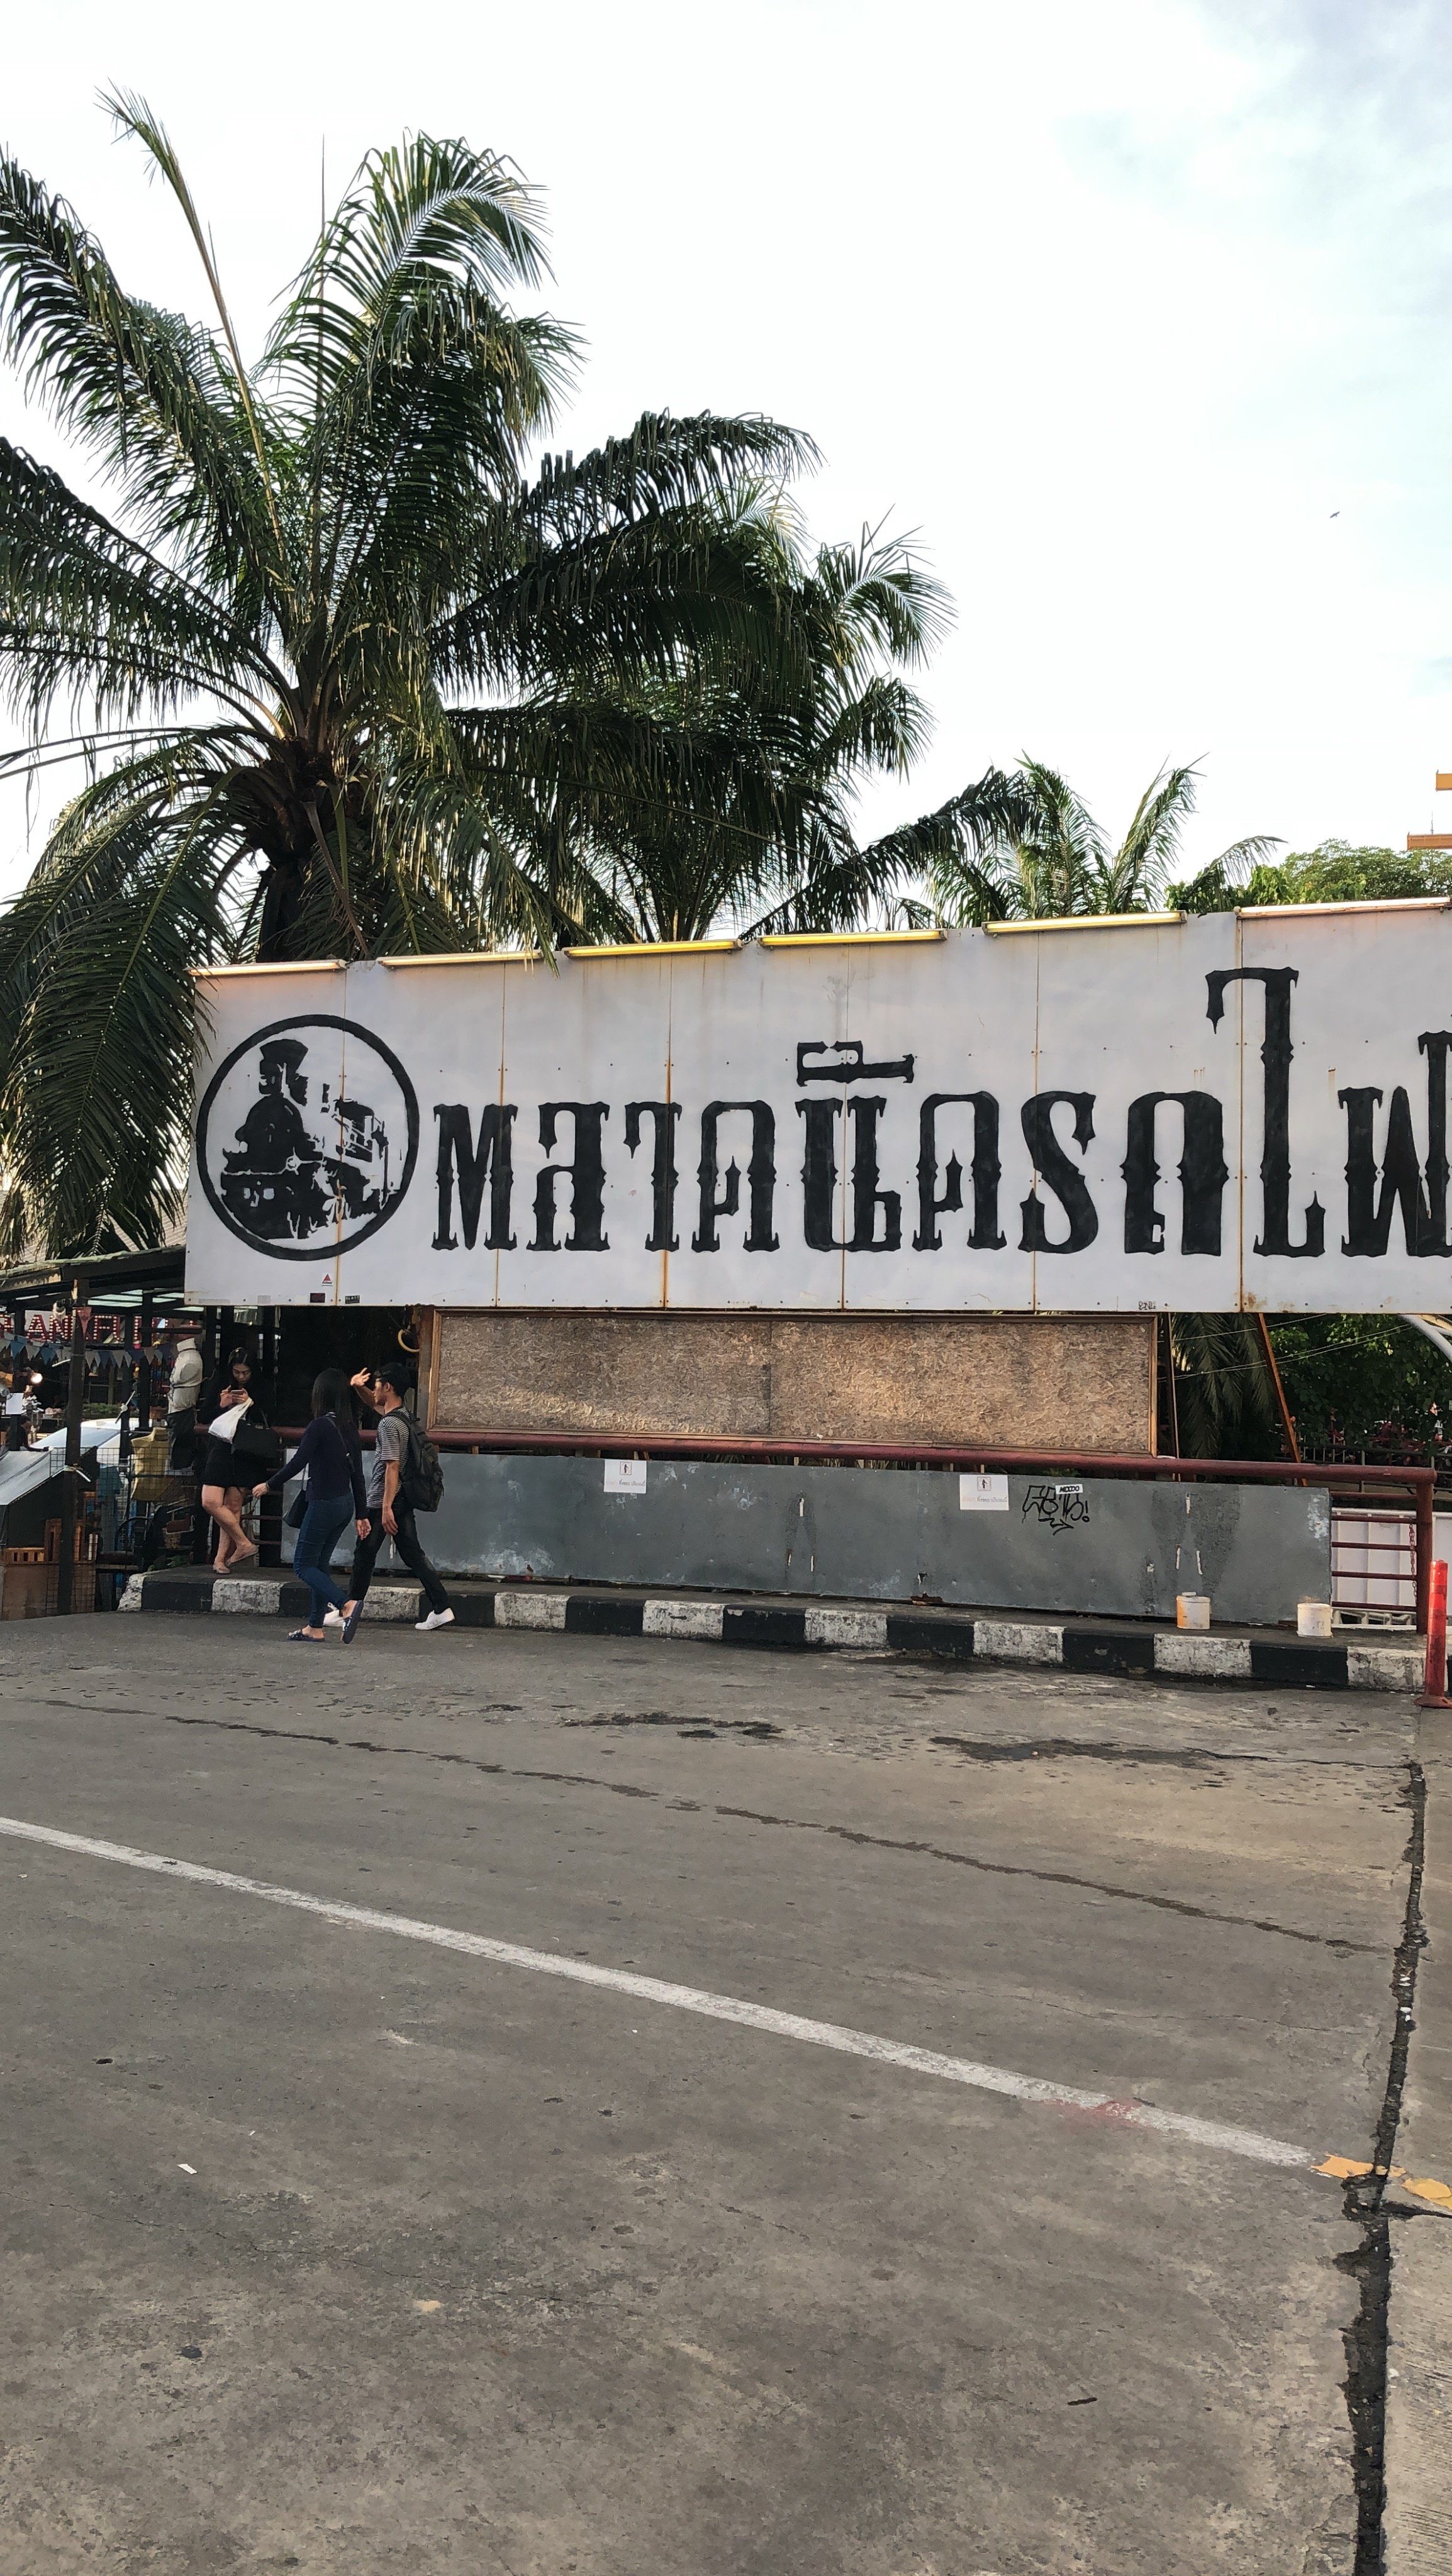

The night market was my favorite market I went to in Bangkok. It wasn’t as overwhelming as the weekend market. Also, I went in the evening so the sun wasn’t beaming down on my soul. We had some drinks and I did some shopping. Recommend for anyone’s trip!
TIFFY TRAVEL TIPS
Figure out the MRT or SkyTrain system. It’s fun and you get to avoid some of the Bangkok traffic. It can get crowded but it’s air-conditioned.
There are Family Marts and 7-11’s everywhere! You can stock up on water and beer. It’s very cheap and you’ll be grateful you did. Also, you can drink beer on the street.
The street markets are cheaper than the malls and a lot have the same stuff.
If you have a data plan while in Thailand. Download the Grab app. It’s their version of Uber. It works like Uber but you can pay the driver in cash at the end of the trip.
Watch the video: Best Thailand travel tips

Getting to Thailand: Hotel and Air Tips
For this trip, we choose Cathay Air. I’m sure there are more expensive options and cheaper options. I’m assuming this is somewhere in the middle. We took a redeye which helped with sleep on the plane and to adjust to the new time change. We had a minor 2-hour layover in Hong Kong on the way and a 7-hour layover in Hong Kong on the way back. I used my Chester Carry-onfor the entire trip.
We did a package deal of flight and hotels. You can find some great ones online that include flight and hotel. In Bangkok we stayed in the Novotel and in Phuket we stayed at the Hilton. These are 4-5 star hotels. Great quality for the deal with the flight. The setback is preparing for some layovers if you’re planning this on a budget. Which I’ll give you some tips to make the layover not too bad!

Long Airplane Travel
Aisle seats allow you to stretch at least one of your legs. Plus it allows you to walk around without sticking your butt in a stranger’s face or worse holding your pee.
When booking seats if you pick an aisle seat in the back of the plane you have more luck getting an empty seat next to you. This has worked for me a few times. Don’t go so far back you ‘re next to the lavatory. But people usually start at the front of the plane when booking and work their way to the back.
Compression socksandleggings are your friend. I find wearing compression socks and leggings help to keep my legs from aching on long flights.
If you’re a vegetarian order standard meal, they usually have a vegetarian option. Sometimes their “specialty” foods are lacking in comparison.

Travel From Airport to Hotel
If you’ve done your research about Thailand know the scams that happen there. A good rule of thumb for anywhere in the world. If a person comes up to you first and talks it’s a scam. Even if it’s not, best to assume it is. Once you know this you’ll be fine. Trust me. In Thailand, the taxi system has some scams of its own.
When you’re leaving your flight gate people will walk up to you and pretend they’re taxis or car services. They’re not, they’re trying to sucker you into some excursion or whatever. Ignore them and go outside to the Taxi area (follow official signs).
Once outside you’ll see lanes with marquees above them with numbers. There’s a kiosk where you can get a number it will say “Queue #” and match it to a lane that has a taxi in it.
At the taxi, let him know where you’re going and ask if he has his meter on. He will say yes or no. If he says yes, the meter should start at 35 BAHT.When the meter is on you’ll covering the cost of tolls on the way to the hotel. If the meter is turned off the rate is flat. Going to and from the airport I don’t think the meter matters too much. As long as you set your price beforehand. BUT if you’re traveling around the city, opt that they put it on so you save more money.
NOTE: When it’s rush hour traffic sometimes the taxis will NOT put their meters on. Negotiate ahead of time the price for taking you to your hotel.
For reference going from the Airport to the hotel with the meter on was about 300 BAHT (plus some tolls). Going from the hotel to the airport during rush hour with the meter off was 500 BAHT flat fee.
Watch the video: Best Thailand Travel Tips (Bangkok)

Makeup, Skincare and Haircare for Thailand
The best makeup for Thailand is definitely a bare minimum look. I love makeup but I knew I was going to have to scale it back on account of the humidity. I put my makeup on in the beginning of the day and would try to get some photos when it was still fresh. The rest of the day I was basically like “screw it” and let the makeup melt off my face. Keep reading to learn about the makeup, skincare and haircare I took on my trip to Thailand.
MAKEUP
Waterproof Gel for Mascara
NYX brand has a waterproof mascara top coat that you can put on after your favorite mascara to make it waterproof. I loved this product because I’m not a fan of any of the water-resistant brands. This allowed me to make my favorite mascara impervious to water!
SKINCARE
Sunscreen
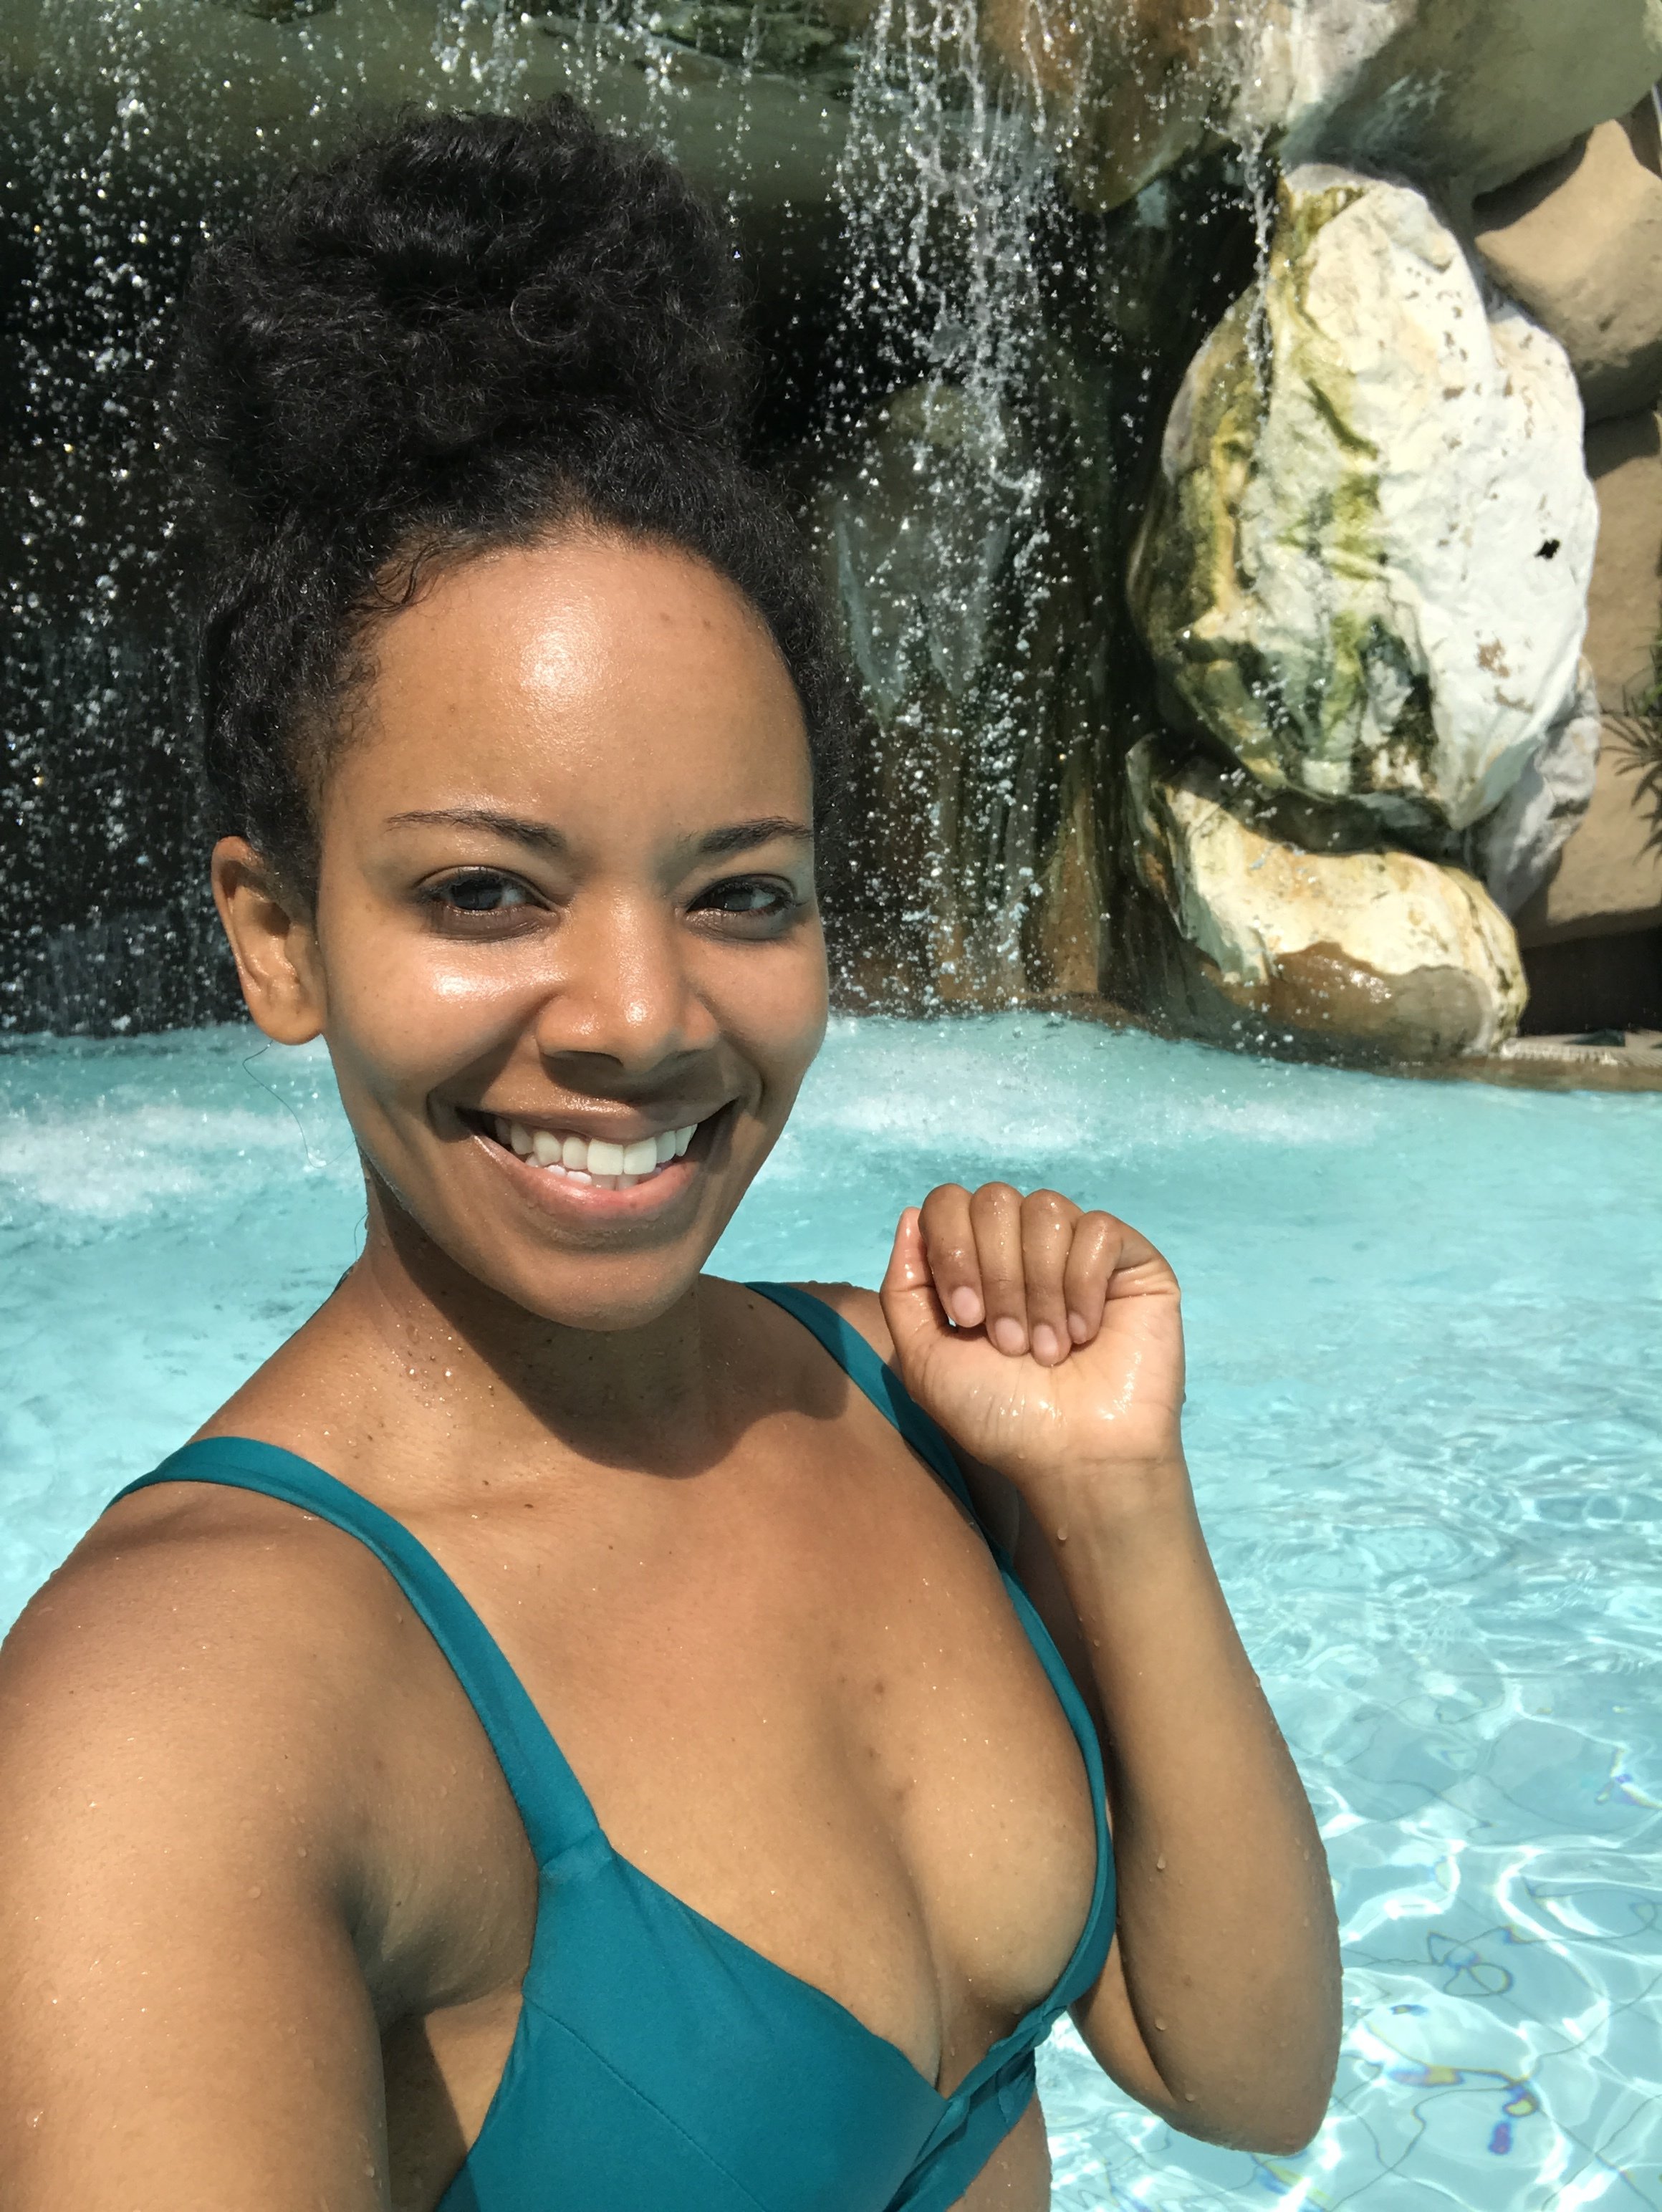
If you don’t take anything else just remember to take you some sunscreen! The higher the SPF, the better. I loved Supergoop. It was so good that I hardly got a tan during my trip after just from one application a day. Mind you I’m brown BUT I usually get dark. I was actually a little disappointed in my lack of color but I guess it’s better to be safe than sorry when it comes to my skin. One bottle of this lasted the entire trip but ALMOST ran out at the end. It was a bit pricey but worth it.
I had to get creative with my liquids due to the fact I only had a carry-on. I needed a lot of bug repellent so I opted for wipes. These did a great job for me as I only got bit twice the entire time. For the record, I only got a bit after I showered in my hotel room and hadn’t applied any wipes yet.
How to apply with sunscreen: Sunscreen first then wait 10-15 minute and wipe exposed body with bug repellent wipes.
I collect samples throughout the year from Sephora. I love using them on trips because they’re already small and travel-friendly.
Facial Spray
I put Thayer’s Witch Hazel in a small spray bottle. Makes a wonderful refresher and has aloe vera which is great for any sunburns.
You will encounter places with no toilet paper and you will be happy I told you to take these.
You will feel sticky a lot and want to wipe your hands.
Doesn’t count in the liquid rule so it saves space in your toiletry bag
Toothbrush
Toothpaste
Razors
Swabs
HAIRCARE
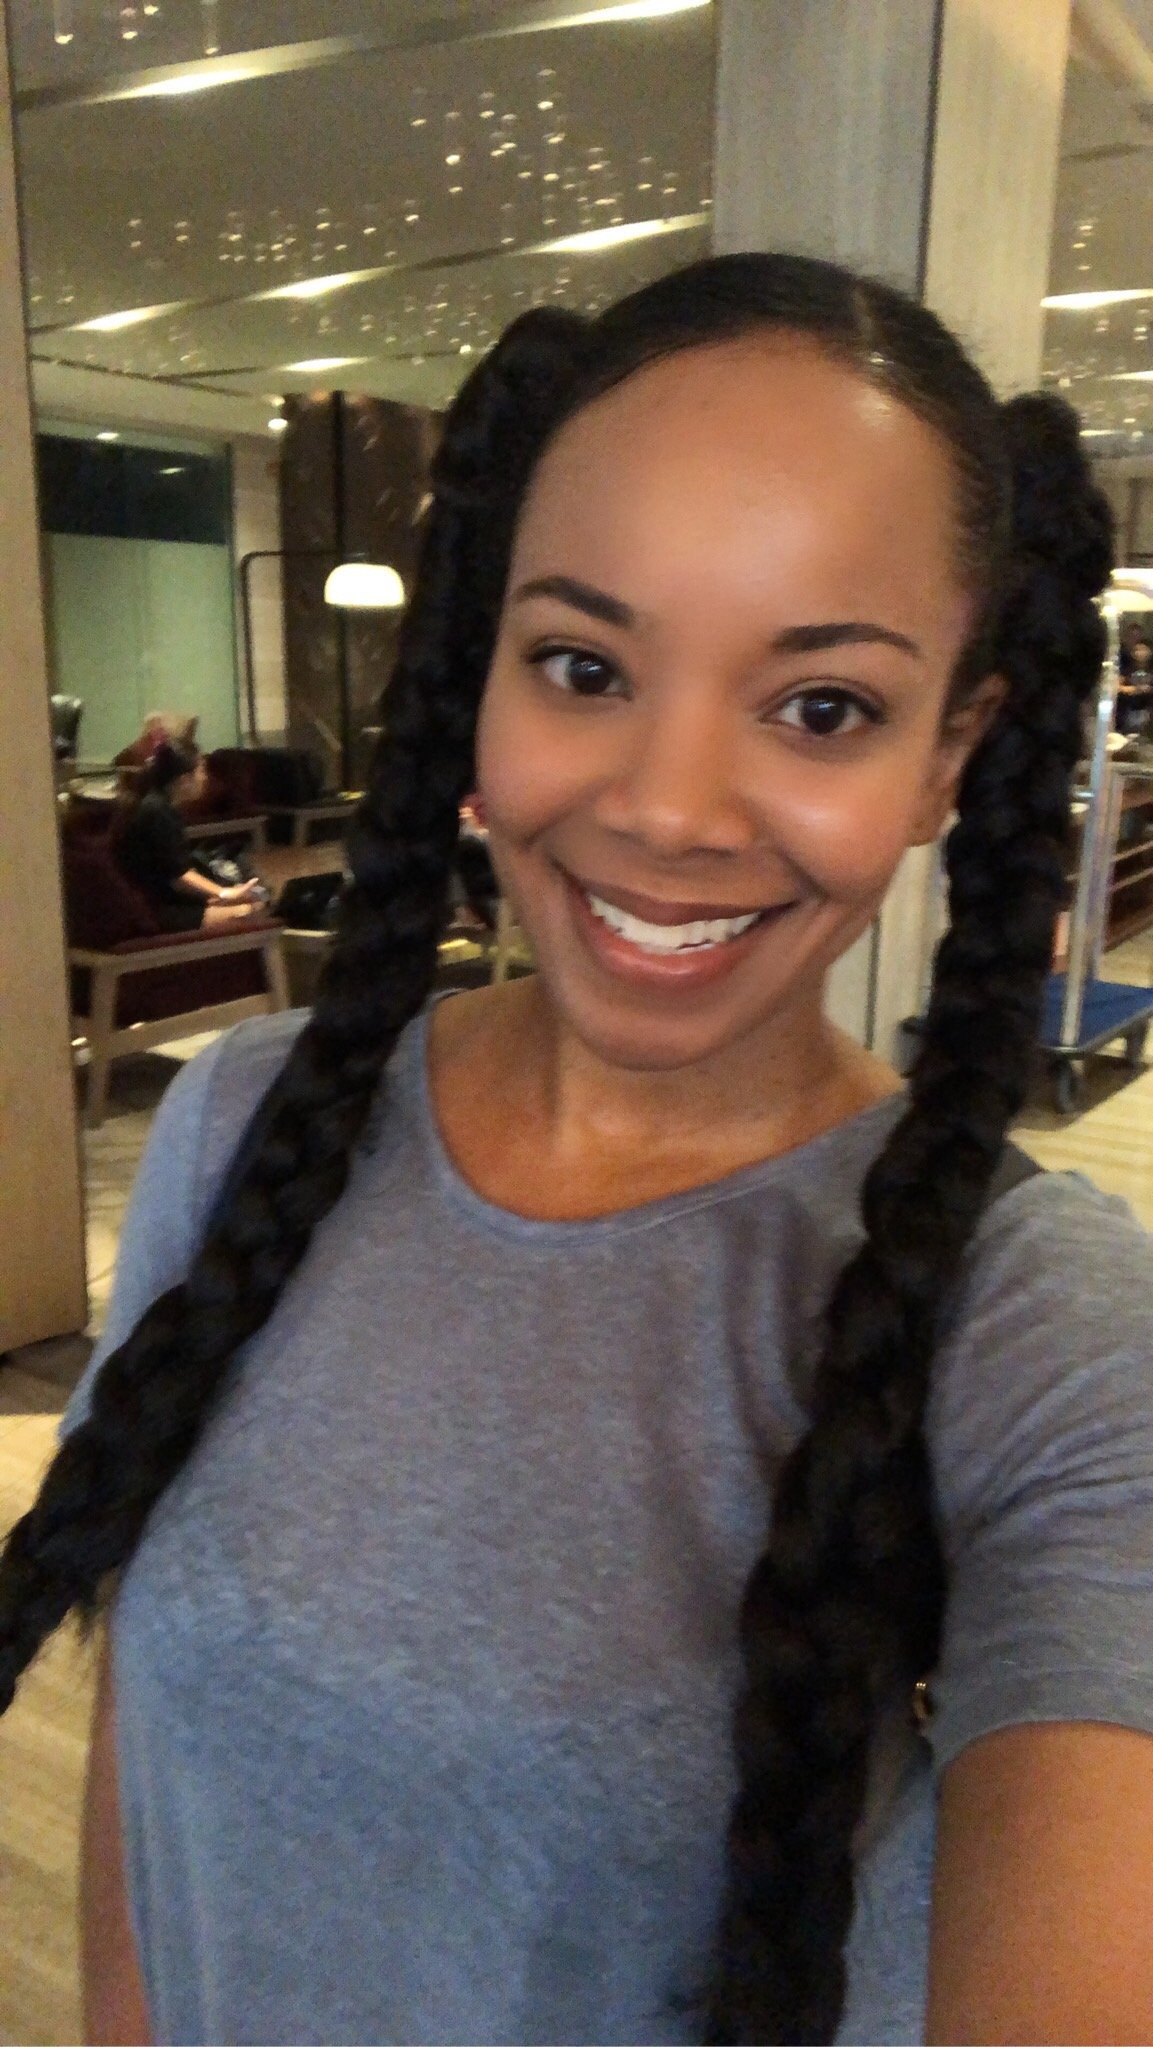
African American hair care is nonexistent in Thailand. So if you’re black, brown, mixed, curly or kinky take your hair products with you. I’m natural so I don’t need any heat activated tools. However, if you do need these tools, make sure you pay attention to the voltage as the outlets in Thailand might not be able to handle them. Trust me, the outlets fried my iPhone cables.
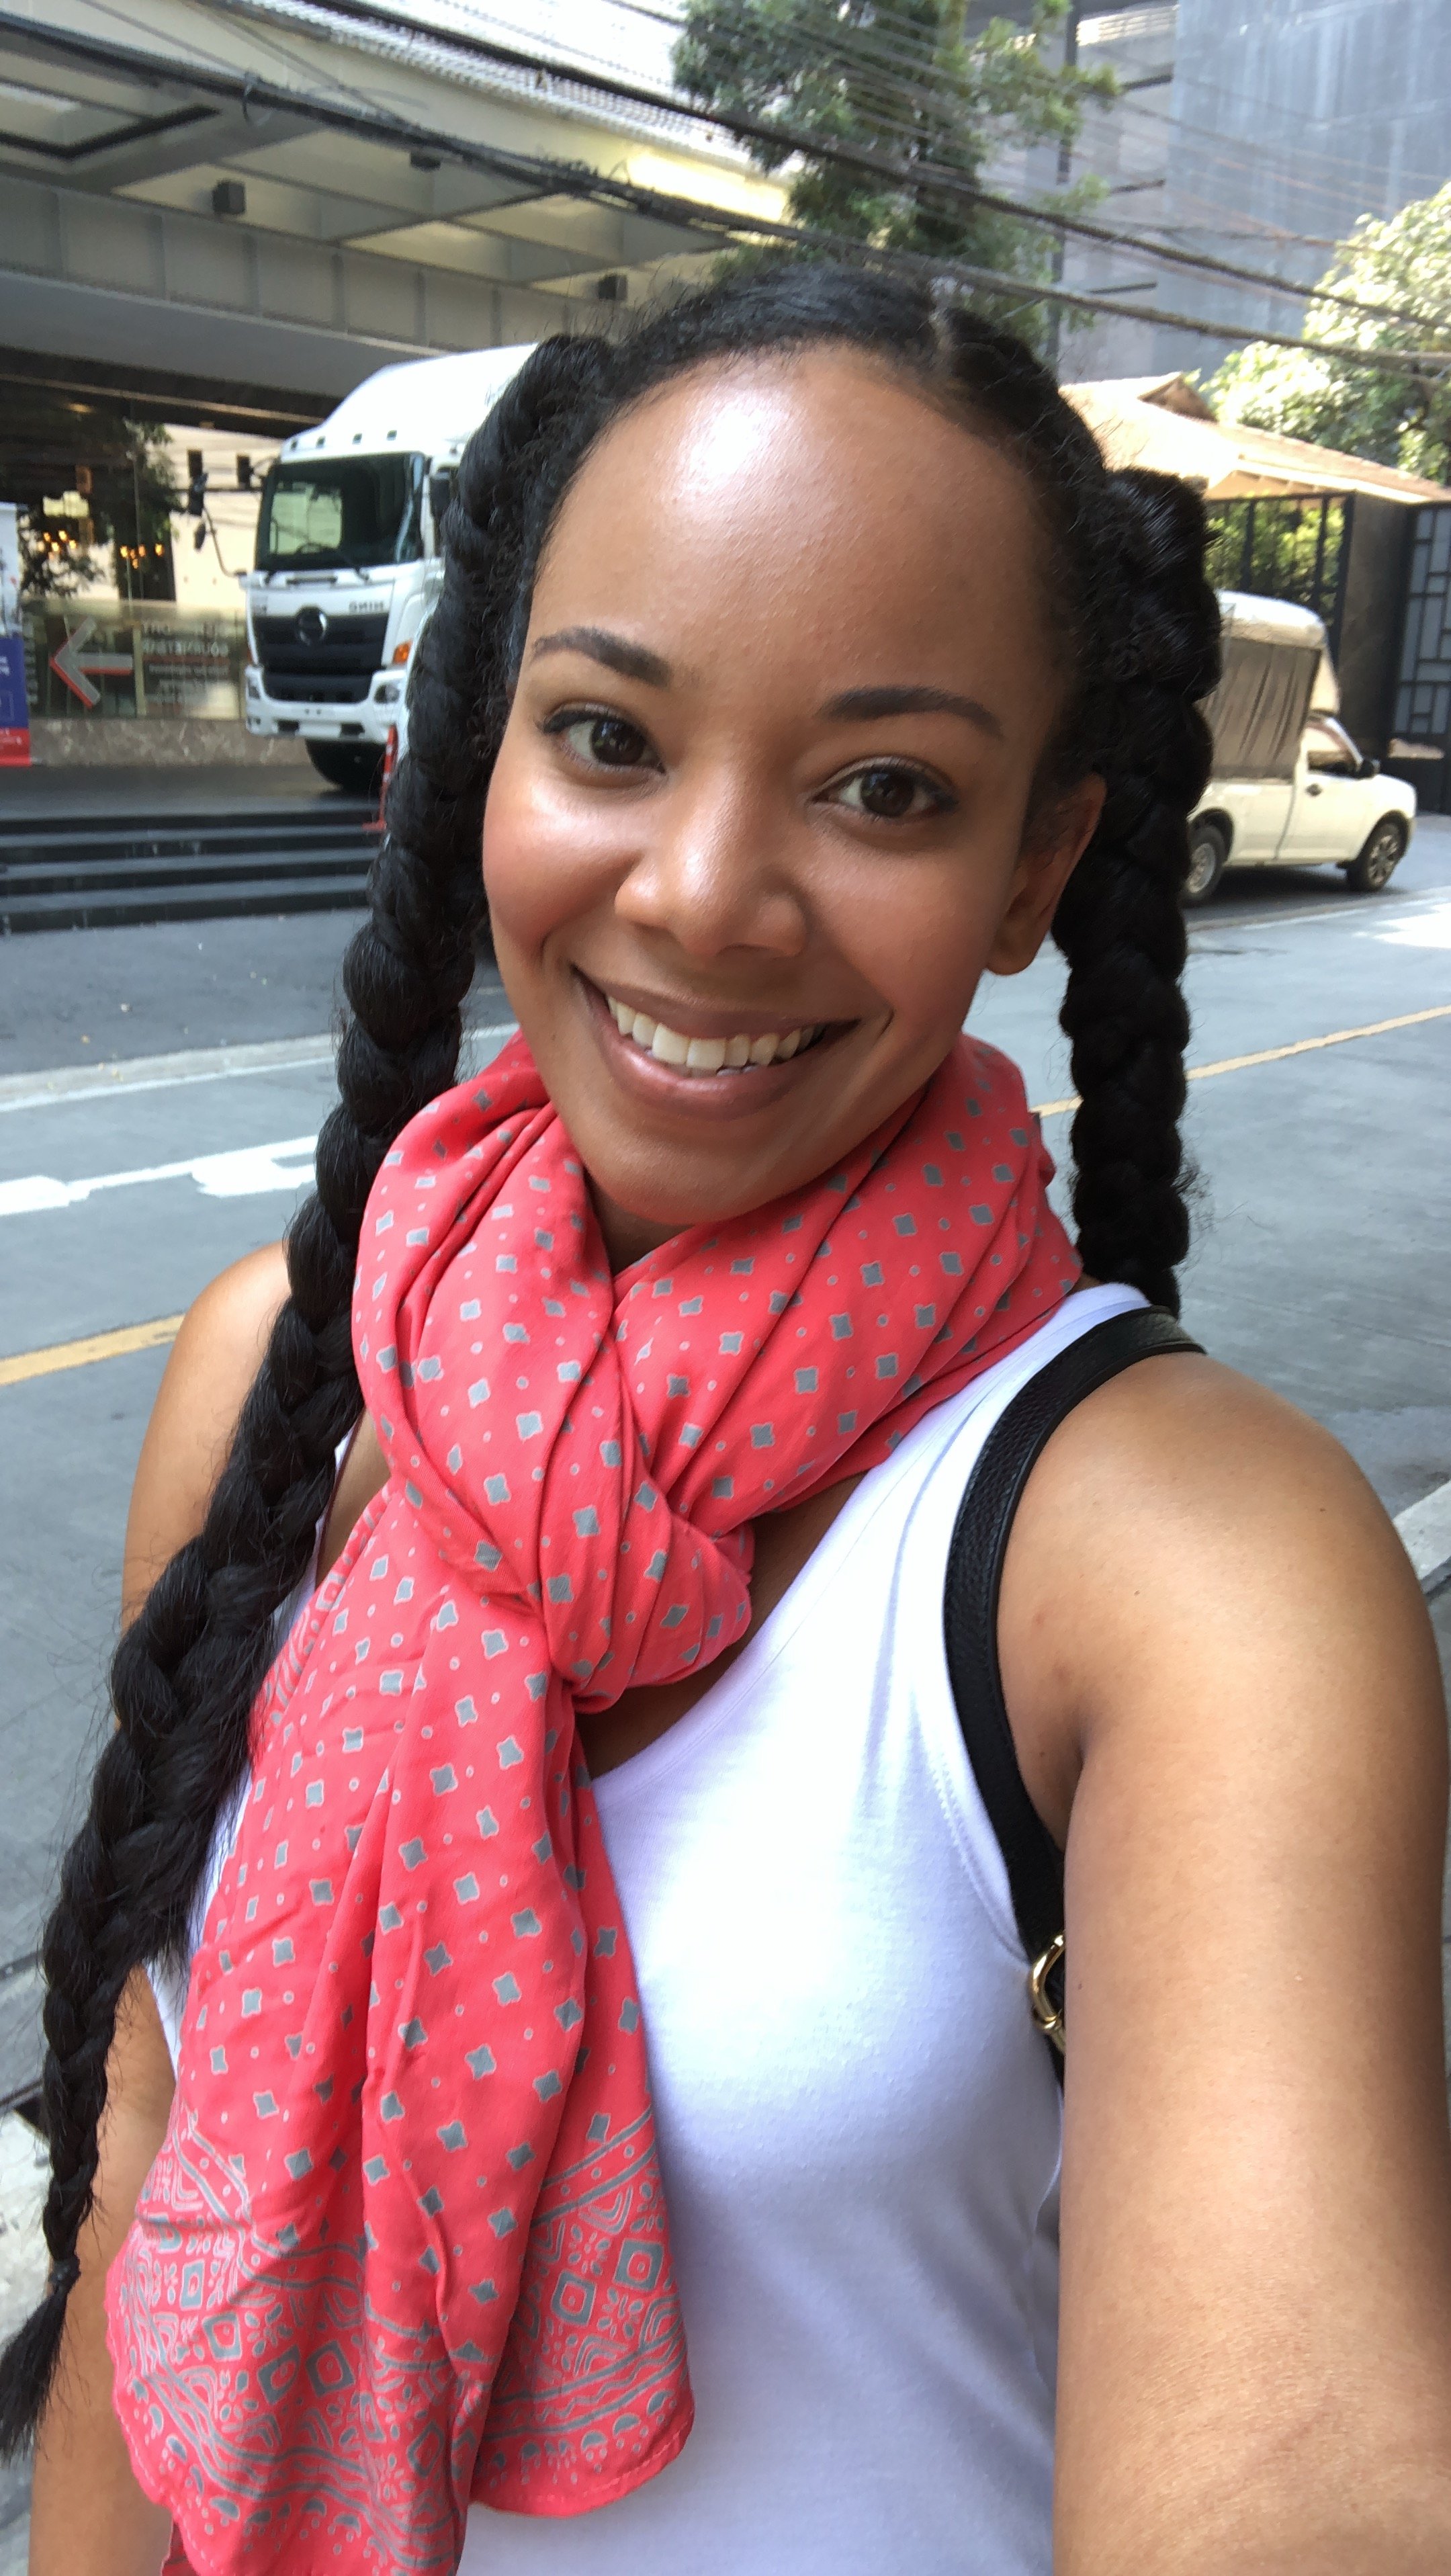
I didn’t know how my hair would react in Thailand. I found that the best way for me to pack enough of my products was to have a protective hairstyle during the first half of the trip. I let my hair down for the second half of my vacation. I liked this solution as it was low maintenance and allowed me to see how my hair performed in the climate. Hair Products include:
Headscarf
Bobby pins
Visit my Thailand Travel: Makeup, Skincare and Hair Kit- If you’d like to purchase some or all of the same items I took on my trip.
Disclosure: This post may contain affiliate links, which means I may receive a commission if you click a link and purchase something that I have recommended. Helping me to keep making cool content.

Thailand: 11 Days in a Carry-On | Ultimate Packing List

What to pack in a carry on for thailand.png
div.a {line-height: normal;}div.a {font-size: 10px;}
Disclosure: This post may contain affiliate links, which means we may receive a commission if you click a link and purchase something that we have recommended. Helping us to keep making cool tutorials and videos.
Carry-On Luggage
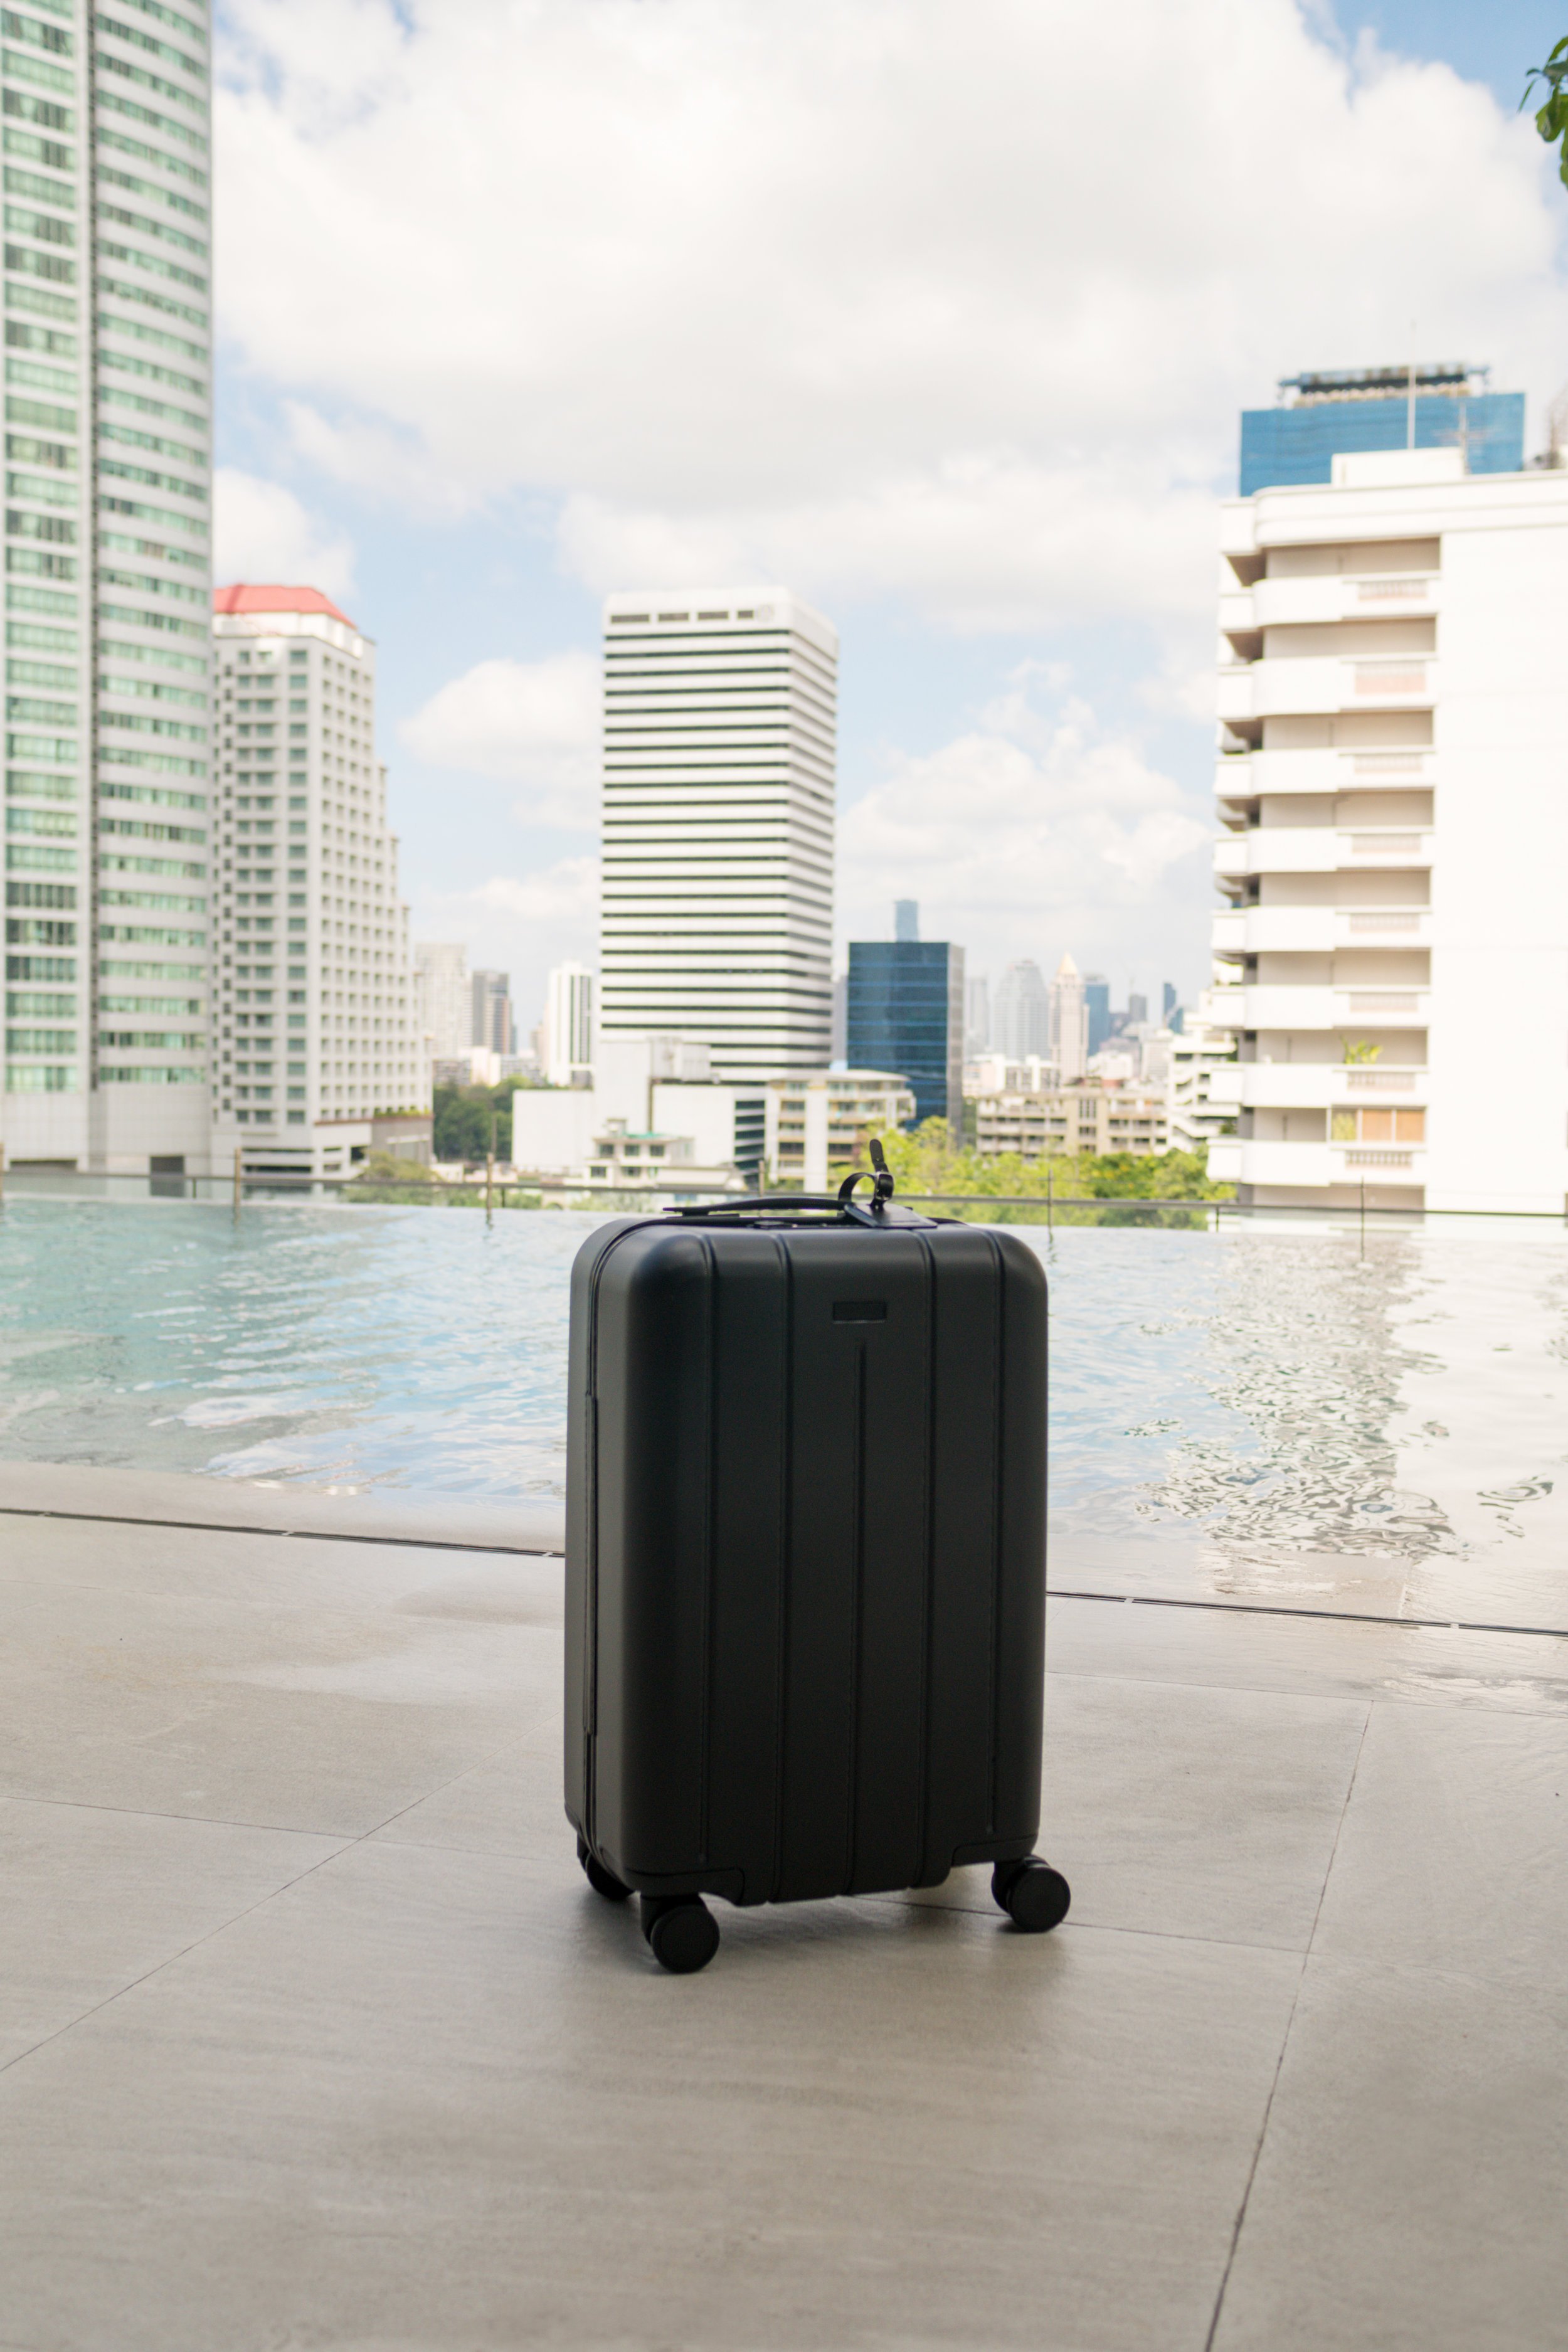
I somewhat overanalyzed my packing list for my trip to Thailand. I successfully did an 11 day trip to a foreign country with only a carry on bag, which is actually easier than it sounds! First things first, if you choose to travel carry-on style you’ll need good lightweight carry on luggage. I fell in love with Chester Travels and I’ve purchased their luggage before. For this trip I was lucky enough to have them send me the beige minima carry-on. The bag was perfect for my trip with its universal wheels and locking mechanism. I was able to leave my passport locked up within my bag in the hotel room during my day trips with no worries.
Remember when I overanalyzed for my trip? I didn’t end up needing half of the items I packed. You will buy stuff in Thailand. YOU WILL. So make sure that you have a lot of space in your luggage. Also, heading to Thailand they didn’t weigh my carry-on because I was able to check into the flight from home. However, the flights within Thailand they did check the weight. So make sure you know the weight of your bag so you aren’t charged with an excess weight fee at check-in. Luckily, I had free checked bags with my travel package so it was okay; but keep the weight in mind if you don’t have that option!

Packing For Thailand
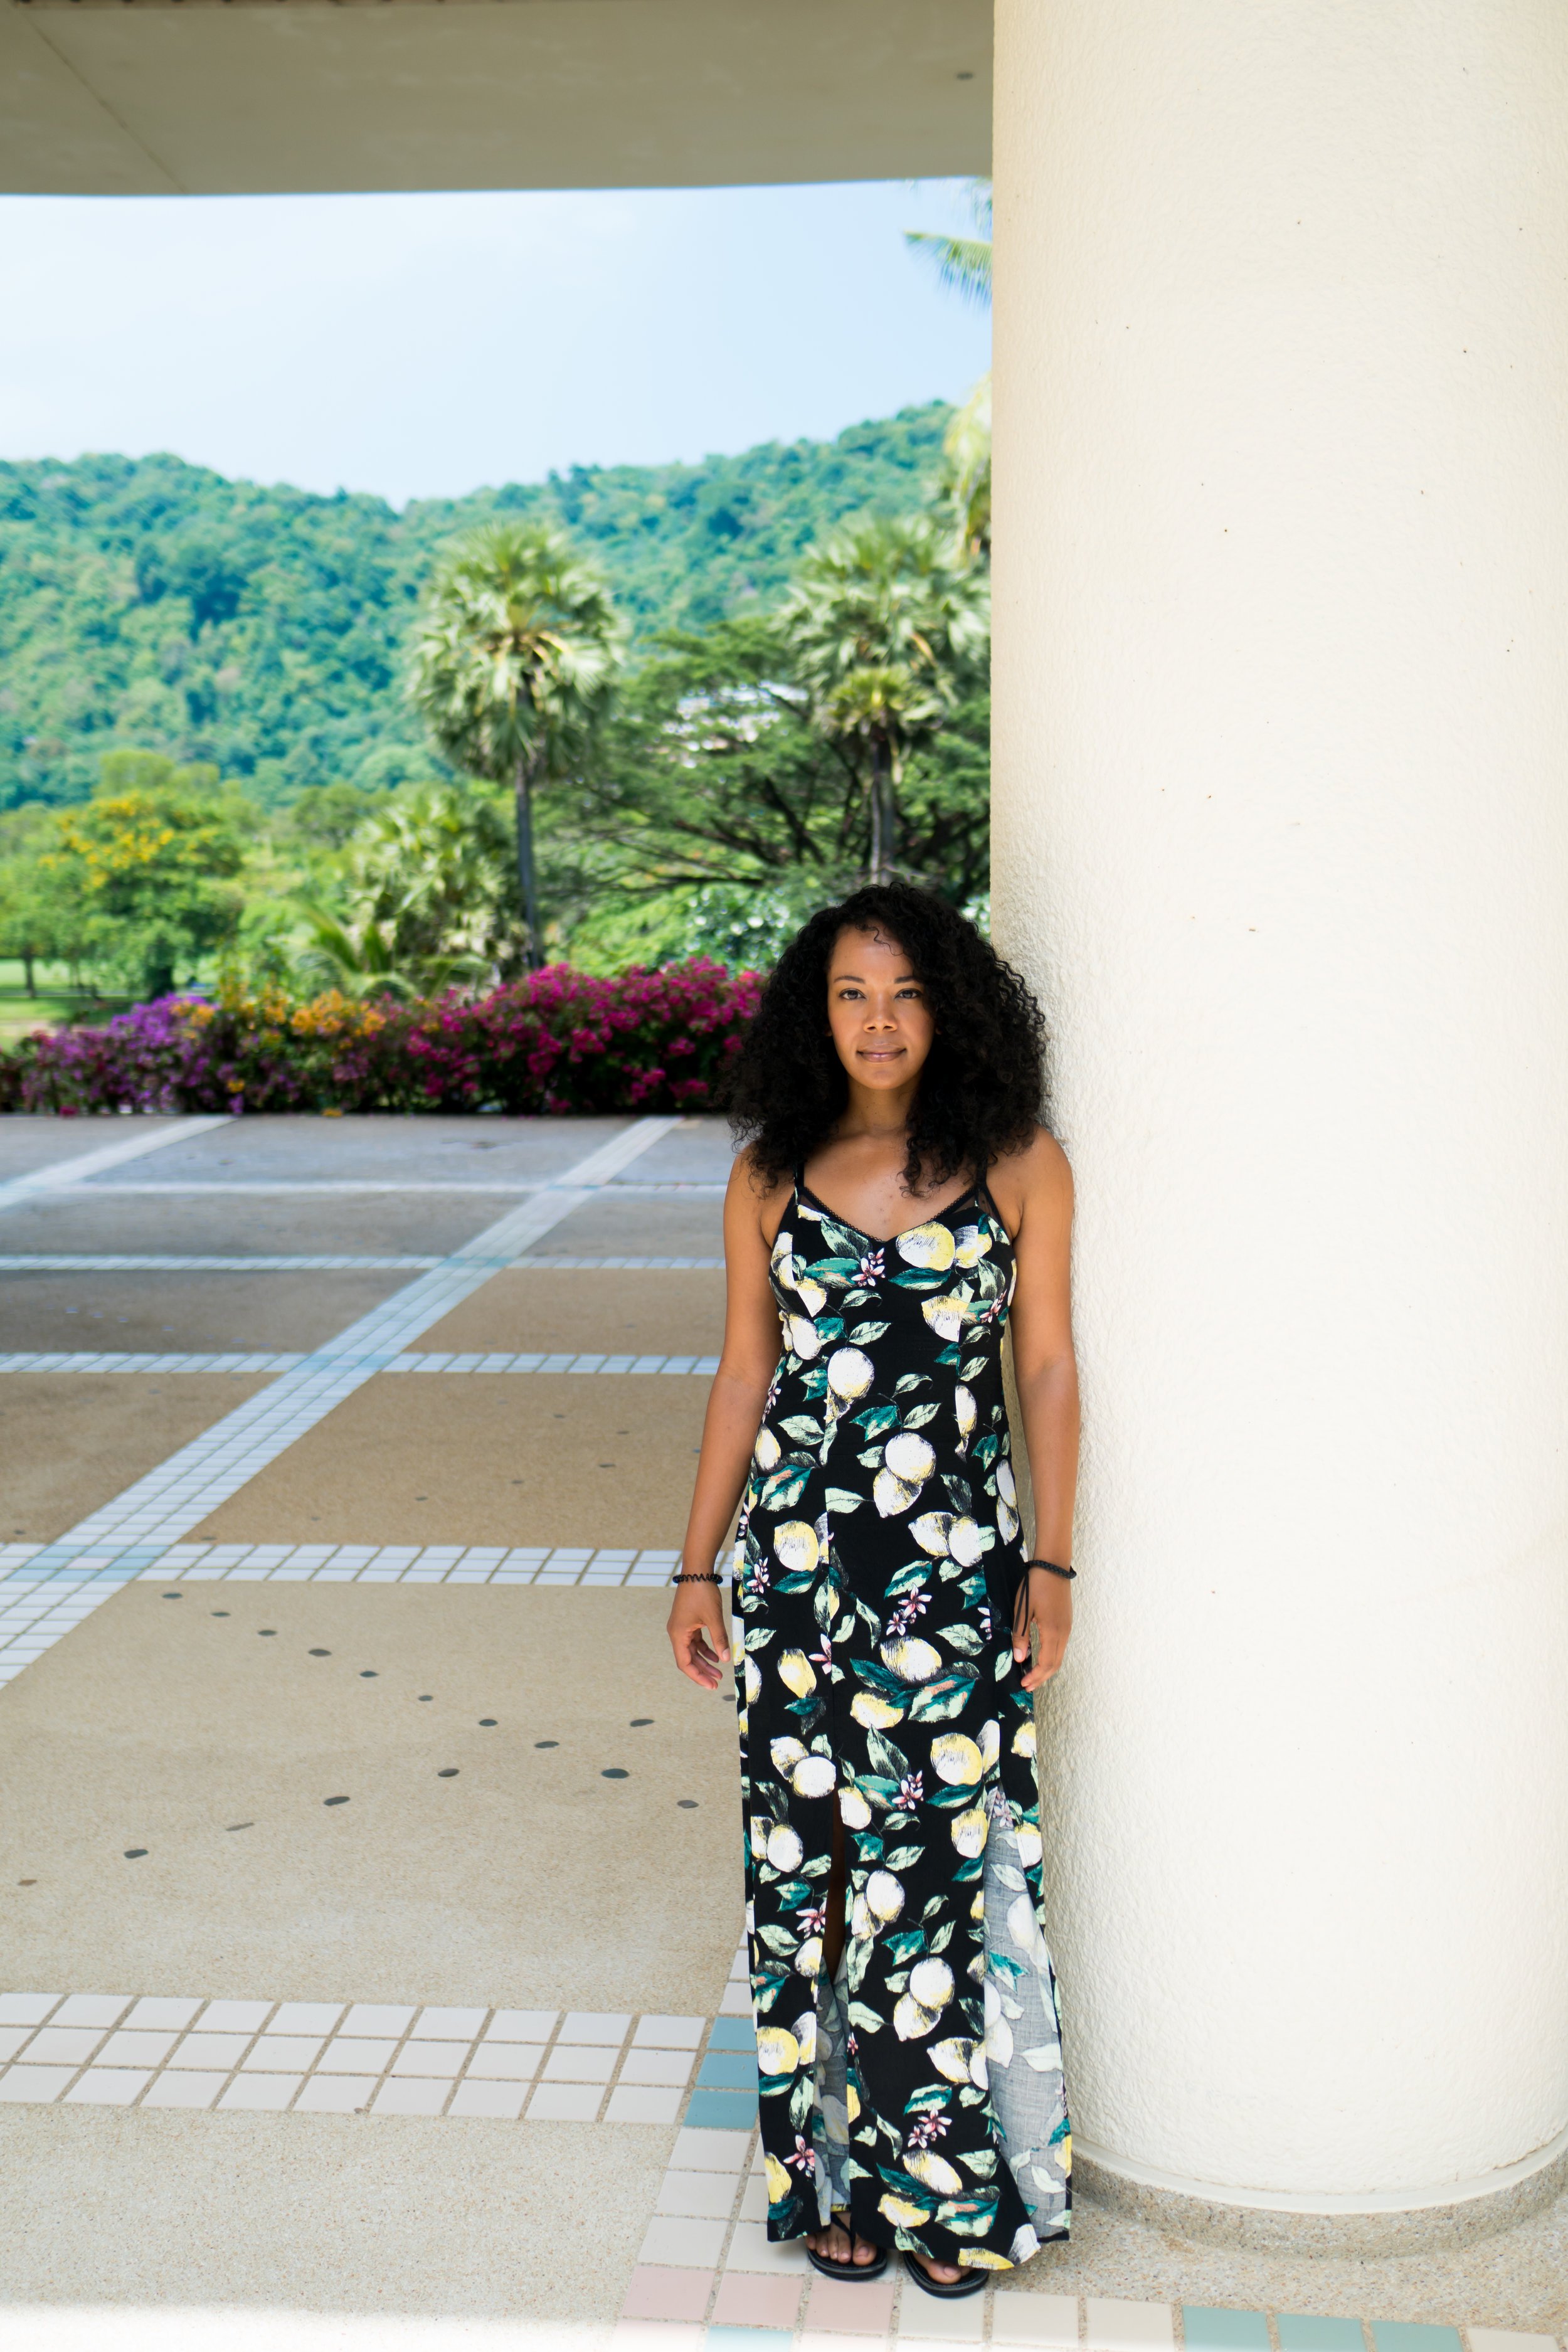
I suggest finding a good mix of clothes that are neutral and can be worn in different combinations. I overpacked in terms of clothing; I could have packed less since I ended up buying a lot of clothes there. We were able to do laundry halfway through our trip as well, which was a huge help. Laundry was quite cheap, around $3 - $6 USD and they delivered it to our hotel. Do not get your laundry done at the hotel because they will overcharge you. Do a quick walk and you’ll find a local spot that’ll do a great job. My favorite clothing item was my Sarong! It was the perfect beach wrap and emergency skirt to get in the Grand Palace, which has a strict formal dress code. Keep reading to see all the clothes and shoes I packed for my trip to Thailand. Keep reading to find out how you can download the free Ultimate Thailand Packing List to make your trip easier!
SHOES
Sandals - I took Plaka Flat Sandals in black
Great for everyday walking around. Also good for going out and dressing up an outfit just a bit. I recommend finding a versatile pair that’s comfy because you’re going to wear them a ton!
Slip-on sneakers - I took TOMS black coated canvas slip ons
For traveling days. Also great for temples and religious landmarks that prefer closed toe shoes.
Water Sneakers
These will protect your feet during water activities. Especially when water is shallow or rocky. You don’t wanna knock a toe off when you’re swimming! I brought these, fair warning though pebbles can get into the shoe and cause minor discomfort but they do protect the feet.

CLOTHES
Sarong - Similar Style Here
The real MVP of my trip! If you don’t have one you can buy them VERY cheap in the country. I used it for a beach coverup and a skirt at the Grand Palace. I also tied it into a dress. I didn’t know the magic of a sarong until this trip!
Light Rain Jacket
It did rain lightly but I was never really caught in the rain. I also didn’t go during the rainy season (generally June-October). I would suggest you take a jacket but make sure it’s light and doesn’t take up too much space in case you don’t end up wearing it. They also sell cheap rain ponchos in every convenience store if that’s more your style.
Compression Socks - I took BlueTree Compression Socks
You’ll wonder why you need these but they’re for the long flight so your legs don’t ache. You’ll notice a difference if you don’t wear them, trust me!
3 Bikinis
You can bring 2. I just wanted to get my Bikini’s worth in!
12 Pair Panties
3 Pair of Socks
I used washable shoe liners for my slip on sneakers; they’re less hot than socks.
3 bras
Only needed 2!
Sleep shirt + Shorts
2 Dresses
2 tank tops
4 t-shirts
Only needed 3! Especially with laundry.
2 shorts
I wore both because I had them but I could have just used one.
Leggings
Easy to pack, better than jeans AND, as an added bonus, you can also sleep in them...win!
Athletic leggings
Another great compression option for the plane ride to keep legs from getting sore. Also a must for any traveling hikes.
Sweatshirt
I took a light sweatshirt that I used on the plane and for sleeping in the AC at night.
Day Backpack/Crossbody bag
If you rock a backpack as I did, make sure that it has an inside pocket that lays against your back. Basically, a secret compartment that can hold your passport and money that no one can stick their hands in there! When you have the crossbody, wear it ACROSS your body and aim the purse to the front. Always be aware and alert if you’re in a large crowd.
That is everything clothing-wise that I packed in my Chester carry-on. The next post I will go over my skincare, makeup and hair routine while in Thailand.
TIFFY TRAVEL TIPS
Get 10% off your own Chester Travels Carry-On. With the promo code 10AF
Pack light because you can buy a lot in Thailand for cheap.
Laundry is everywhere and cheap. They’ll clean, fold and delivery it to your hotel.
Check Weather before trip.
Take items you can easily mix and match for multiple outfits.Watch the video: Best thailand travel tips (Bangkok)

Before Your Trip: Thailand Travel Tips

Before Your Trip_ Thailand Travel Tips.jpg
Before your trip to Thailand I have some useful travel tips. I get so excited when I have an upcoming trip that I often over prepare for it. I love to plan ahead and read about the areas I’ll be visiting. I find myself following a lot of travel vloggers and bloggers, stalking their suggestions and posts. Since I had never been to Asia before, I took a lot my research into account when planning my trip to Bangkok and Phuket Thailand. I’m gonna share what I did to prep for my travels.

What to do before trip to Thailand.jpg
Medical:
You’ll probably need a vaccination or two before you go. You can contact your primary care doctor or, if you’re like me, you can do a yelp search. Most travel vaccinations aren’t covered by insurance; I know because I checked. However, I found a great clinic in Los Angeles called Travelwise. It’s run by a lovely and helpful woman named Carla.
Carla was awesome because she went over my trip with me to discuss all the shots I should get based on where I was traveling. If you’re going to rural parts of Thailand and far away from large urban areas you’ll want to consider more vaccinations. I was going to Bangkok and Phuket, which are pretty touristy and well populated, so I didn’t need to get EVERYTHING. It was nice of her to not upsell me on every damn shot!
The shots I got may be different than the ones you need based off where you’re traveling. Just make sure that you get your shots at least 2 weeks before your trip so that they're in your system before you begin your journey.

Black Travel - Bangkok and Phuket Thailand
Financial:
Be sure to call your banks and credit card companies to let them know you’re traveling. This ensures there won’t be any delays or complications if you need to use your ATM or credit cards.
I ordered some BAHT through my bank before the trip so I would have some currency on me when I arrived in Thailand. You can also use ATM machines when you get to your destination but you can be charged exorbitant foreign transaction/non-bank fees so it’s nice having cash ahead of time. Plus I had never used BAHT so I wanted to get familiar with the currency denominations.
When I went on my trip I also took about $140 cash in new $20 bills. When trading money in Thailand the currency exchanges prefer clean, crisp bills. The less worn out the money is means they’re more likely to exchange it. Also, it just never hurts to carry around USD in case of an emergency.
Before trip to thailand.jpg
TIFFY TRAVEL TIPS
Get your vaccinations at least 2 weeks before your trip. I used Travelwise.
If you want to save money get the vaccinations that you need based on the locations of your trip and what you’ll be doing.
When ordering BAHT from your bank only get small denominations. Everything is so cheap there that it can be hard to break large bills.
Take crisp new money if carrying emergency USD.